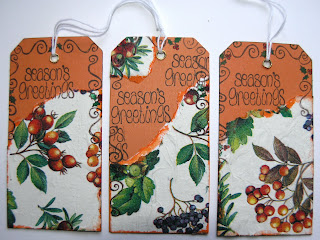
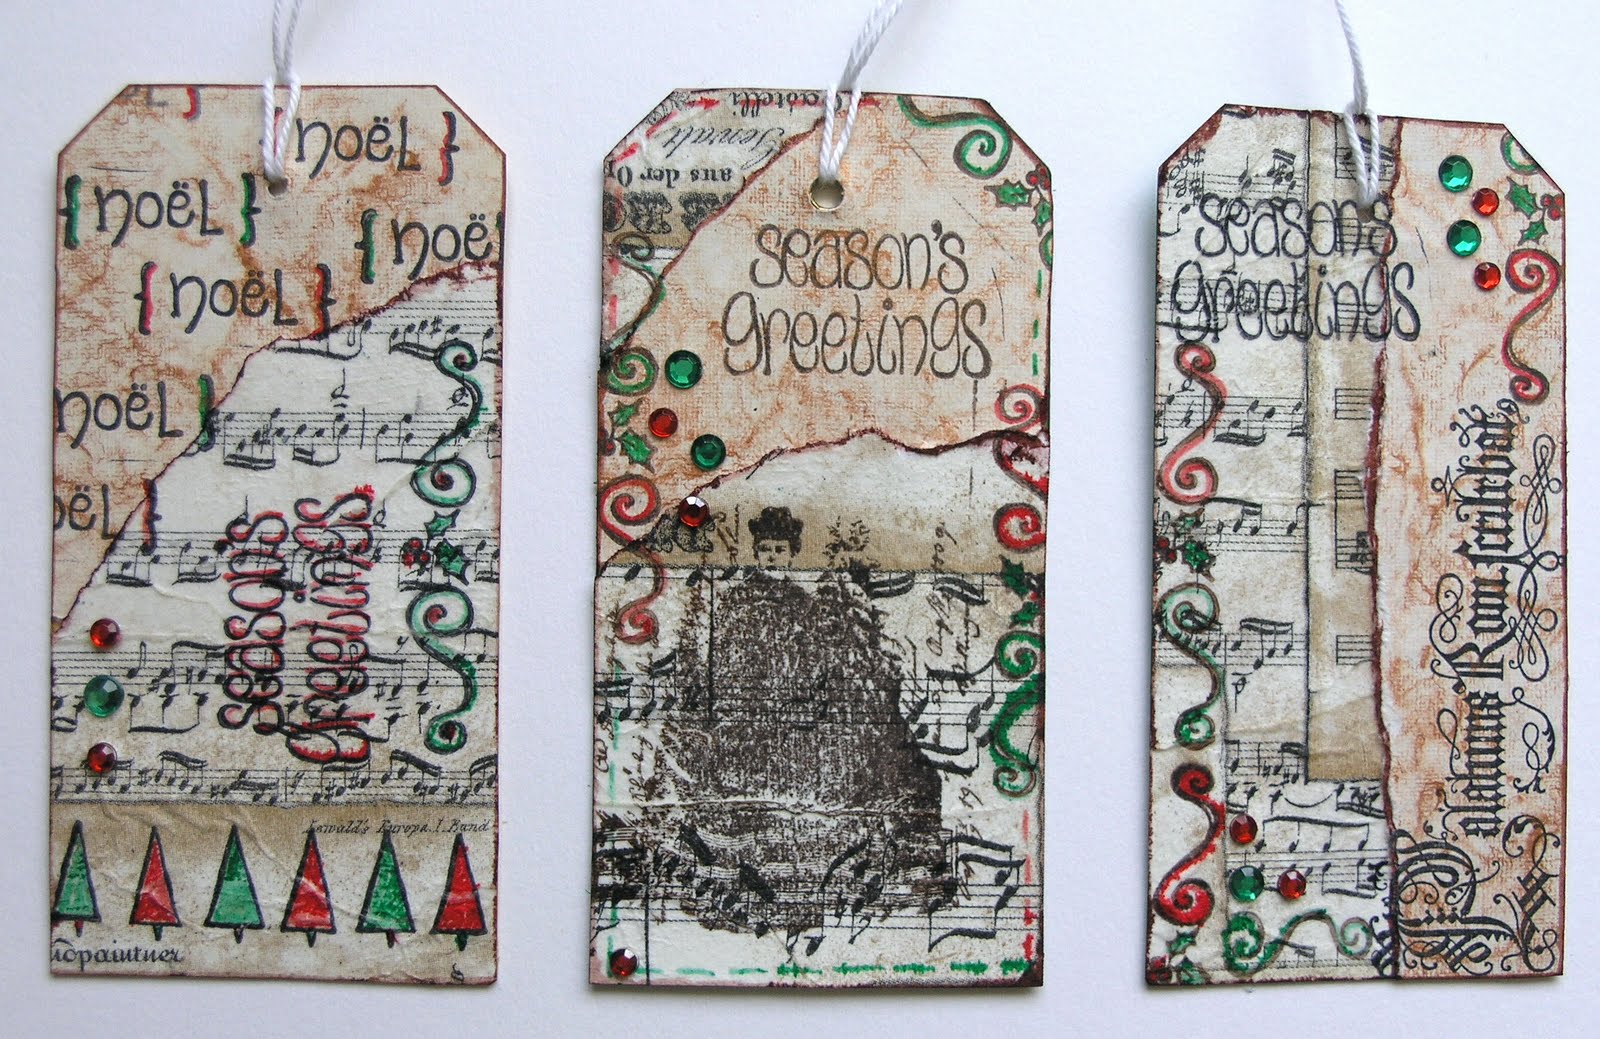
Three more tags made using paper napkins.

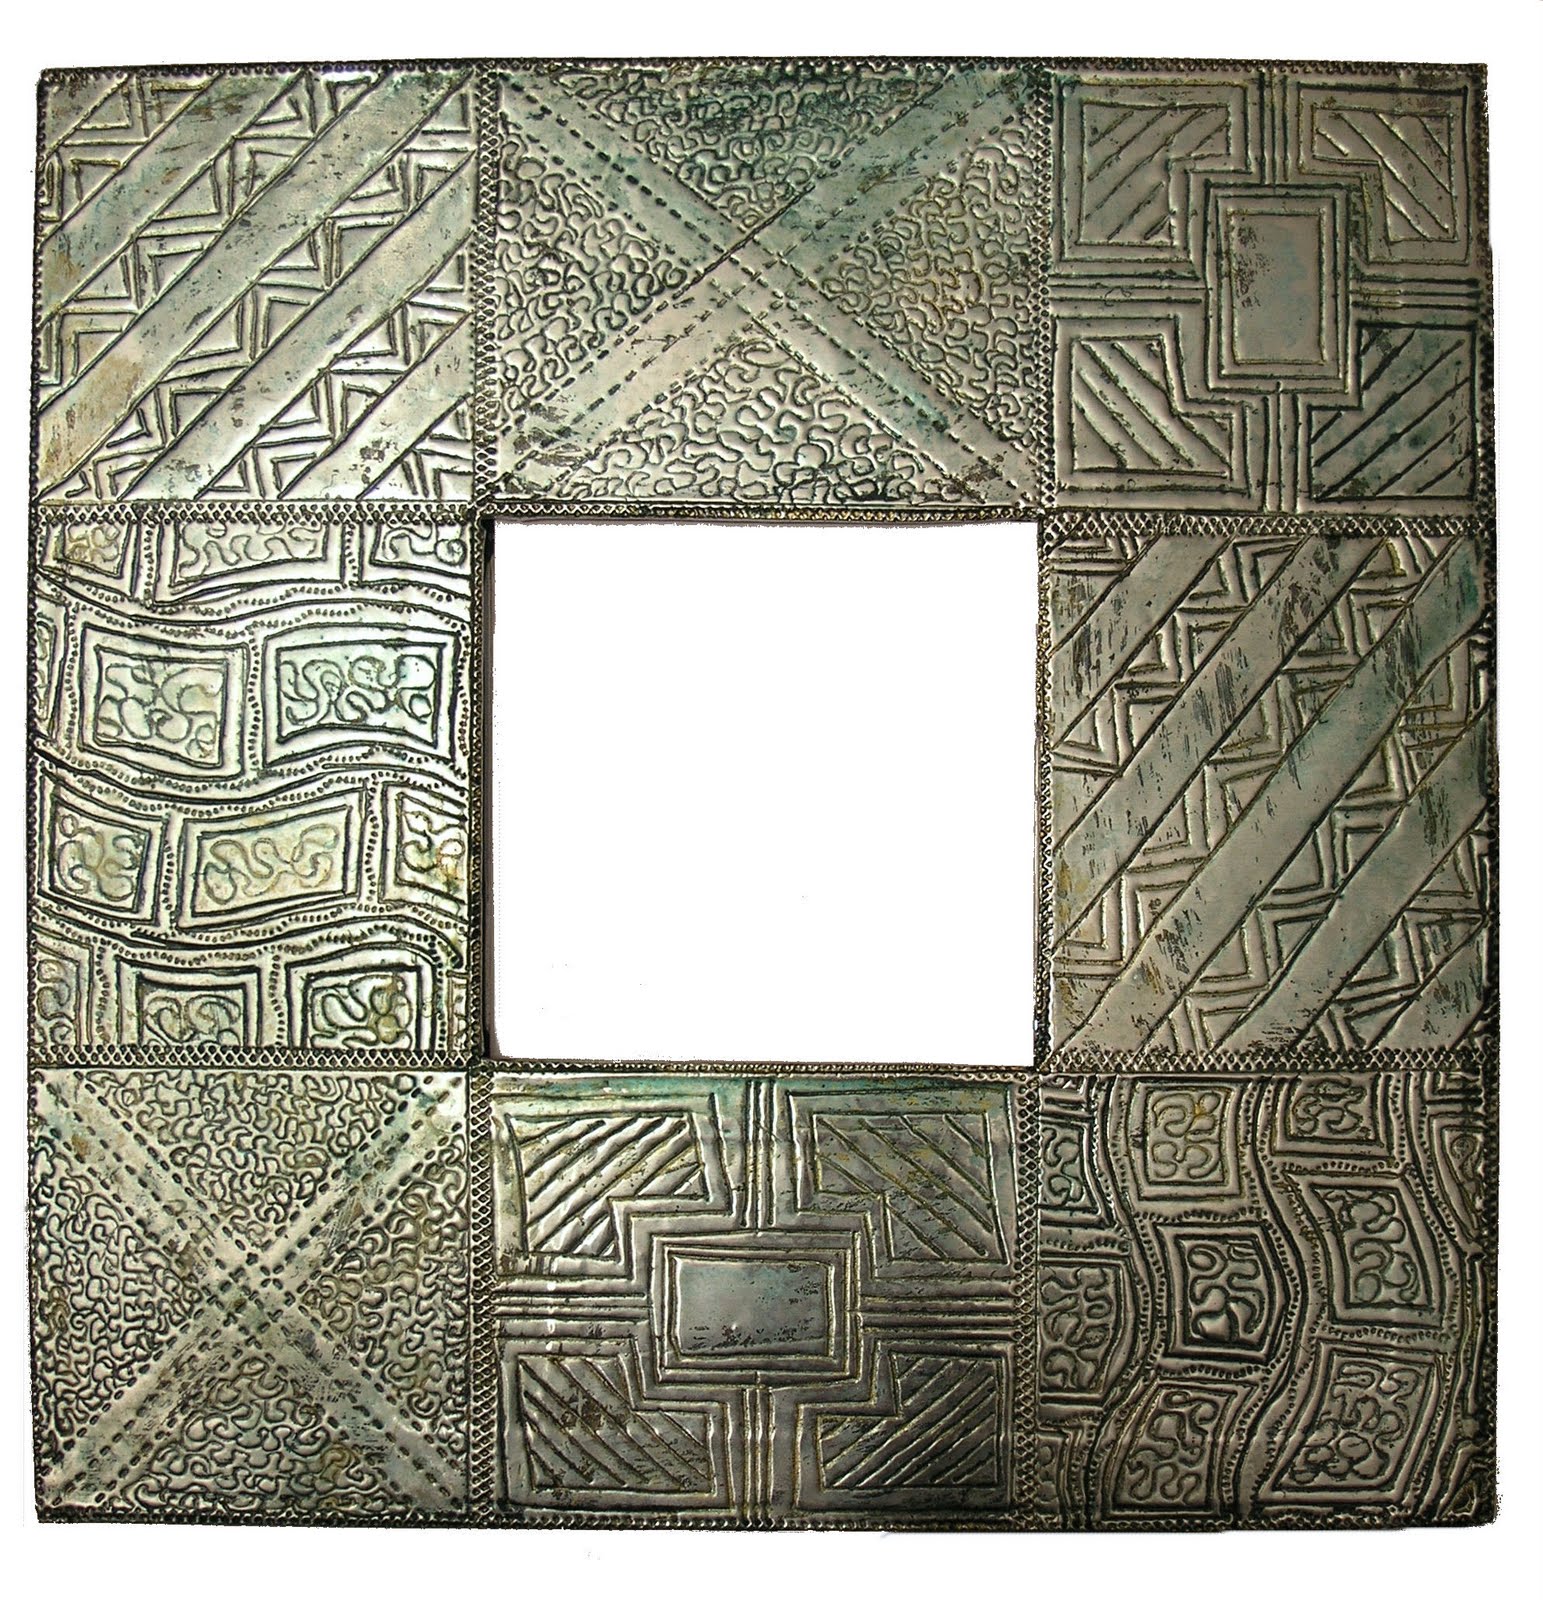

This time, the metal I used came on a roll, so I was able to use one piece. This meant, however, that it would not fit through my Cuttlebug so all the decoration is done by hand. (I made a tape sandwich, One of Lin Brown's techniques, attaching card to the metal with Humungo tape. This gives it a bit of give to draw into.)
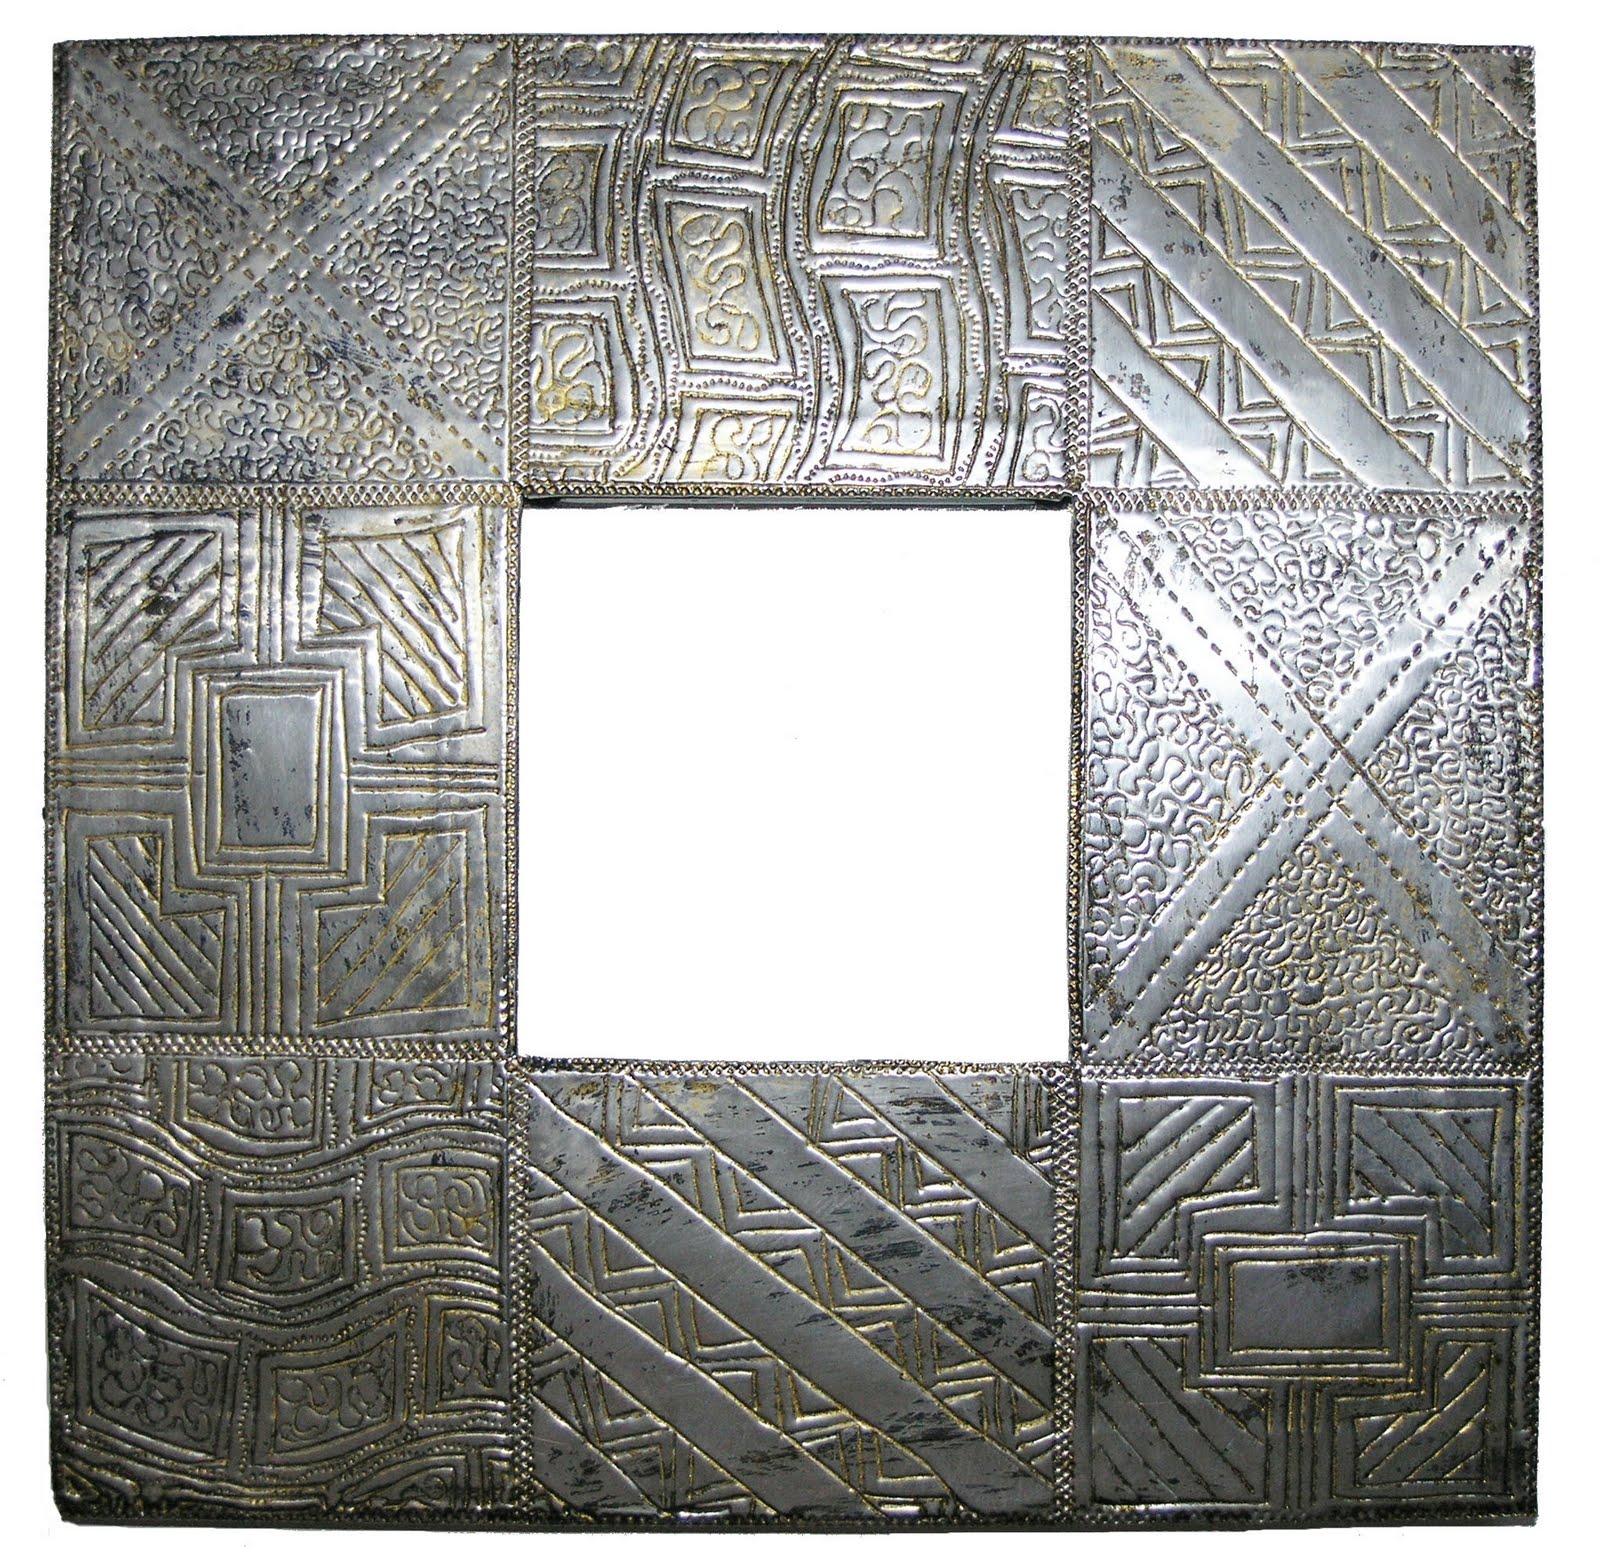
I haven't decided yet whether I am going to add another colour to it.
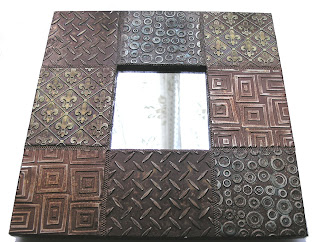
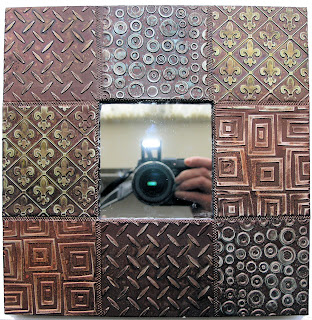
I started with two long strips of metal for the top and bottom and two pieces, about a third of the size, for the remaining space on the two sides. all the pieces were cut large enough to overlap the sides.Using my Cuttlebug I embossed the metal, being careful to line up the various pieces to give the impression of nine squares. I fixed the metal to the frame using Red Line tape and went around all the edges with a roller tool. Then came the Glimmer Mists; masking the sections not being sprayed, I sprayed the different sections with different colours.
It is hard to get a great picture because of the shine of the metal and the mirror, but hopefully these two give a good idea of what it looks like.
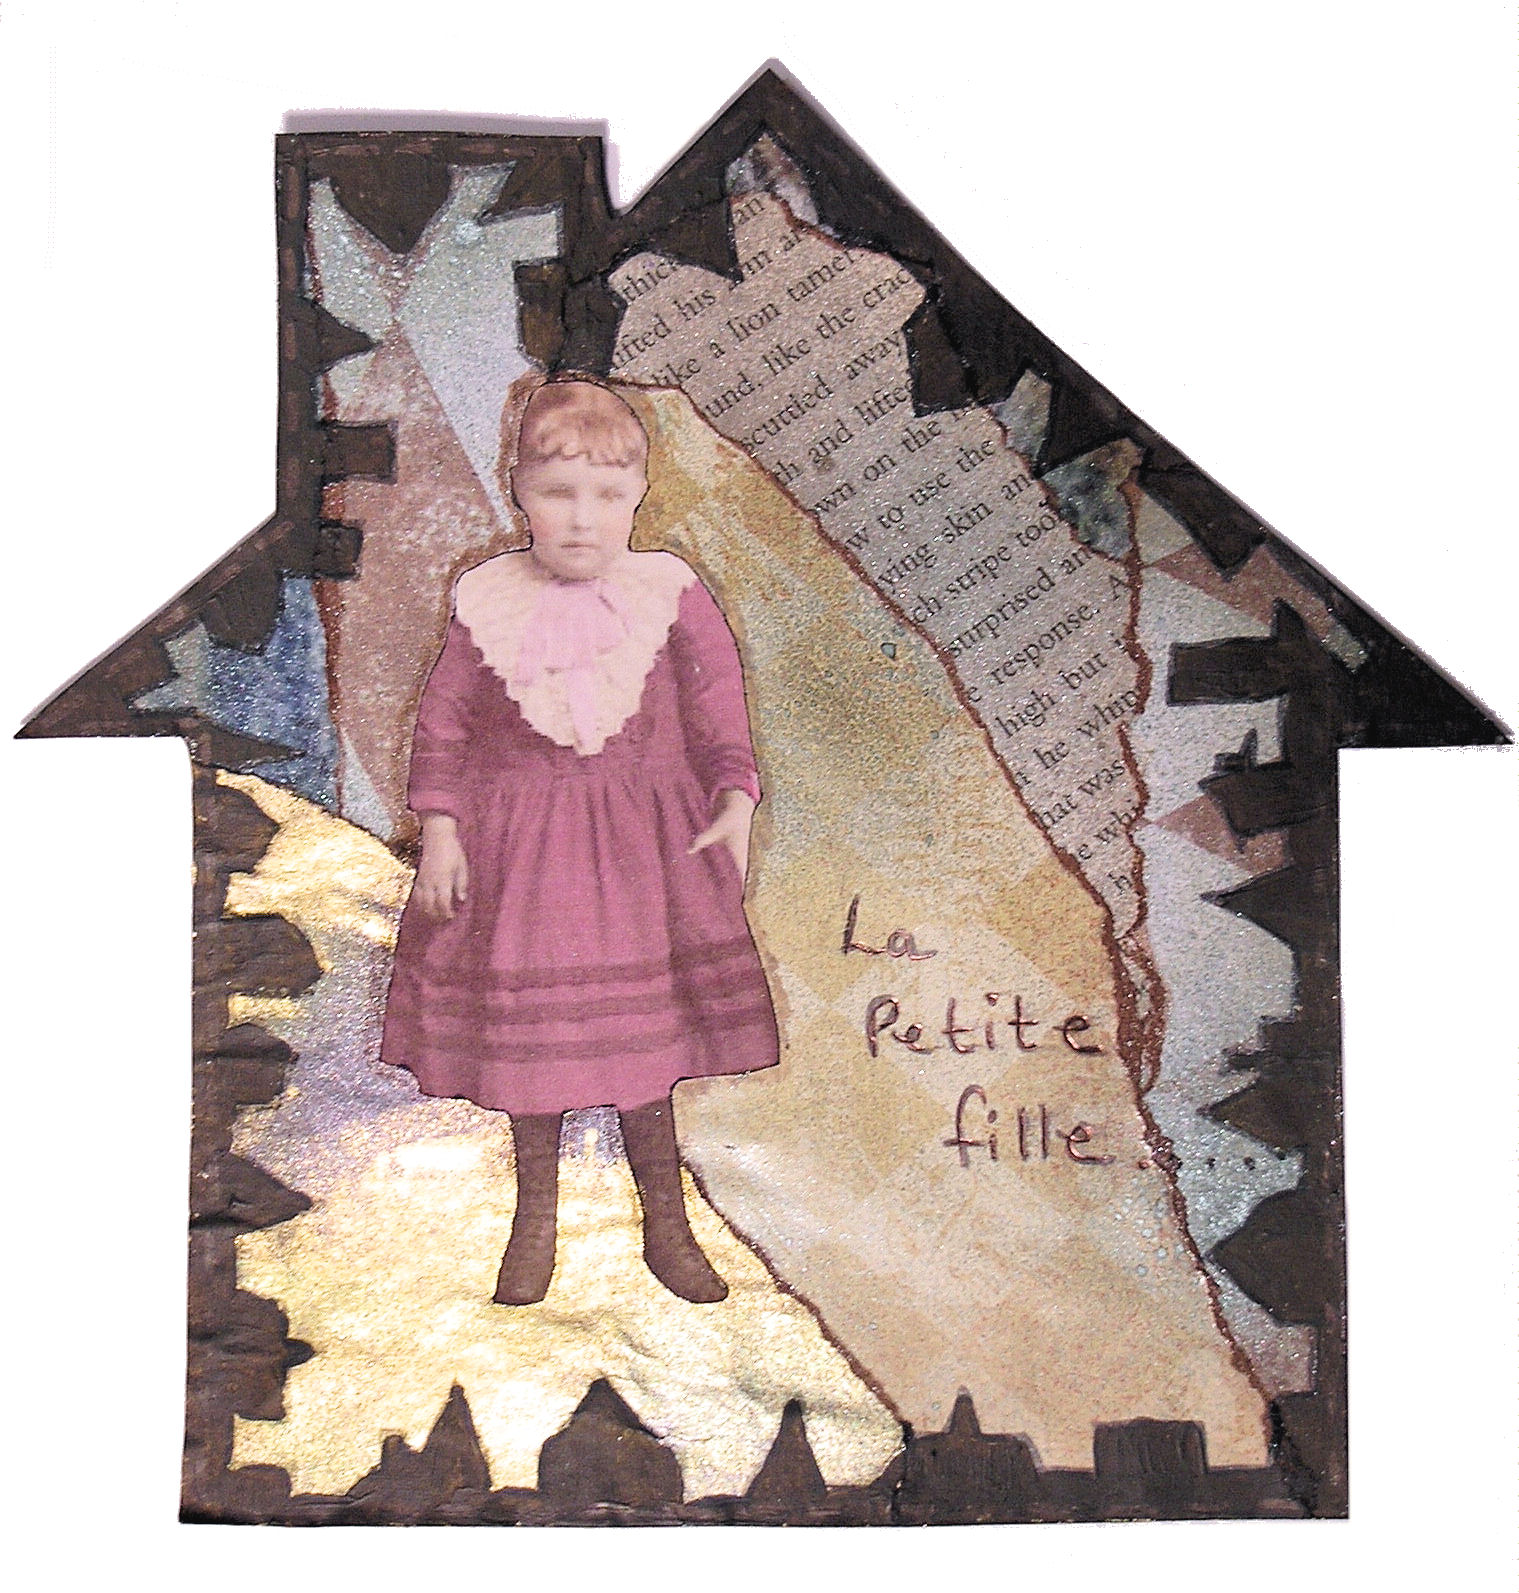
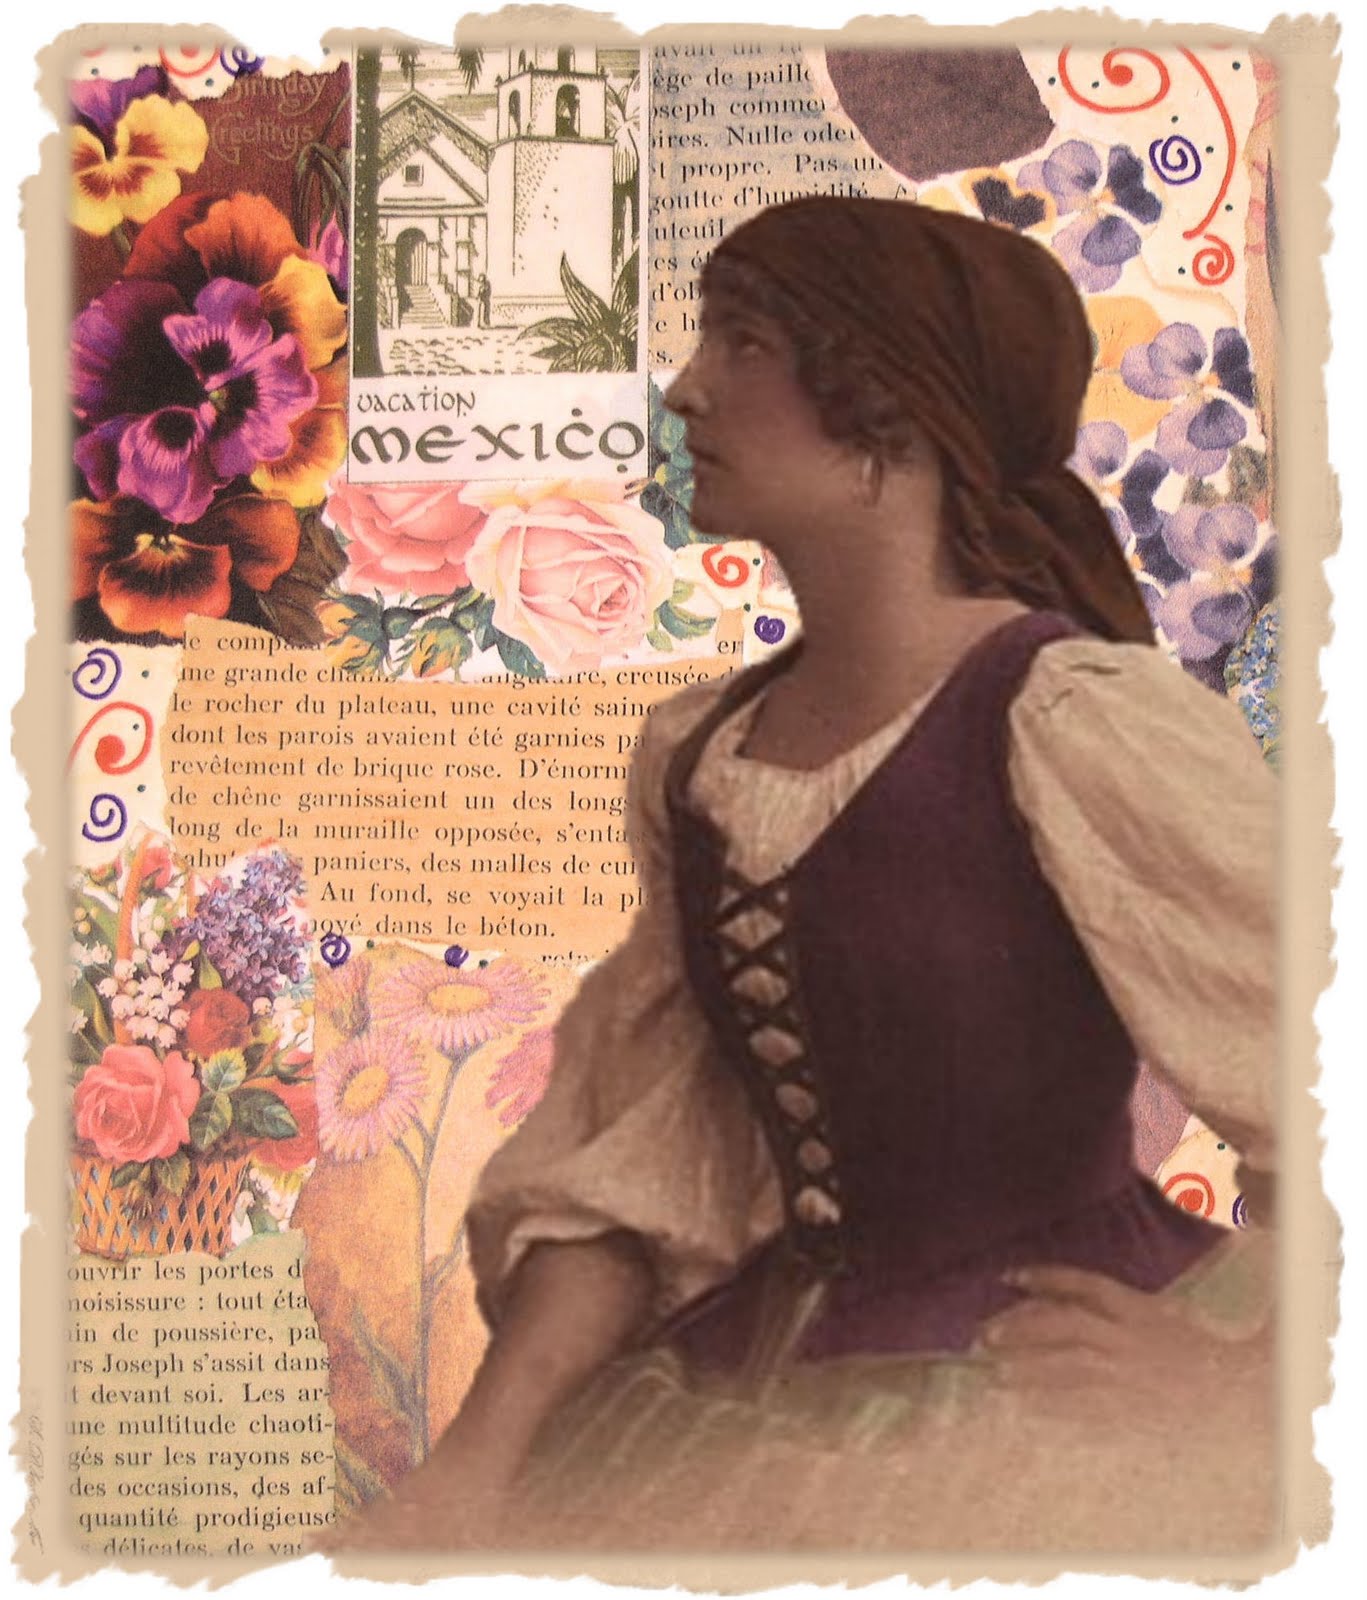
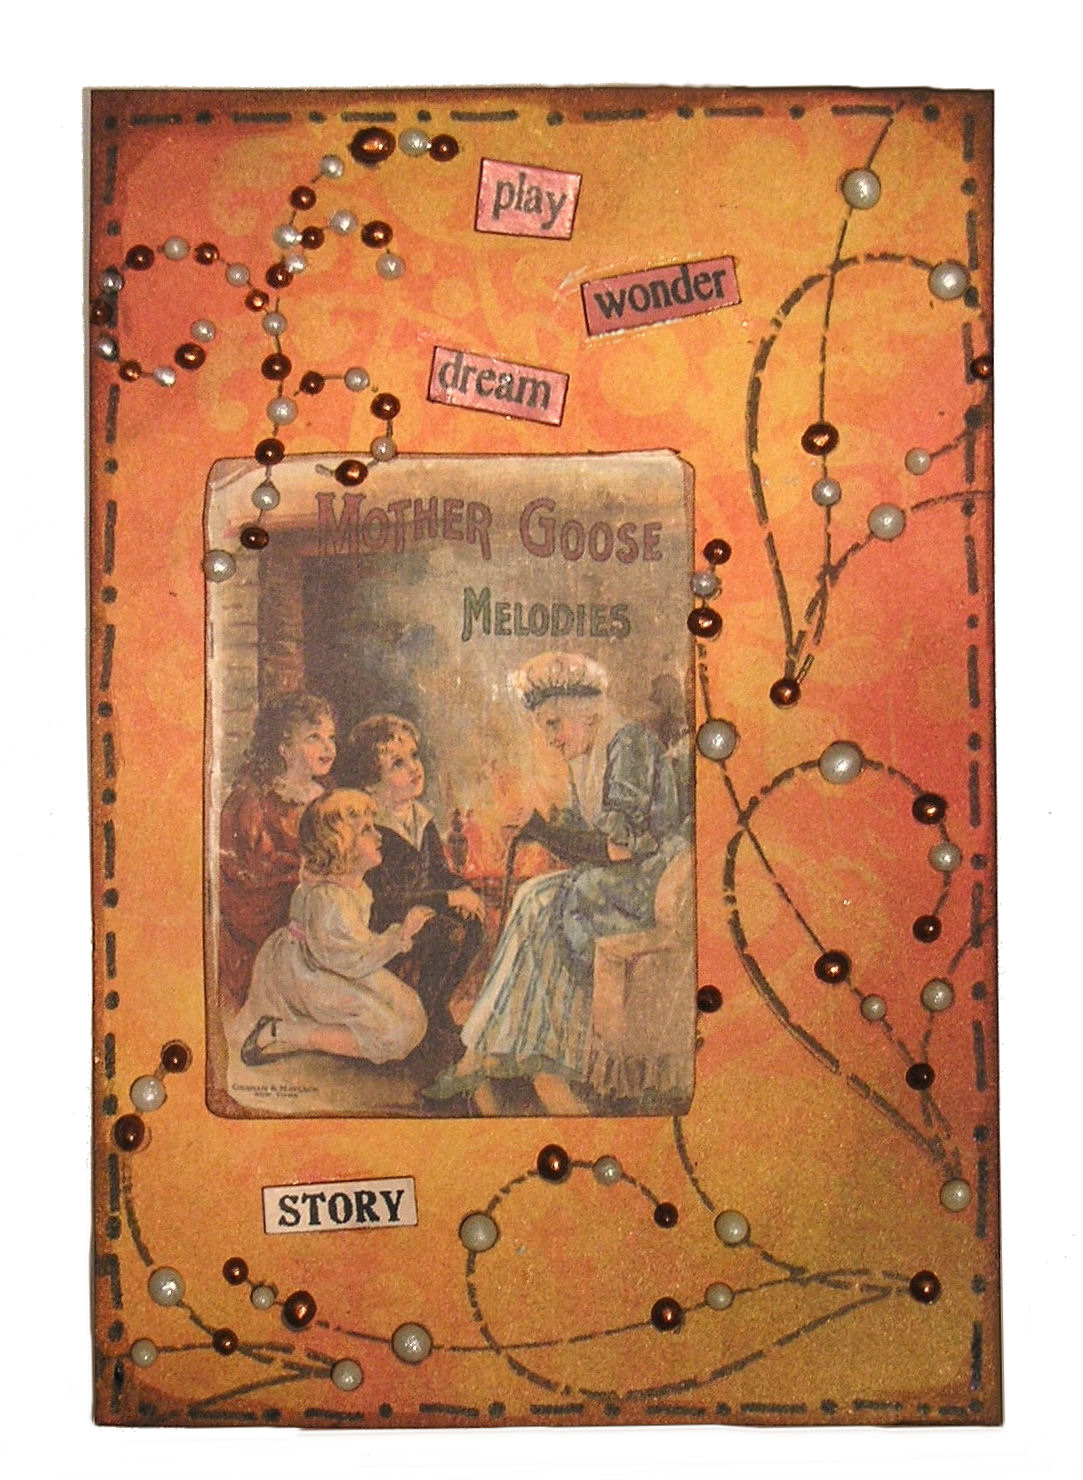
This is my entry for dans ma maison this week. The collage is mostly made from scraps of paper I hadn't thrown away. The image of the girl comes from Lisa's Altered Art. I painted around the edge with brown acrylic paint.
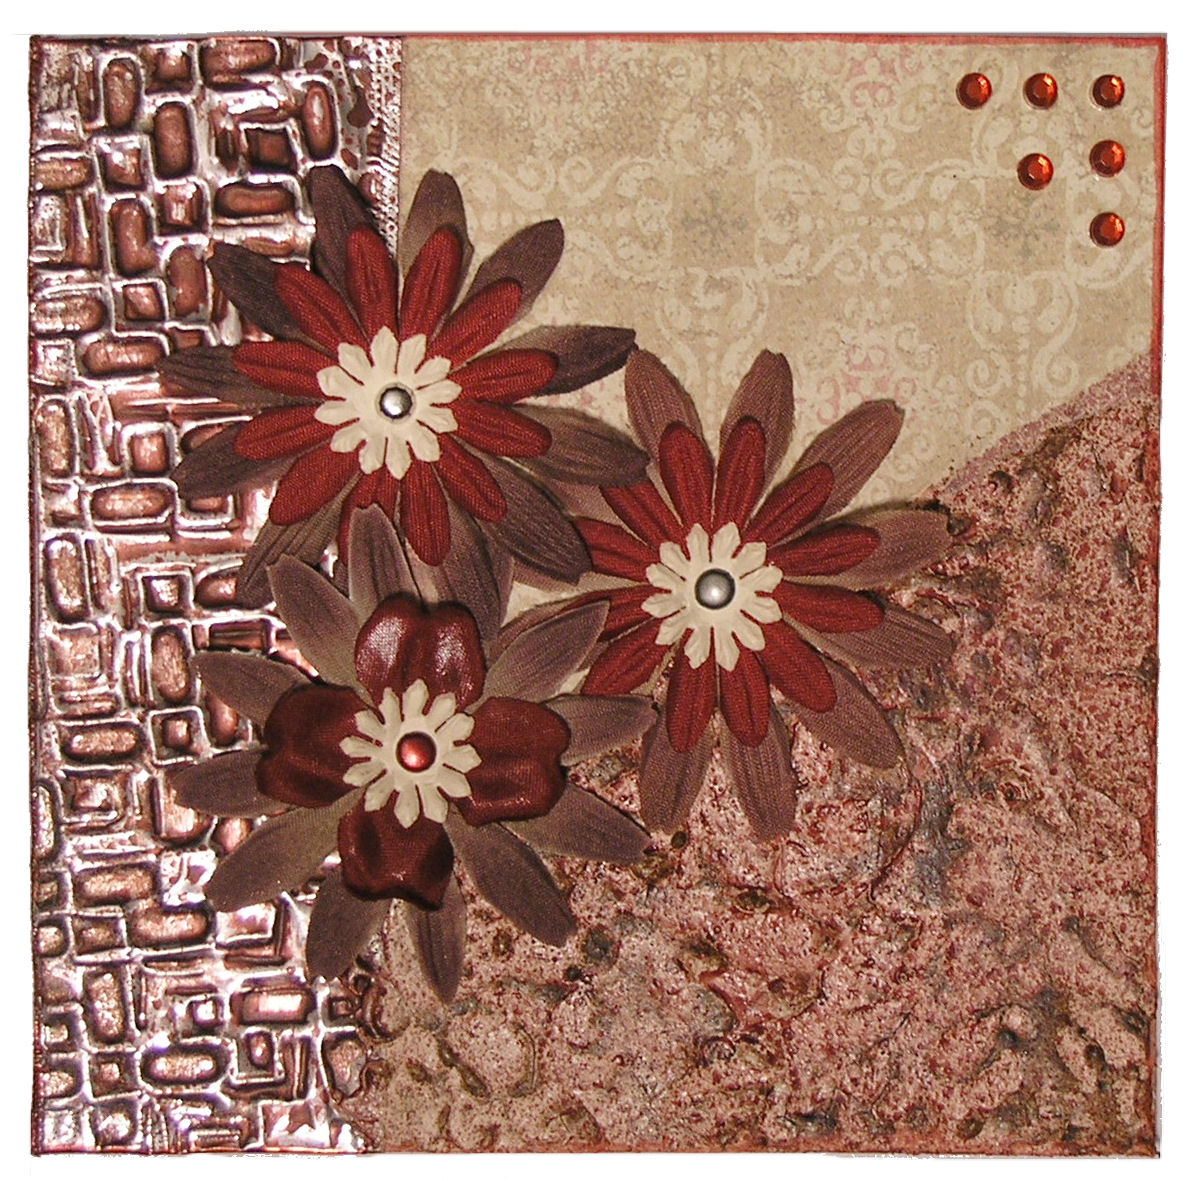
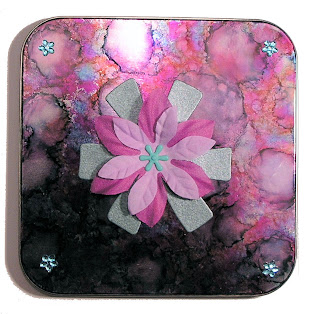
This plaque is 5 x 5 inches (more or less), the basis of which is the back of sketchbook I had finished. The strip of metal was left over from another project and I embossed it using a Ten Seconds Studio board. Having stuck down some patterned card in the top right corner, I added Terra to the lower corner but this time, instead of smoothing it and stamping into it, I just left a rough texture and dried it with my heat gun to make it bubble in places. I dabbed it with raw umber acrylic paint and let this dry. Masking the card with some scrap paper, I then spritzed the Terra and metal with wild currant Glimmer Mist. The flowers and gemstones were the finishing touches.
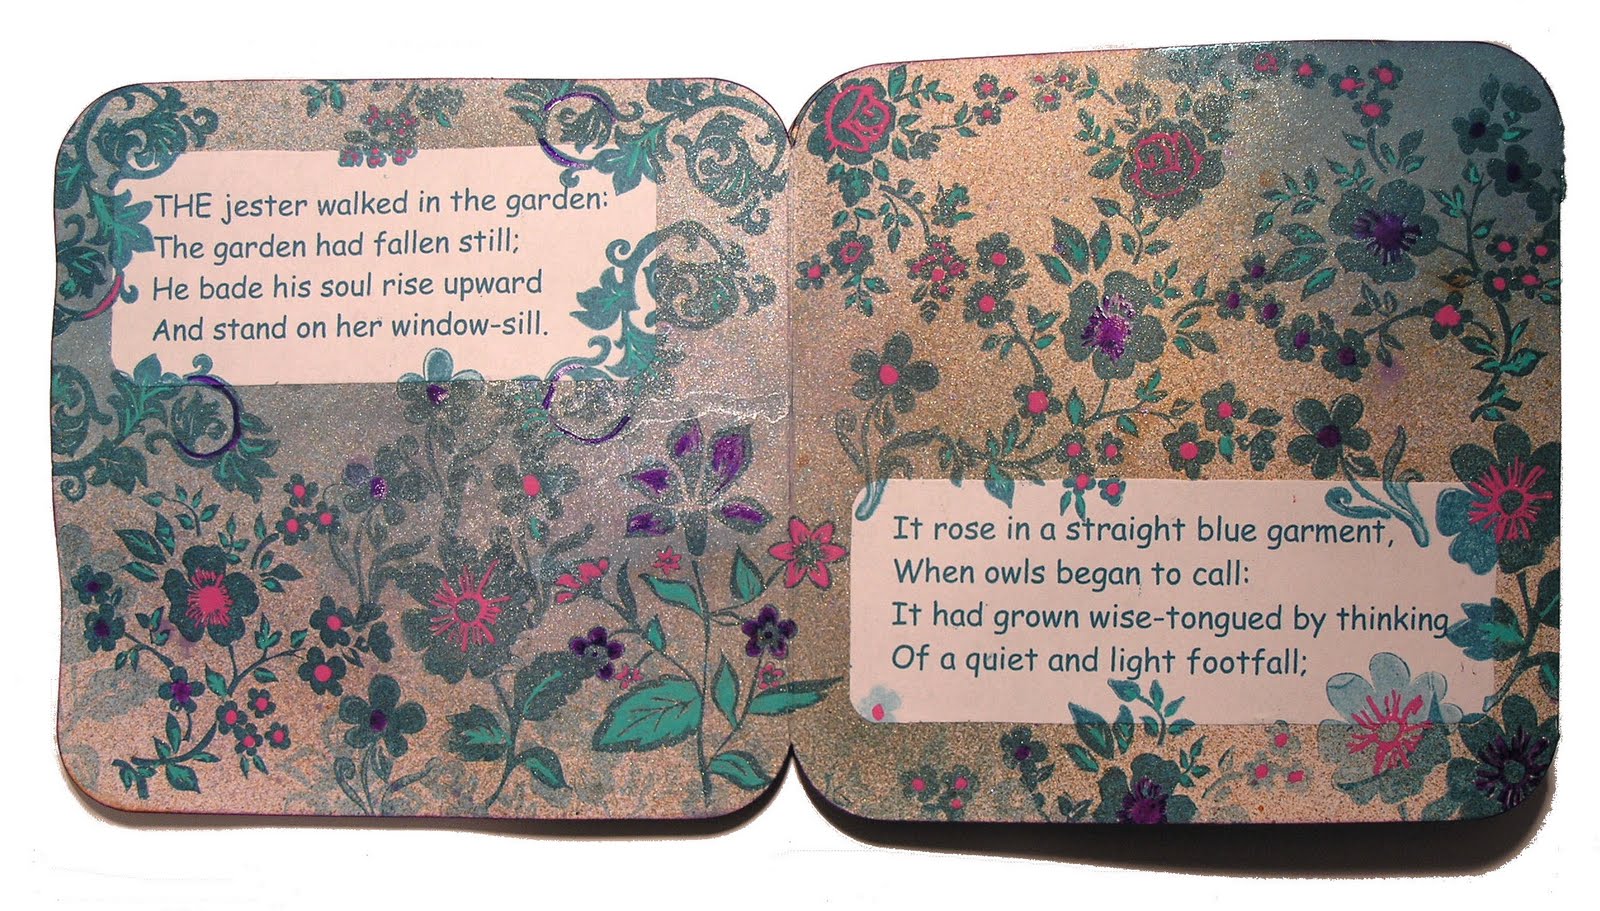
To start, I sprayed the card with a variety of Glimmer Mists.
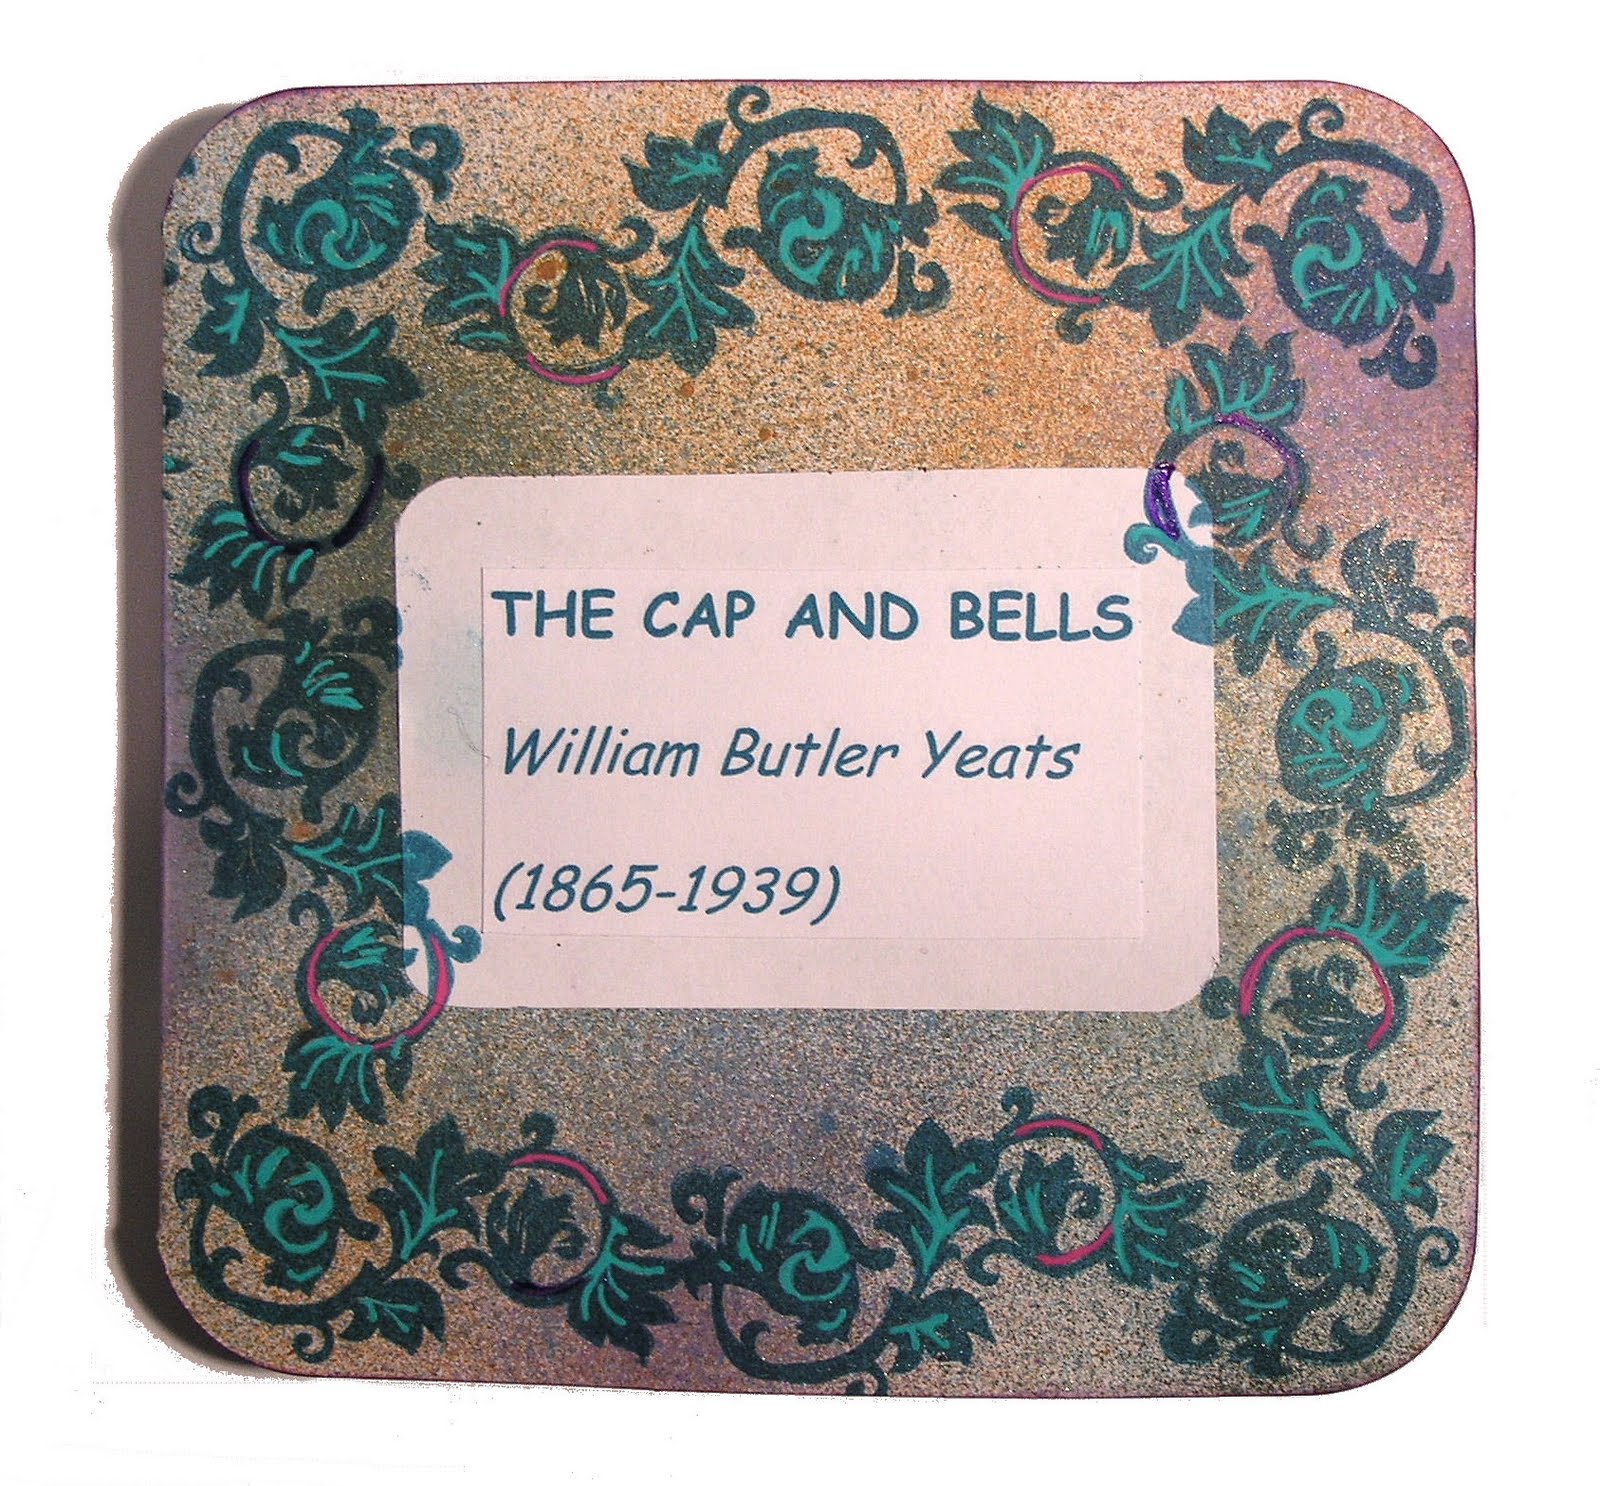
I printed out the poem and cut up the verses. I attached the title to the front page.

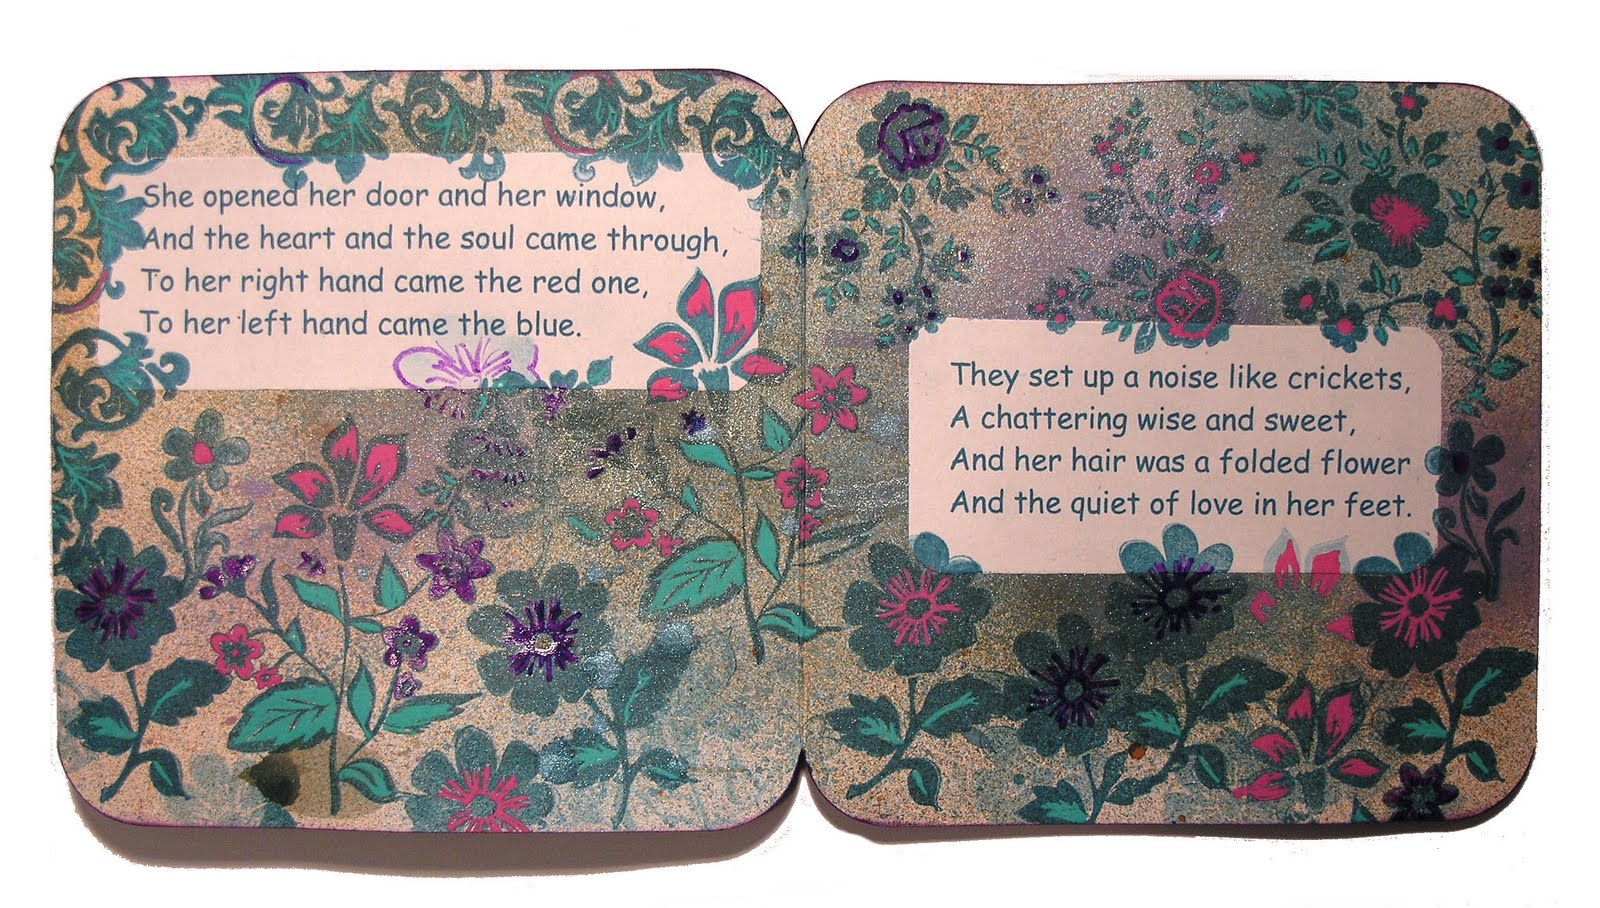
Once the Glimmer Mist had dried, I attached the verses of the poem to the card, one on each page.

I then stamped various floral stamps by Papermania around the verses.
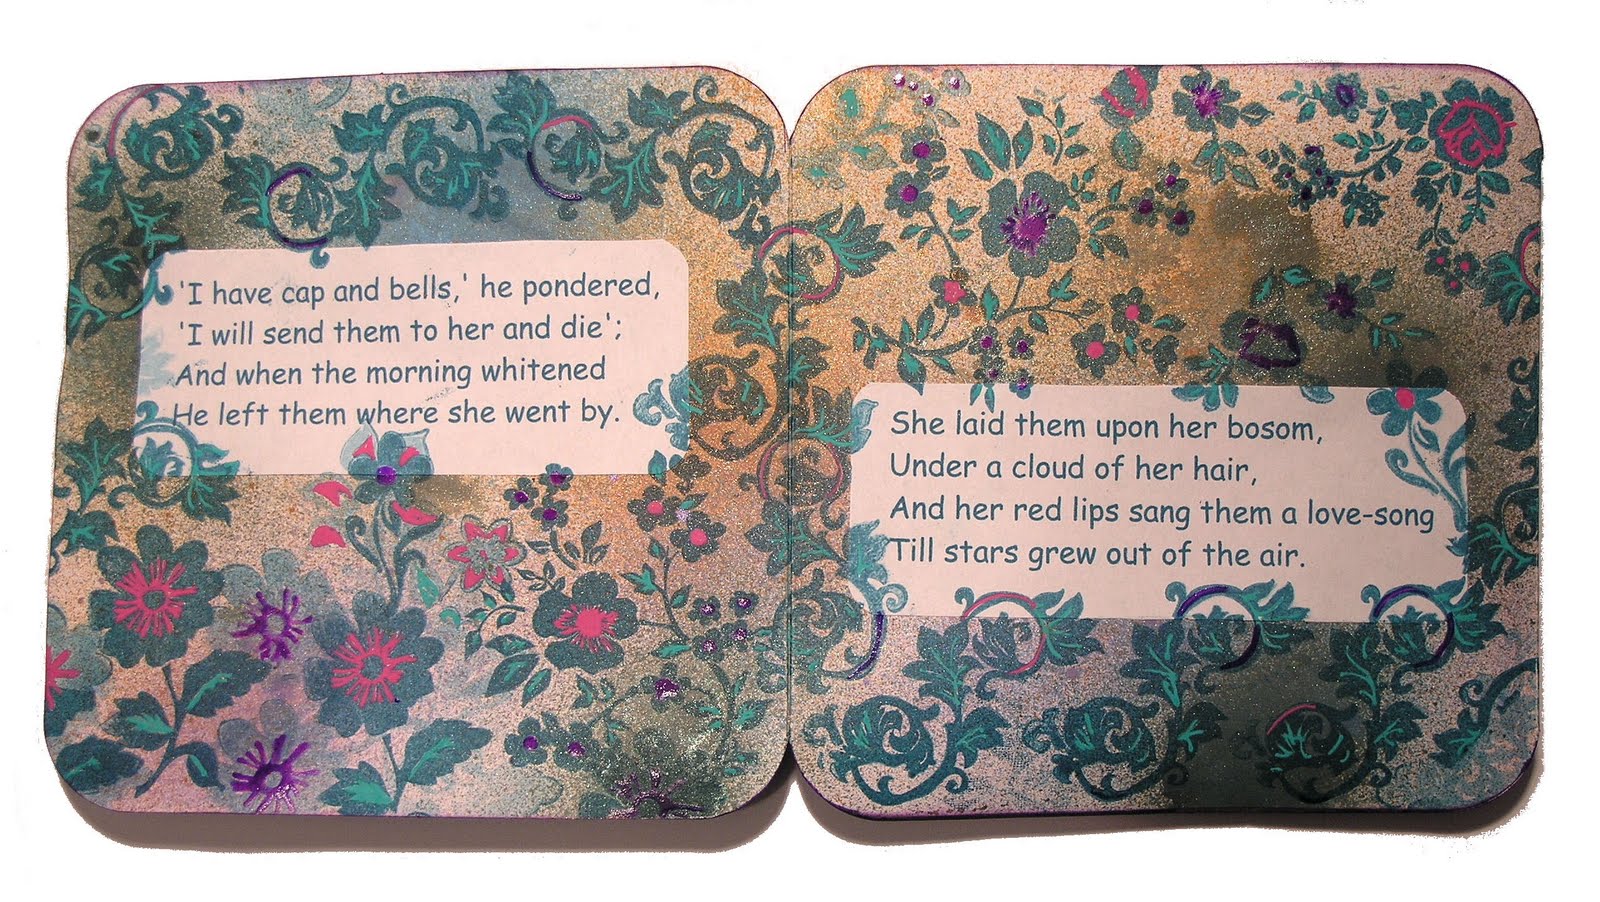
I then highlighted the leaves, scrolls and flowers with Miracle Moonlight Gelly Roll pens.
This is what the book looks like standing up.
 The book came in a tin, and so I decorated the lid with complementary coloured alcohol inks, adding the flower and gemstones as embellishments.
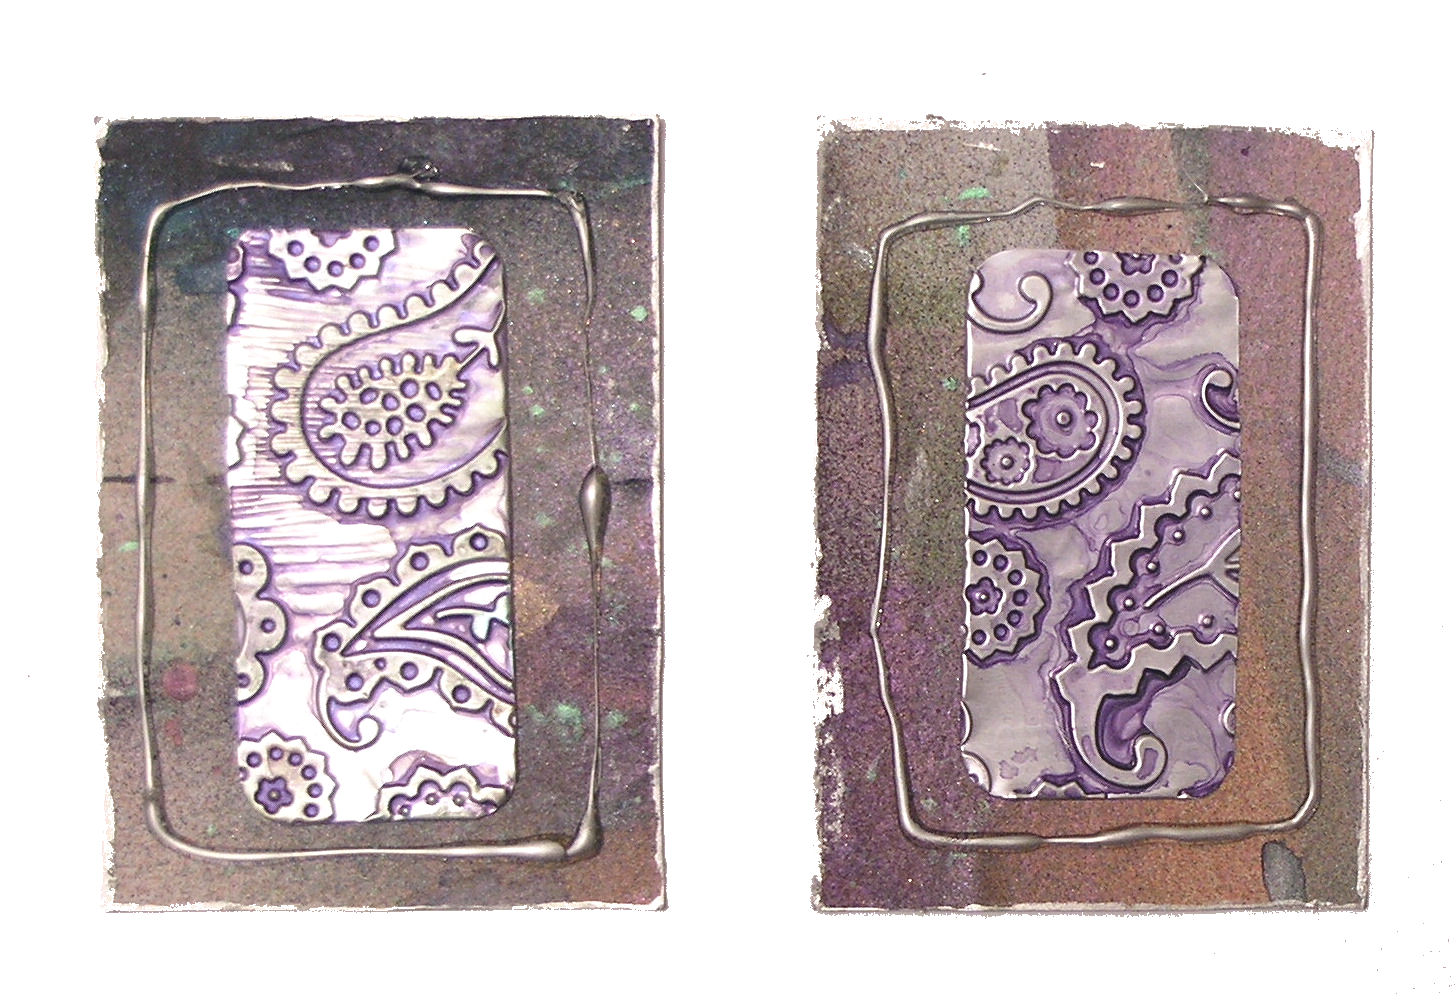
These are two ATCs that I made this afternoon. The backgrounds are made from scrap paper that sits in the bottom of the box I use for spraying projects. I nearly threw it away until I realised I could use it in its own right. The metal plaques in the centre are cut from an aluminium tray that once held Chicken Kiev! I put them through my Cuttlebug and then sprayed Glimmer Mist on them. I made the silver frames with my new toy, a hot glue gun. Once the glue had set I rubbed it with a silver lustre to make it pop. I edged the ATCs with silver Krylon to complement the frames.

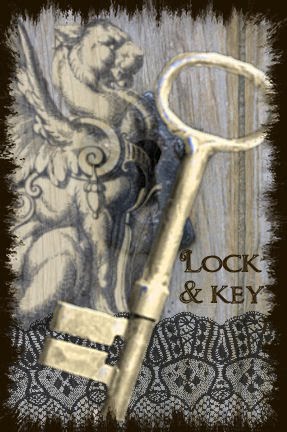
To start I printed the image of the lady onto acetate. To soften the edges of the acetate I gently burnt them over a flame from my hob (be careful doing this, as it produces fumes. I held it with tweezers). I then attached it to a softly patterned card with Glossy Accents.
I cut the shape of the house from foam board and applied Terra paint to the bottom right-hand corner. I stamped a Paper Artsy script stamp into it and heated it, which creates some bubbles. I painted this with burnt sienna and then raw umber paint. I then added the green paper, which I distressed with some brown paint, and the script paper, also distressed, and used a Tim Holtz stamp along the top left side of the roof. Pearl Pen copper dots added some texture. I attached both lots of twine with matte medium and then added the image of the lady, the charms and flower.
Double click on the picture to see some more detail.

This is a digital piece I made with it.
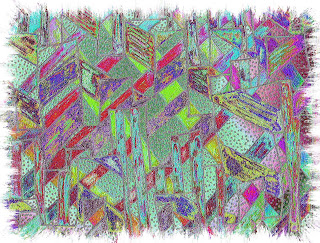
This evening I looked at it again and did some more more fiddling, creating two very different pieces.
The figures in the first piece come from iTkUpiLLi.

You might recognise the image in the second piece, it is a drawing by Leonardo da Vinci.

I started by accordion folding a 10 inch long piece of my masterboard into four. Once folded I drew on the shape of an arch using the chipboard arch (which is 2.5 inches wide) as a template. I then cut out the arch, ensuring to only cut down part way at the edges so that the arches would all be joined. I then cut two more arches in the same way. I put these aside for a while.
Next I decorated the front and back of the book, the two chipboard arches. After painting them with turquoise acrylic paint and letting them dry, I sprayed them with purple pansy and iridescent gold Glimmer Mists. After this had dried, I decorated them with Paper Artsy stamps and added faux stitching to the front arch.

I stuck the two arches to the back of the two middle arches of the folded set of four, making sure the book still folded properly. On the two blank arches I stuck the two decorated chipboard arches to form the front and back covers.
Once complete, I added some embellishments to the inside pages, which you can see below.
 Here is a view of the back pages.
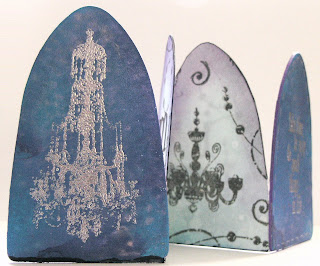
Did I mention ..... I am now a Team Designer for Rubber Road Adventures? One of it's members stumbled across my blog, mentioned me to the editor, Lizabeth, and before I know it I am on the team. How exciting is that!
Obviously, it will be a little while before anything of mine is published, but the first project will involve metal - if you want to discover more, JOIN. The link is on the right.

The challenge set this week by Dans Ma Maison is to put a letter in one's house. I used the letter 'H' and the word 'house', which seemed the most appropriate!
Those of you with eagle eyes will notice that I have used part of my chandelier masterboard. To the right of that I applied sahara Viva Terra paint, stamped into it with a Paper Artsy stamp and helped it to dry using my heat gun, this produced the bubbles you can see along the right-hand edge. I dabbed on turquoise acrylic paint and, once this had dried, sprayed it with purple pansy Glimmer Mist. On the other side I painted a touch of violet acrylic paint. I stuck on the letter 'H' sticker and stamped the rest of the word underneath, using silver embossing powder to make it stand out. I damped it down a bit by going around the letters with black ink. The flower added the finishing touch.
P.S. If anyone knows who produces the chandelier stamps I used on my masterboard I would be very grateful if you would let me know. I was so eager to use them when I first got them home that I threw out the packaging and there is no identifying mark on the plastic the stamps sit on!
Mystery solved! A kind friend has just told me that the stamps are made by Inkadinkado - thanks, Nettie.


This is just a little bit of stamping I did this evening.
I used Distress inks to colour the background and then randomly stamped on the chandeliers and swirls. To add a bit of glitz, I finished off by spraying iridescent gold Glimmer Mist over it.
Now, what shall I make with it ........


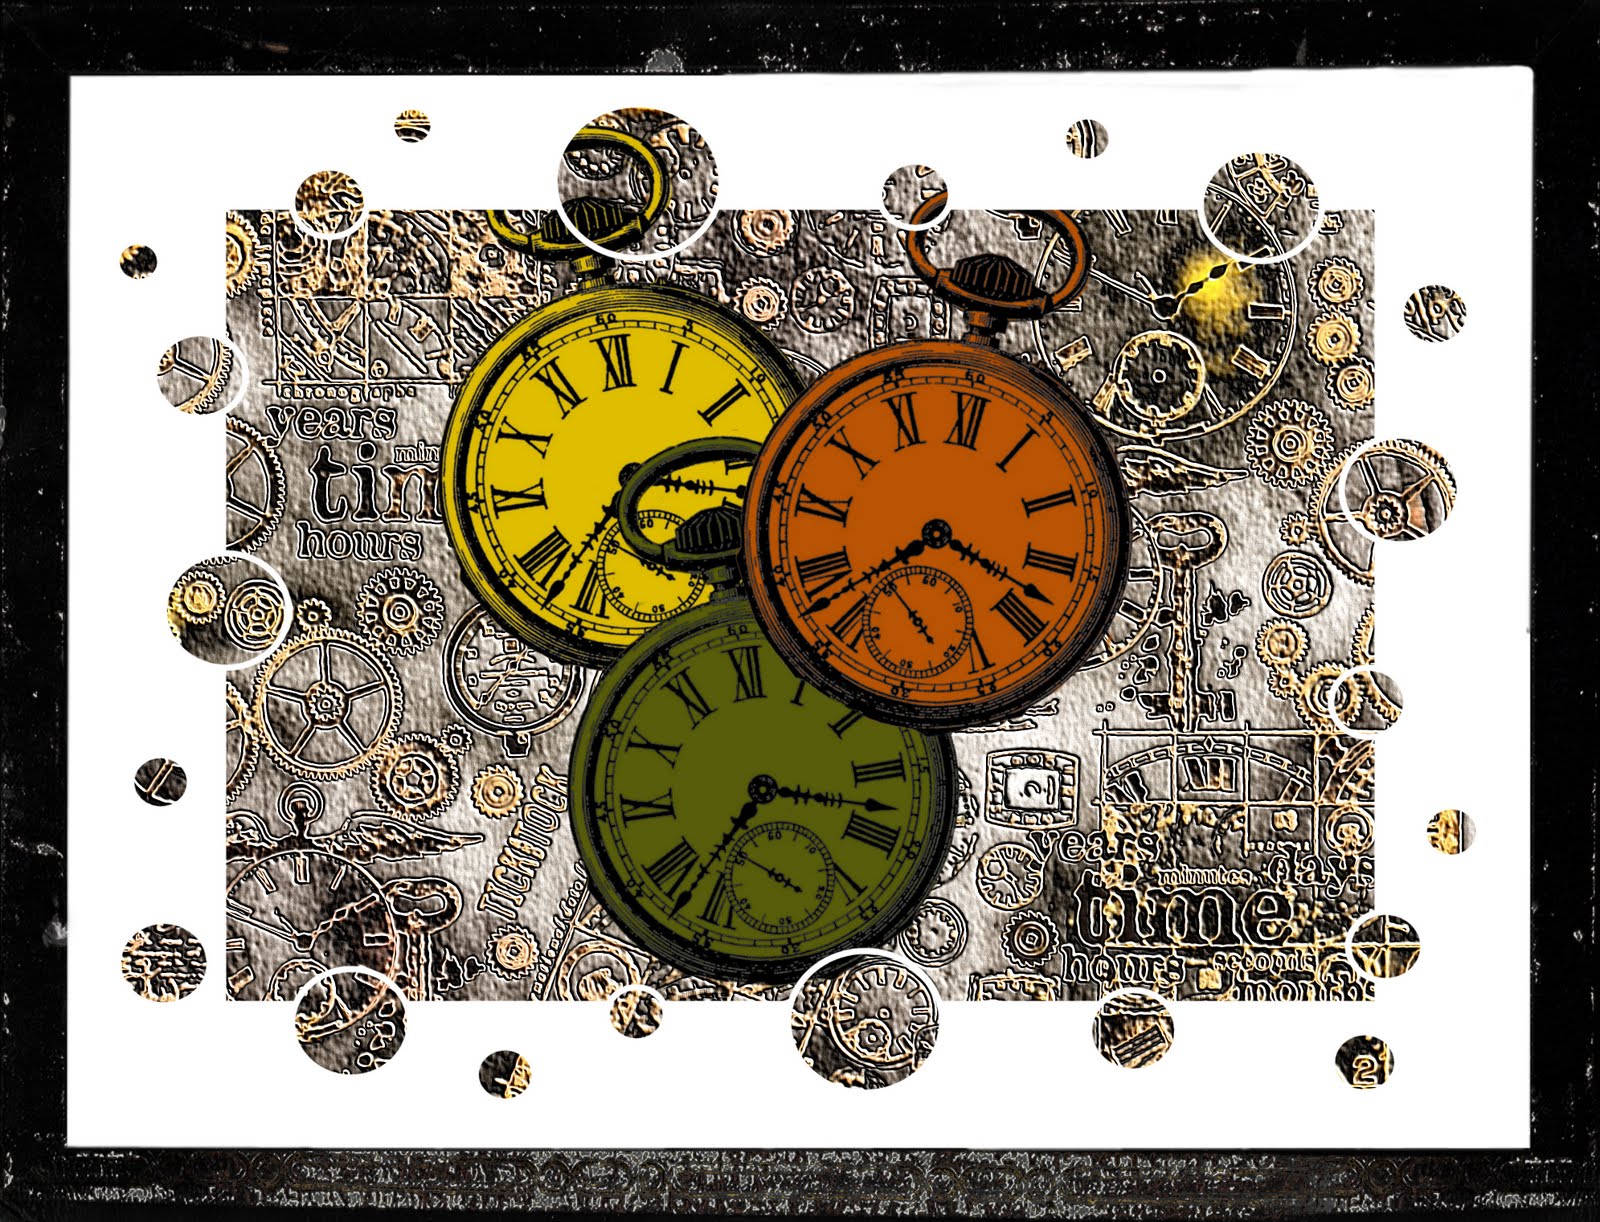
I made the cover from some old copper, textured wall paper and then added the quote, which I had stamped around, and the peel-offs.

I cut the masterboard into four pieces and stuck these pieces onto plain postcards, to reinforce them. Having made some copper metal embellishments, I stuck these strategically onto the masterboard pieces.

Onto the back of the pages, I stuck some quotes about time that I had stamped and then edged with stamps of cogs.

All the stamps used in this project are by Paper Artsy.


If you wish to see more detail, just double click on the image and it should enlarge.


... and were you wondering what I had been doing with the rest of the beeswax? Well, I was finishing a third Petit Doll. I wanted to do one with legs and arms, as I hadn't been courageous enough for the last two! I have to say, I am quite pleased with the way they have turned out, although I'm not quite so sure about the background. What do you think?

I was playing with beeswax this morning and had some left over, so I decided to make a collaged background with the remains.
I started with a piece of white card and tore up various pieces of tissue paper and a piece of text from an old dictionary. One by one I dipped them into the beeswax and placed them onto the white card, smoothing them out as I went along. The beeswax dries quite quickly so you have to work quite fast.
Once this background had set I scanned it, so I have a digital copy of it for future use. So watch this space, you might see it appear again! That done, I stamped the flowers in the upper right corner and added some embellishments. The jigsaw pieces are from an old puzzle; I painted them with magenta acrylic paint, stamped a flower pattern in black ink, and edged them with silver paint, lastly adding some dots with a Pearl Pen.

Here are the elements I used to create my piece:


Whilst at the ArtsyCrafts weekend I bought an undecorated wall hanging, consisting of three plain wooden frames attached together with rings. So today I decided it was time to decorate it. I notice that Leandra Franich has decorated the same hanging in her article in Craft Stamper this month, we both used Croco paint on the frames, but there the similarity ends.
Having removed all the rings etc, I painted a thick layer of silver Croco paint on the front of the frames and left them overnight to crackle. To give the frames a bit more dimension I applied some black acrylic paint over the crackled area and then rubbed it off again. I painted the remaining exposed areas of wood with silver Krylon pen. Next, I applied gesso to three chipboard squares that, fortunately for me, just happened to fit the frames. Once these had dried I dabbed on blue lagoon Viva Precious metal paint and, again once dry, over stamped them with a flower design in black Stazon ink.
Next came the embellishments. These are all pre-cut designs of Grungeboard. Excepting the butterfly, which I painted pink, I coloured them all with pearl blue Precious Metal paint and afterwards painted the edges with silver paint added silver highlights and wild current Glimmer Mist. I heated them to make the Grungeboard curl and give the flowers some dimension. As a final detail, I added pink metallic brads to the centre of the flowers. I attached all the embellishments to the chipboard backgrounds with Glossy Accents and reattached the frames to each other with the rings. Done!

I am making the most of my last day of holiday and avoiding the rain by staying in and crafting. I started this metallic sampler last night and have just finished it.
I started off with a Tic Tac Toe set, an American version of noughts and crosses. The wooden frame measures 7 x 7 inches. I painted it, front and back, with Paynes Grey acrylic paint and left it to dry. To decorate the wooden squares, which measure just over 1.5 x 1.5 inches, I cut nine squares of metal, large enough to allow for the edges of the wooden squares to be covered. Some I embossed using TSS moulds, others using Cuttlebug embossing folders. I applied PolyFilla to the backs of the moulded areas to prevent them becoming depressed.
To apply the embossed metal to the wooden squares I stuck narrow, double-sided Red Line tape around the edges of the wooden squares. After centering the metal over the wooden square, I folded the edges of the metal over the edges sticking them to the tape. I then used a patterned TSS roller to edge the front and sides of the squares. At this point all the squares were a bit shiny and so I antiqued them using Paynes Grey acrylic paint, that is applying paint over the metal and after letting it dry for a short before rubbing it off again to leave a dark residue.
The last stage was to stick all the embossed squares into the indentations in the frame ensuring, of course, that they were all lined up and straight.

Here is my third small plaque. This time I decided to use pink, a colour I wouldn't normally choose.
Again, I started by moulding a strip of metal using a TSS (Ten Seconds Studio) mould and tools. The metal is aluminium and comes in a roll, silver one side and copper the other. I used the silver side for this project. I stuck the moulded metal to one side of my chipboard square and decorated the outside edges with a patterned roller tool (called a 'scoochy tool' by Leandra from Paper Artsy!). Then came the steel Viva Ferro Paint, which I applied onto the rest of the chipboard, overlapping the metal slightly to eliminate any raw edges, and then stamped into it using a damp Tim Holtz stamp (the water helps release the stamp from the paint). Once this was dry I swiped some black acrylic paint paint over both the Ferro and the metal, but once it had dried a little I rubbed most of it off the metal leaving just enough behind to give an antique look. I used Viva Precious Metal blackberry and Stewart Gill Byzantine laurelius paint to add the pink and green metallic colours.
The butterfly is made of Grungeboard and is a pre-cut shape. I painted it with black acrylic paint and added some dabs of the metallic paints. As a final decoration I added the faux gemstones.