
Tuesday, 30 April 2013
Monday, 29 April 2013
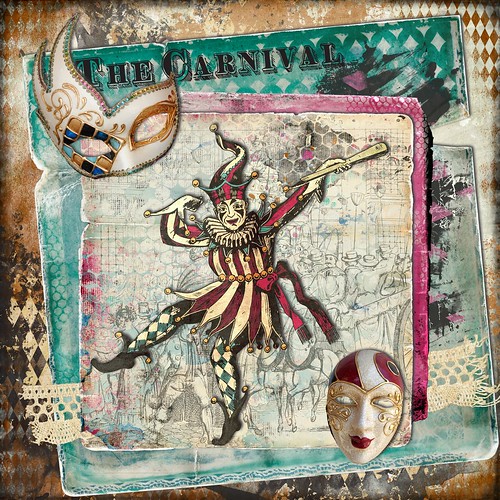
Jester
I'm not sure I ever explained how I come to have the name 'Jester Crafts'. Well, I wanted a name that was fun and as my initials are J.E.S. 'jester' seemed to fit the bill. The rest, as they say, is history! Anyway, I haven't posted a jester piece for quite a while, so I thought it was time to do so.
 Credits: all elements from 'Mascherari' by Viva Artistry @ SBG
Sunday, 28 April 2013

Saturday, 27 April 2013

Friday, 26 April 2013
Spread your wings and fly
Another digital piece.
 Credits: all elements from 'Yes You Can' by Captivated Visions @ SBG
Thursday, 25 April 2013

Wednesday, 24 April 2013

Tuesday, 23 April 2013
Broken Hearted
A reflective digital journal page.
 Credits: all elements from 'Darkest Days' by Dawn Inskip @ SBG
Monday, 22 April 2013

Sunday, 21 April 2013

Saturday, 20 April 2013

Friday, 19 April 2013
In my world ...
... pigs might fly! Another digital piece, with a sense of humour.
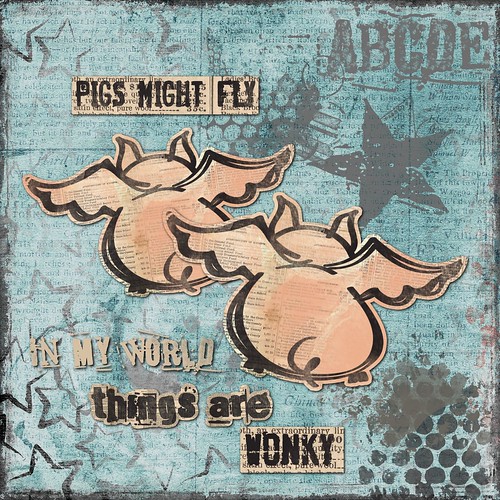 Credits: all elements from 'In my world' by Captivated Visions @ SBG
Thursday, 18 April 2013

Wednesday, 17 April 2013
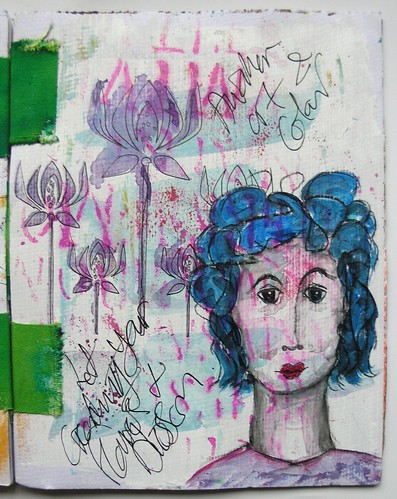
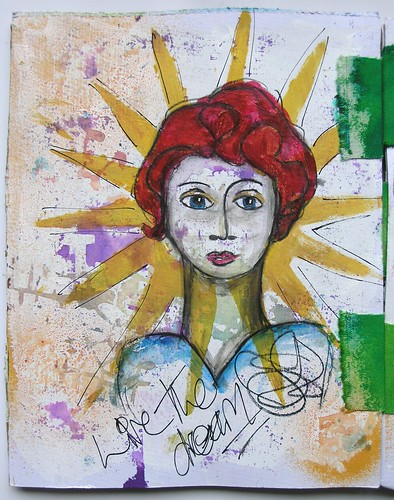
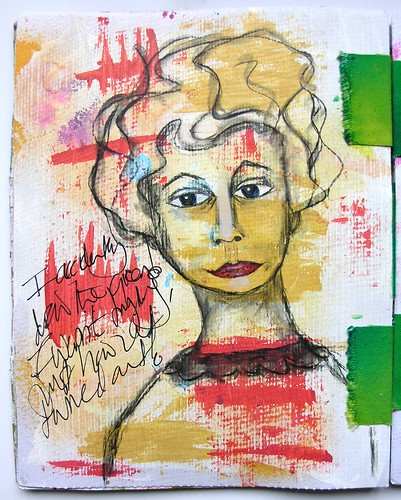
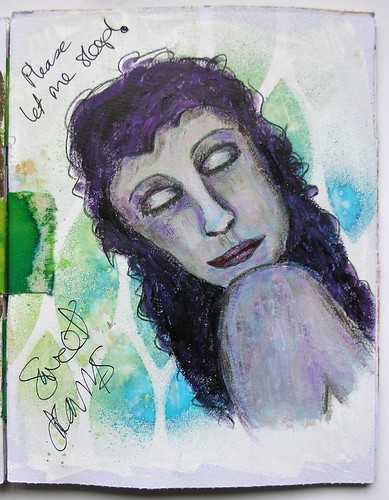
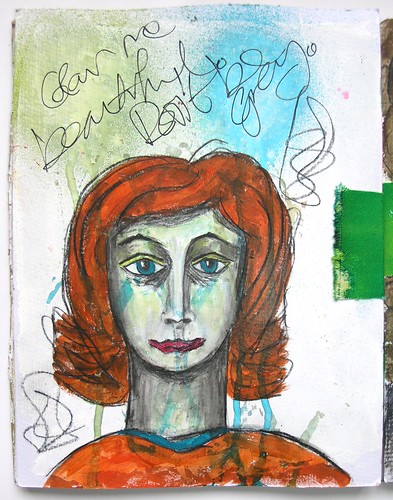
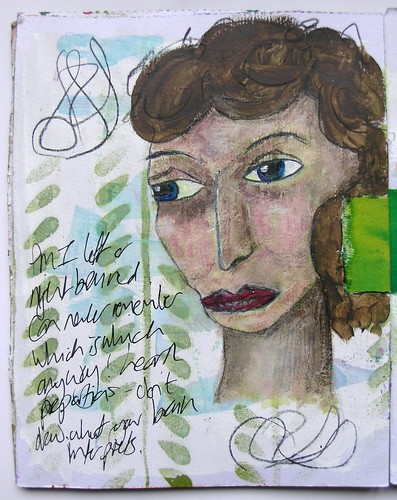
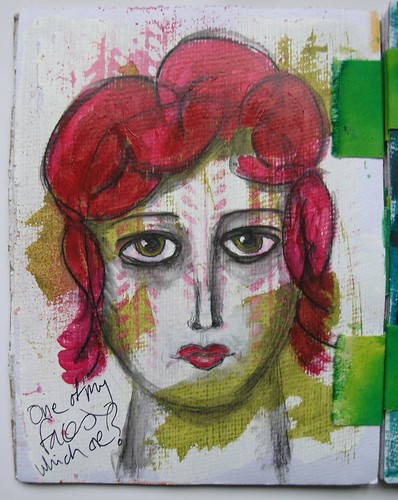
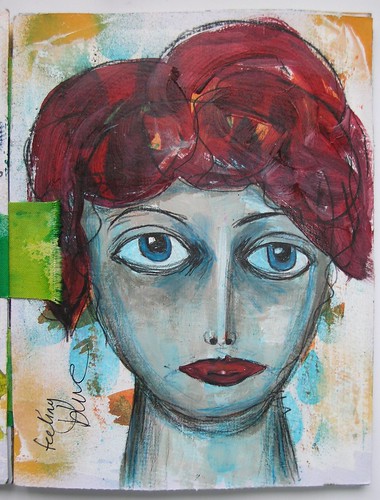
Faces 8
You may be relieved to hear, this is the last post with faces (for the moment, as least!).
These three pieces are the cover, and insides of the front and back covers of the book I created with Dina Wakley.
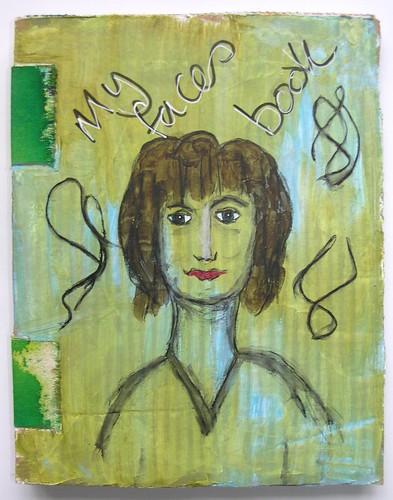


These three pieces are the cover, and insides of the front and back covers of the book I created with Dina Wakley.
Tuesday, 16 April 2013
Monday, 15 April 2013
Sunday, 14 April 2013
Saturday, 13 April 2013
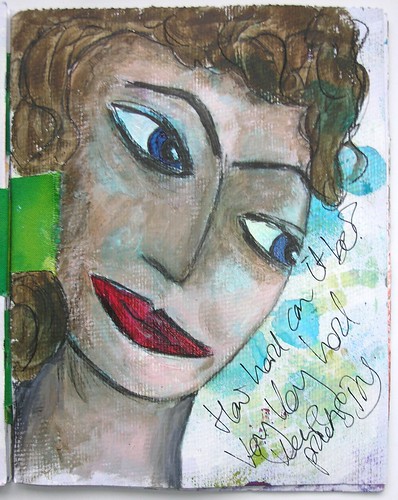
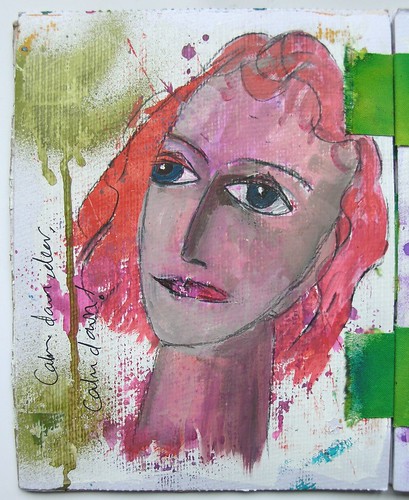
Faces 4
As Dina told us, the only way to get better at painting faces is to do it everyday so I have been practising!
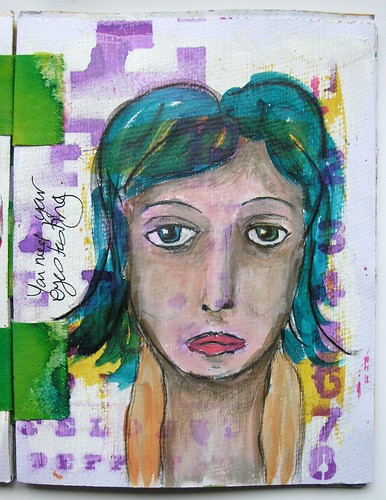
I nearly didn't show this one. More practise definitely needed!
I nearly didn't show this one. More practise definitely needed!
Friday, 12 April 2013
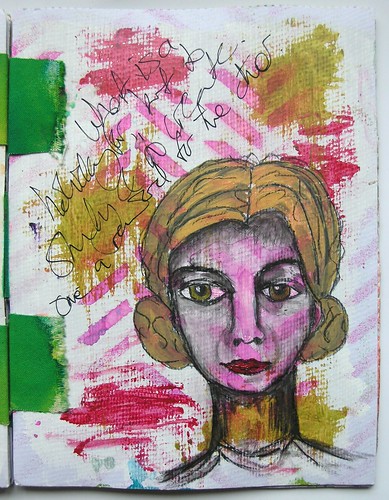
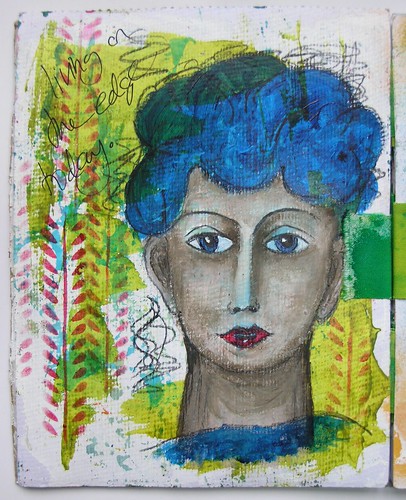
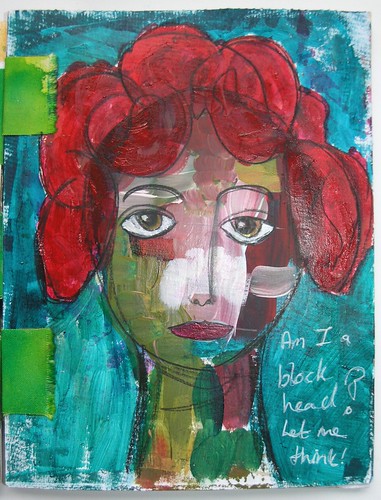
Faces 3
Next came faces from a side perspective. Straight on wasn't easy, but I found this much more difficult!
Thursday, 11 April 2013
Faces 2
The next technique Dina taught us was to paint blocks of colour on our page and then draw our face over it. This is how mine turned out.
Wednesday, 10 April 2013
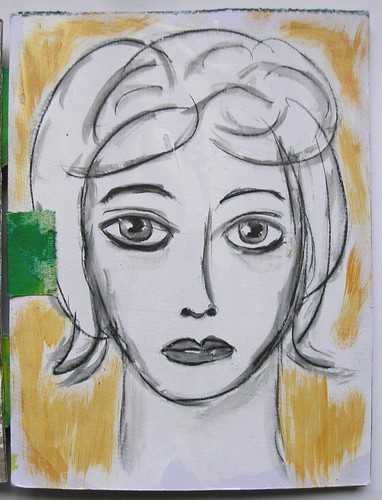
Faces
The third course I took with Dina Wakley was 'faces'. This was the most stretching of the days, although just as enjoyable.
Having had a bit of a practise, Dina got us to draw our first face in monochrome. We used a Stabilo All pencil, which is water soluble.
To our second face we added some colour.
To the third one we added more colour with acrylic paint and pastels.
Having had a bit of a practise, Dina got us to draw our first face in monochrome. We used a Stabilo All pencil, which is water soluble.
To our second face we added some colour.
To the third one we added more colour with acrylic paint and pastels.
Tuesday, 9 April 2013
Life's an adventure
A painty digital collage.
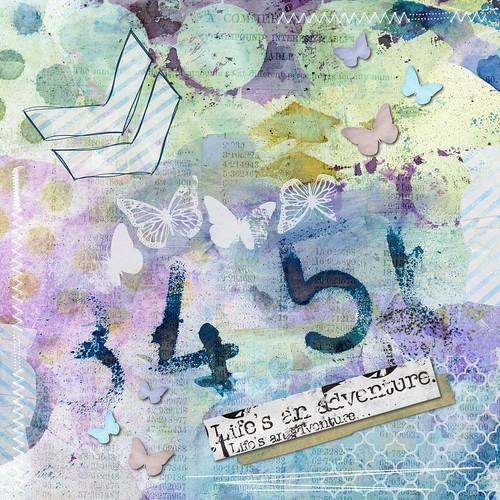 Credits: all elements from 'Celeste' by Captivated Visions @ SBG
Monday, 8 April 2013
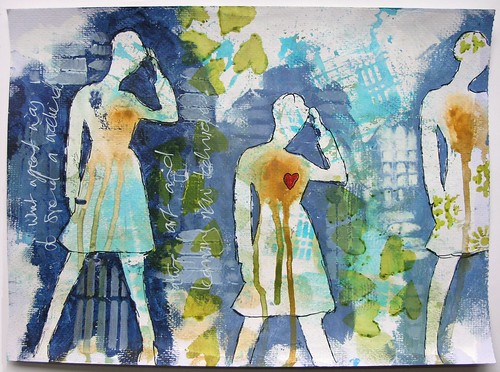
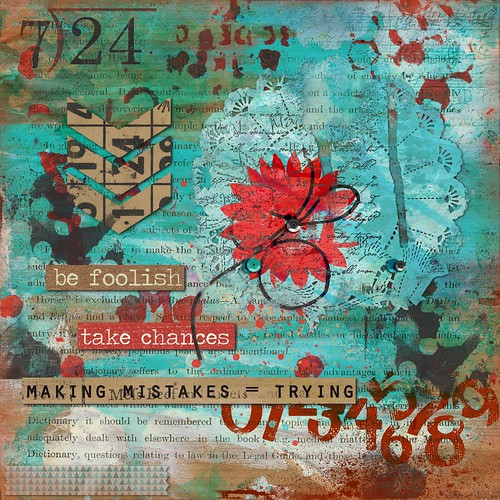
Silhouettes 4
For our last piece, Dina gave us a 12 x 9 inch canvas to paint. It has several layers, the first of which is some collage, which you can see through the silhouette. Then there were layers of spray inks followed by more layers of acrylic paint.

Sunday, 7 April 2013

Saturday, 6 April 2013

Friday, 5 April 2013
Silhouettes
This is the first silhouette piece I did on my course with Dina Wakley.
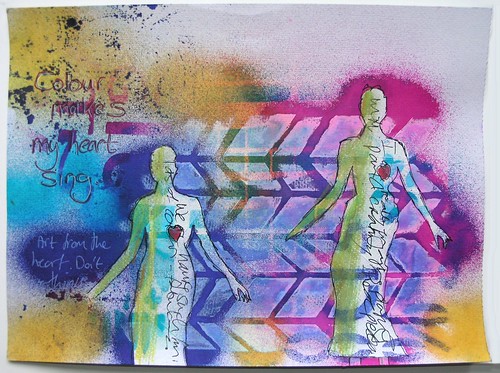 The chevrons were added first; modelling paste through a stencil. I then placed the silhouette masks over the paper and sprayed around them. I then outlined them and added the journalling.
Thursday, 4 April 2013
Wednesday, 3 April 2013
Surface experiments 3
Tuesday, 2 April 2013
Surface experiments 2

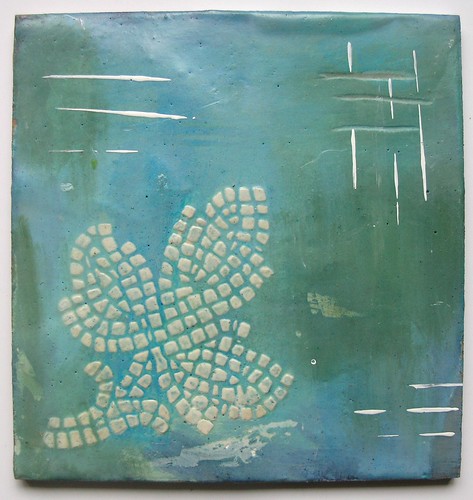
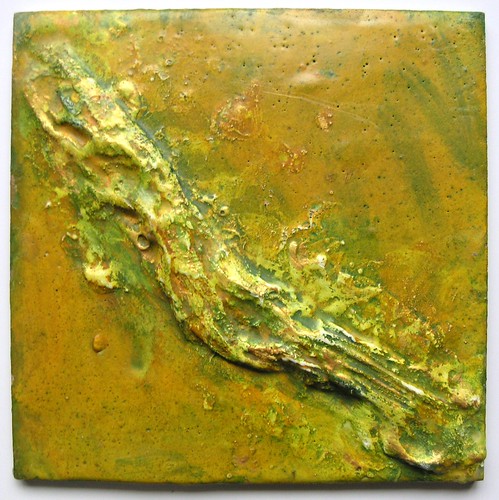
Unfortunately, the shine on the tiles does not show in these pictures but the beeswax can be buffed to create a shiny top layer.
Monday, 1 April 2013
Surface experiments
A couple of weeks ago I was fortunate to attend three classes with Dina Wakley: surface experiments; silhouettes and faces. Over the next couple of weeks I will post some of the things I made.
In the first class we created some 'tiles'. These were wooden squares, prepped with plaster and then covered with gesso. We then did various things to them.
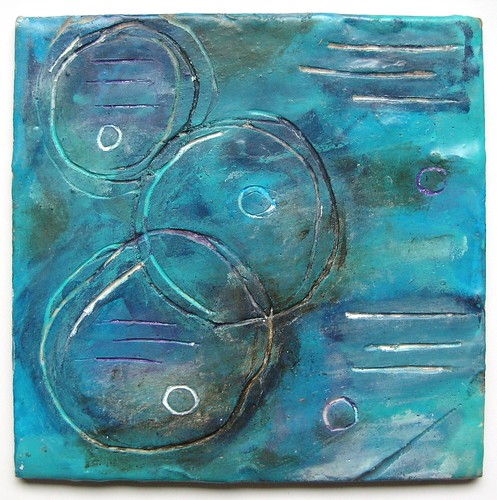 For this first one I applied acrylic paint and scraped patterns into it. I then covered it with melted beeswax, did some more scraping and added some more paint.
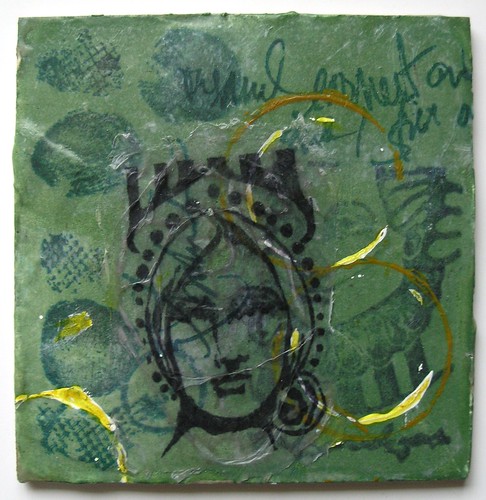 For this second I applied acrylic paint and then added layers of stamped tissue paper with matte medium. Then came the circles of acrylic paint and a layer of beeswax. I then added a focal image (the face), also on tissue paper, by layering it on with beeswax.
In the first class we created some 'tiles'. These were wooden squares, prepped with plaster and then covered with gesso. We then did various things to them.
Subscribe to:
Posts (Atom)