Sunday, 23 May 2010

Itinerary 21

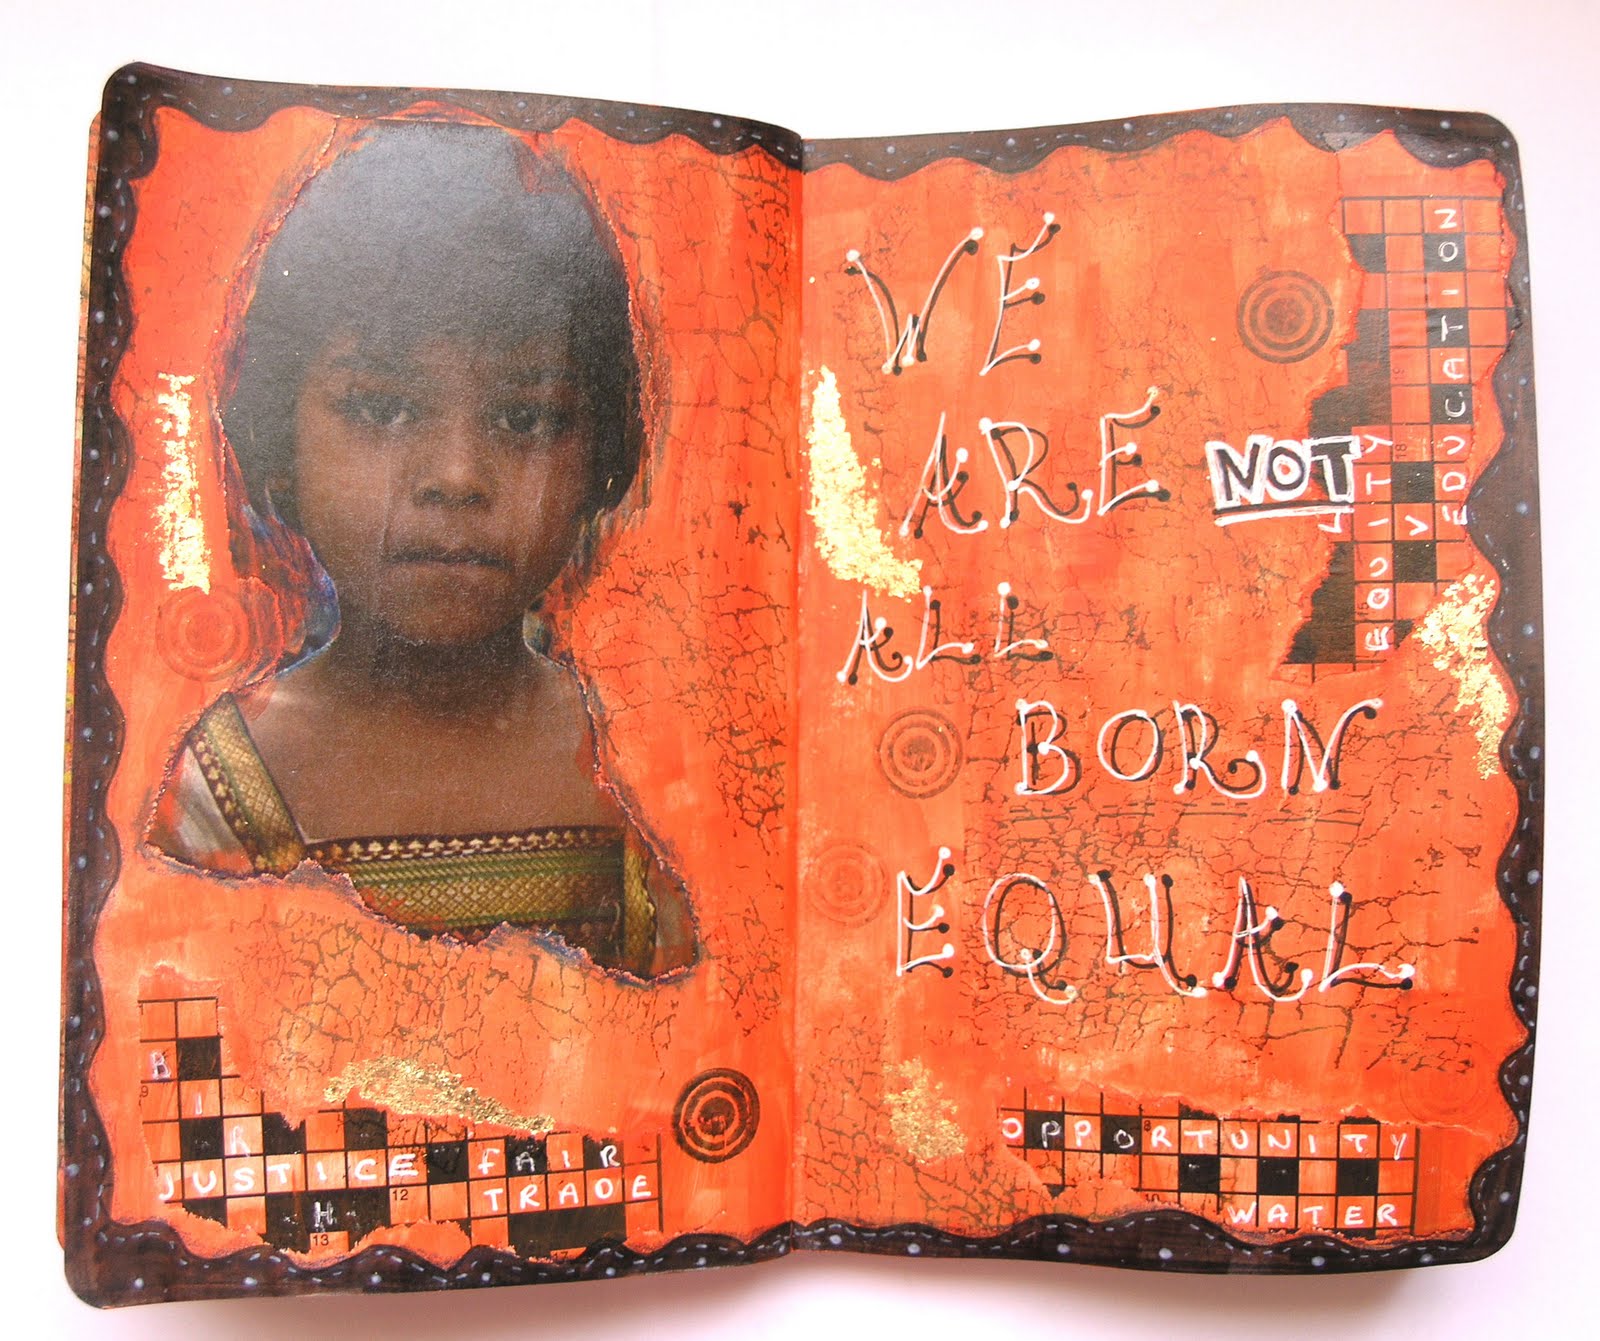
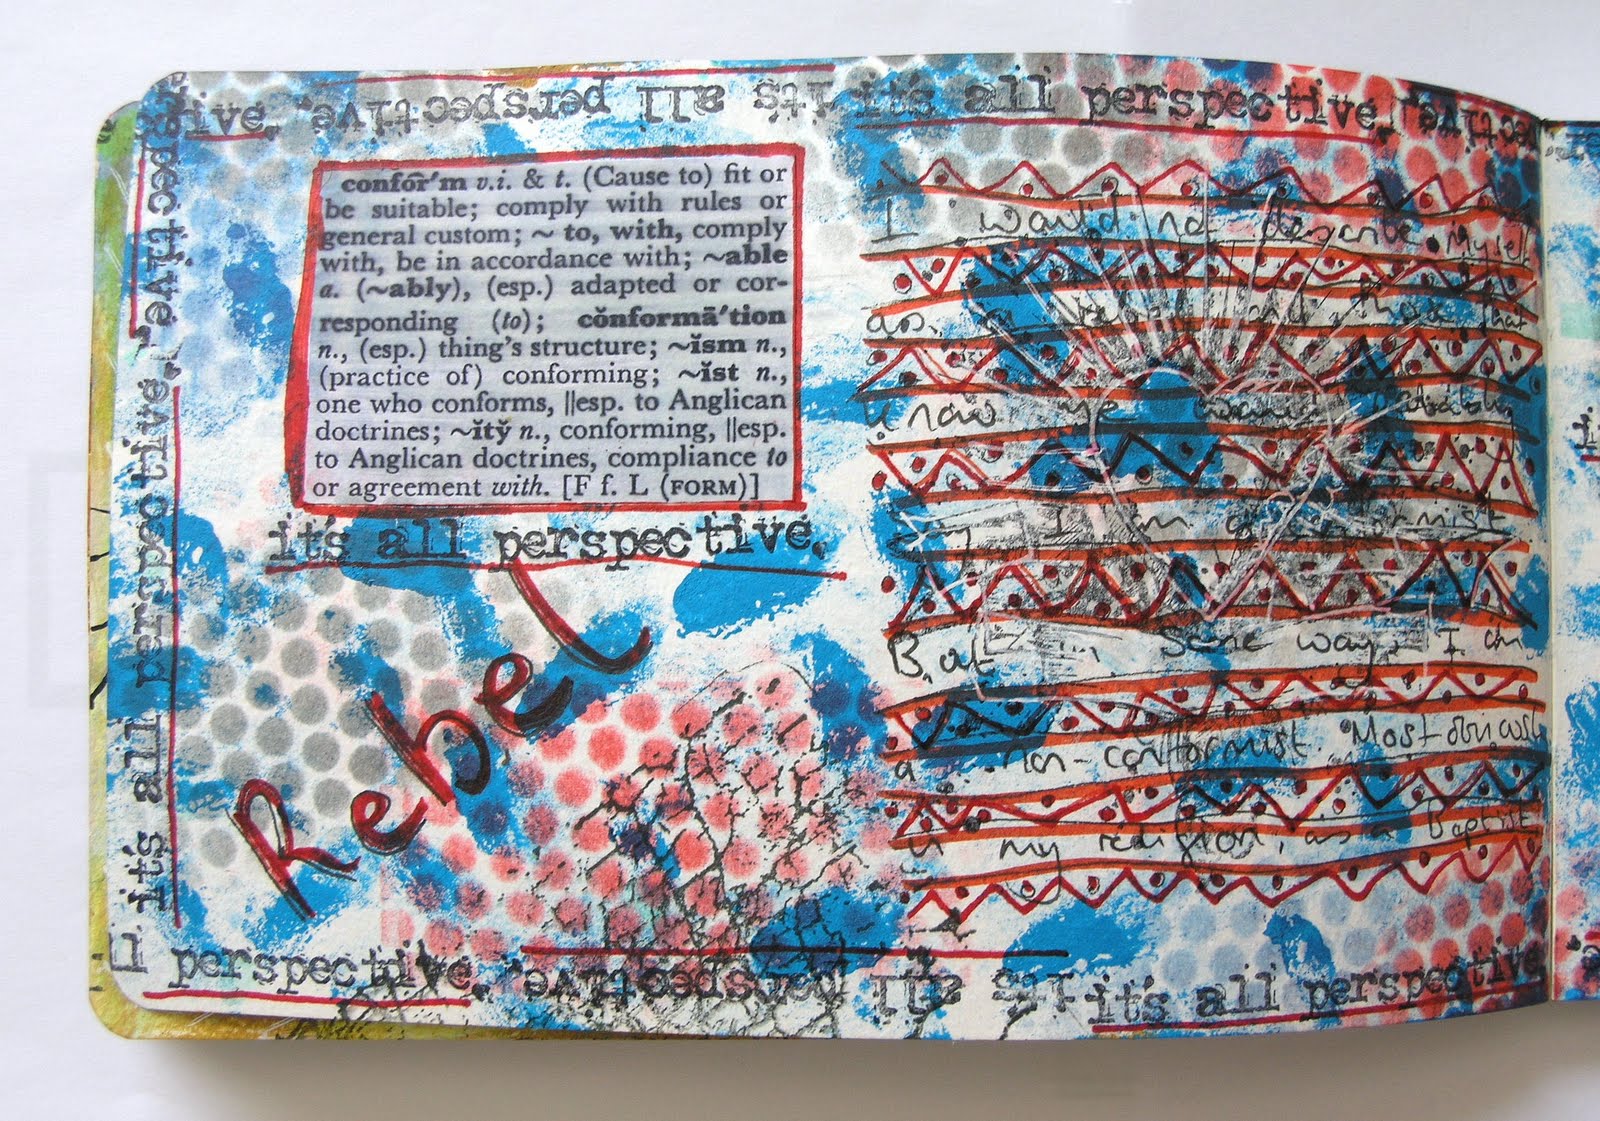
To rebel was the theme from Art Journal Caravan this week.

Here are my paper pages:


And here is my digital page (double-click on it to see the details):

Credits: T Baxter & A Sexton @ SBG

There's no business

The theme at Sunday Postcard Art this week is 'there's no business like show business'. I guess most people will think of the glitz and fame, and in a sense so did I, but I chose to reflect upon the detrimental effects of these rather than the glamour.


Saturday, 22 May 2010

Paper rosettes

I had a headache so I needed to do something relaxing, easy and creative. Paper rosettes! I tore circles of various sizes from scrap paper, went around the edges with a felt-tip pen, and then crumpled them. Two mini staples in the middle of a pile of differently sized circles and voila, an instant rosette and my headache is gone!

Friday, 21 May 2010

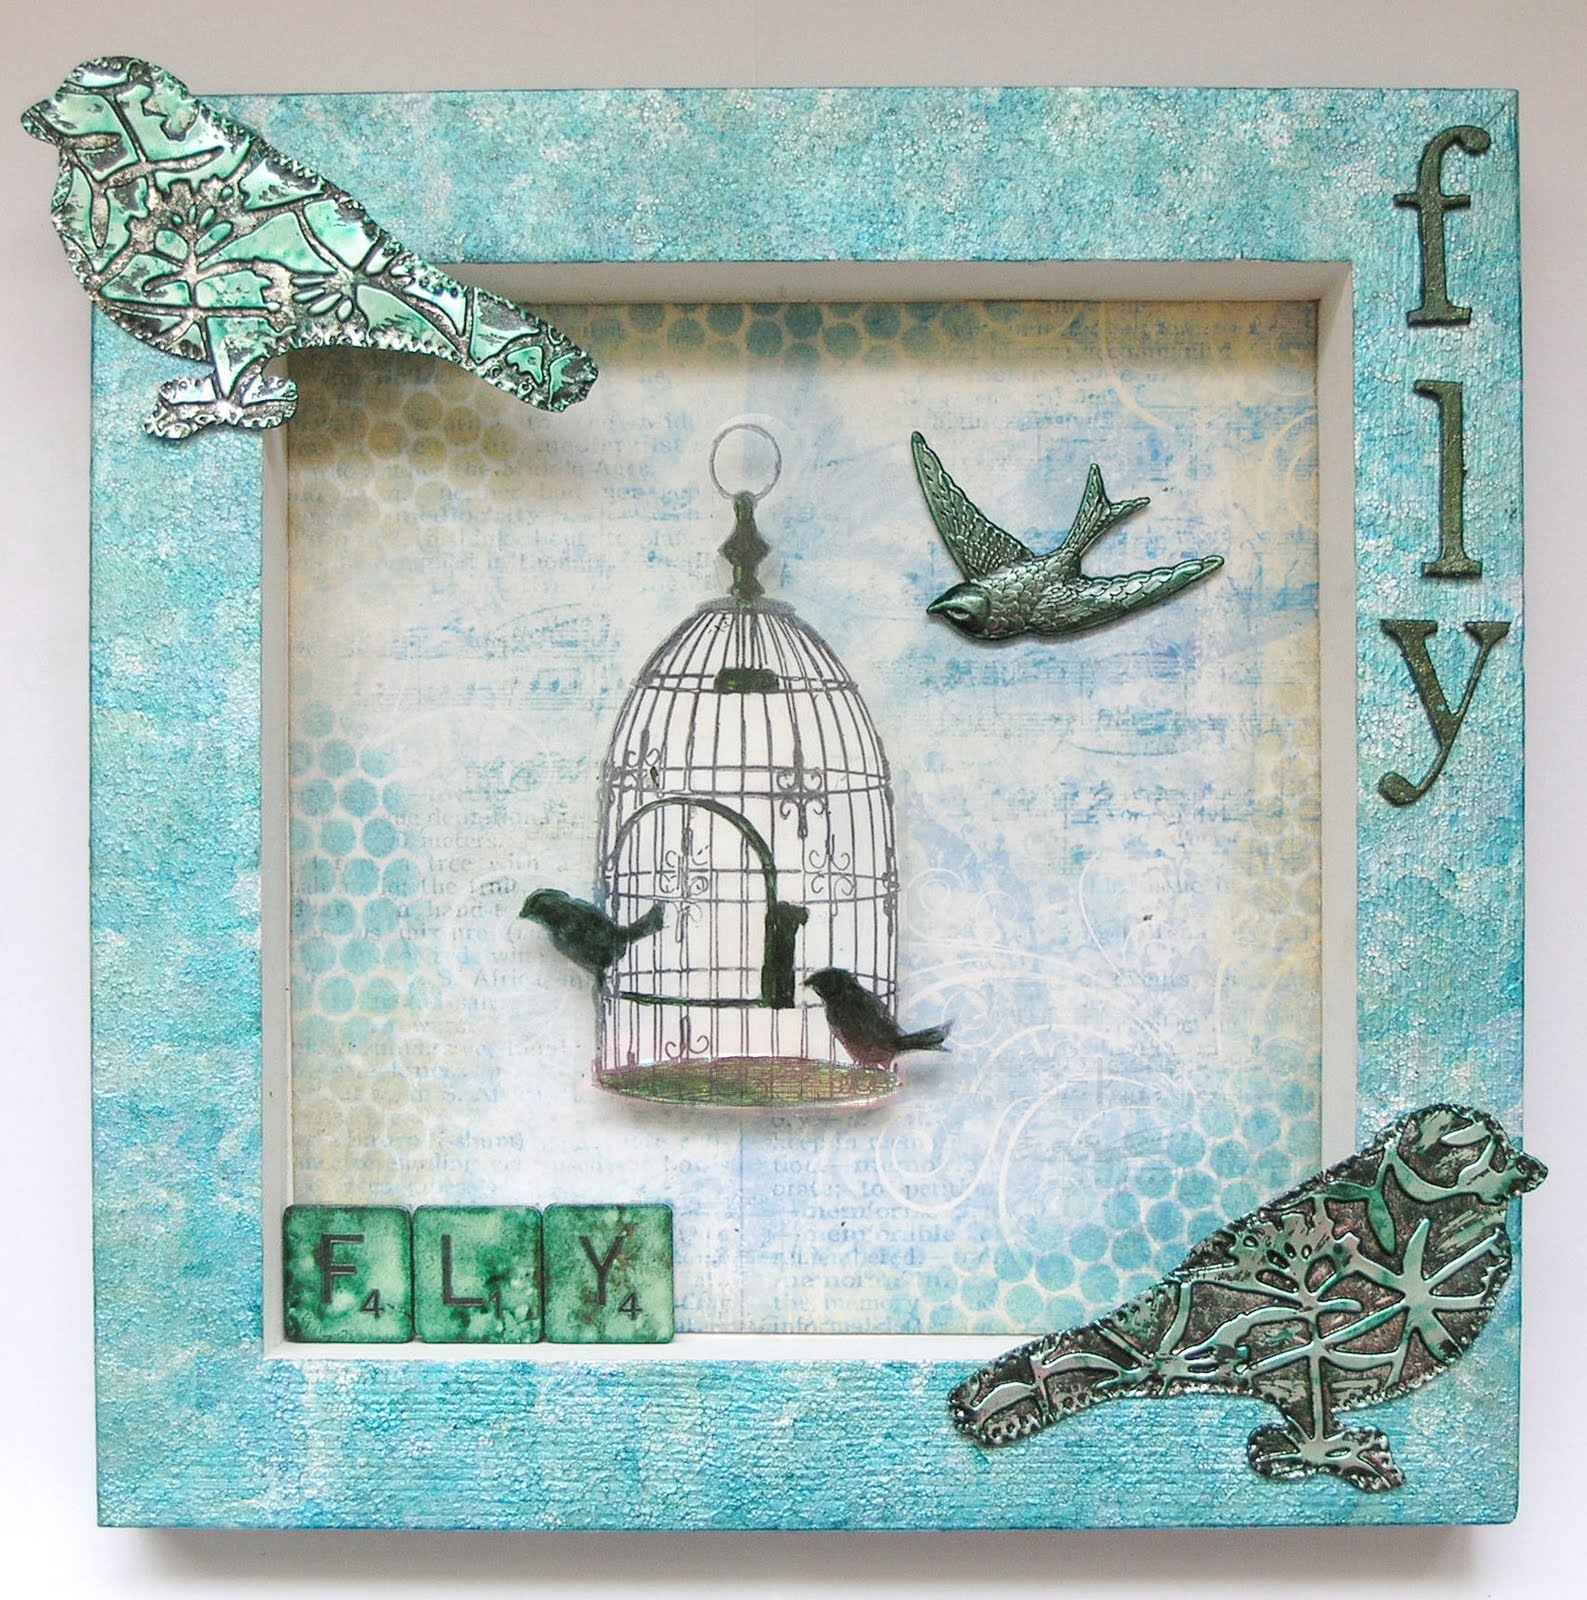
Fly


I started this piece by painting the 20 x 20 cm wooden frame with a pearl acrylic dabber and, once dry, dabbing it with alcohol inks. I cut the paper (Tim Holtz) to size, edged it with 'antique paper' Distress ink, dabbed some 'broken china' and 'antique paper' Distress Inks through sequin waste at the edges, and then stuck it in place.

Next, having stuck some cardboard to two pieces of metal, I die-cut the metal birds (Paper Artsy) and embossed them using my Cuttlebug machine. I daubed black acrylic paint over them, waited until it was nearly dry and then rubbed the excess off. I used alcohol ink to add the green colour and then used the same ink to colour the bird charm and Scrabble letters.

I die-cut a bird cage (Paper Artsy) from acetate and stamped it with black Stazon ink. On the back I highlighted some of the features with green metallic ink and, once dry, over-painted it with white acrylic paint. Whilst this was drying I used the same metallic paint to colour the Grungeboard letters spelling 'fly'.

To add some dimension (which doesn't really show in the photo) I stuck several layers of foam tape on the back of the birdcage. I then positioned the other elements around it.

Finished!

ACF 75

This week ACF provided a picture of a woman dressed as a jester.  This is what I did with it:

Credits: T Baxter & Maya @ SBG

Relationships

My piece for the Three Muses (double-click on the key to read the quote).


Credits: Rosey Posey, Maya, Studio Manu (all SBG)

A variety of pages

Pens, pencils & water-soluble oil pastels:

Collage, acrylic paint, pens, gold flakes:

Hybrid - computer generated background (elements c/o Sherrie JD & T Baxter @ SBG), water-soluble oil pastels, & a pen:

Monday, 17 May 2010

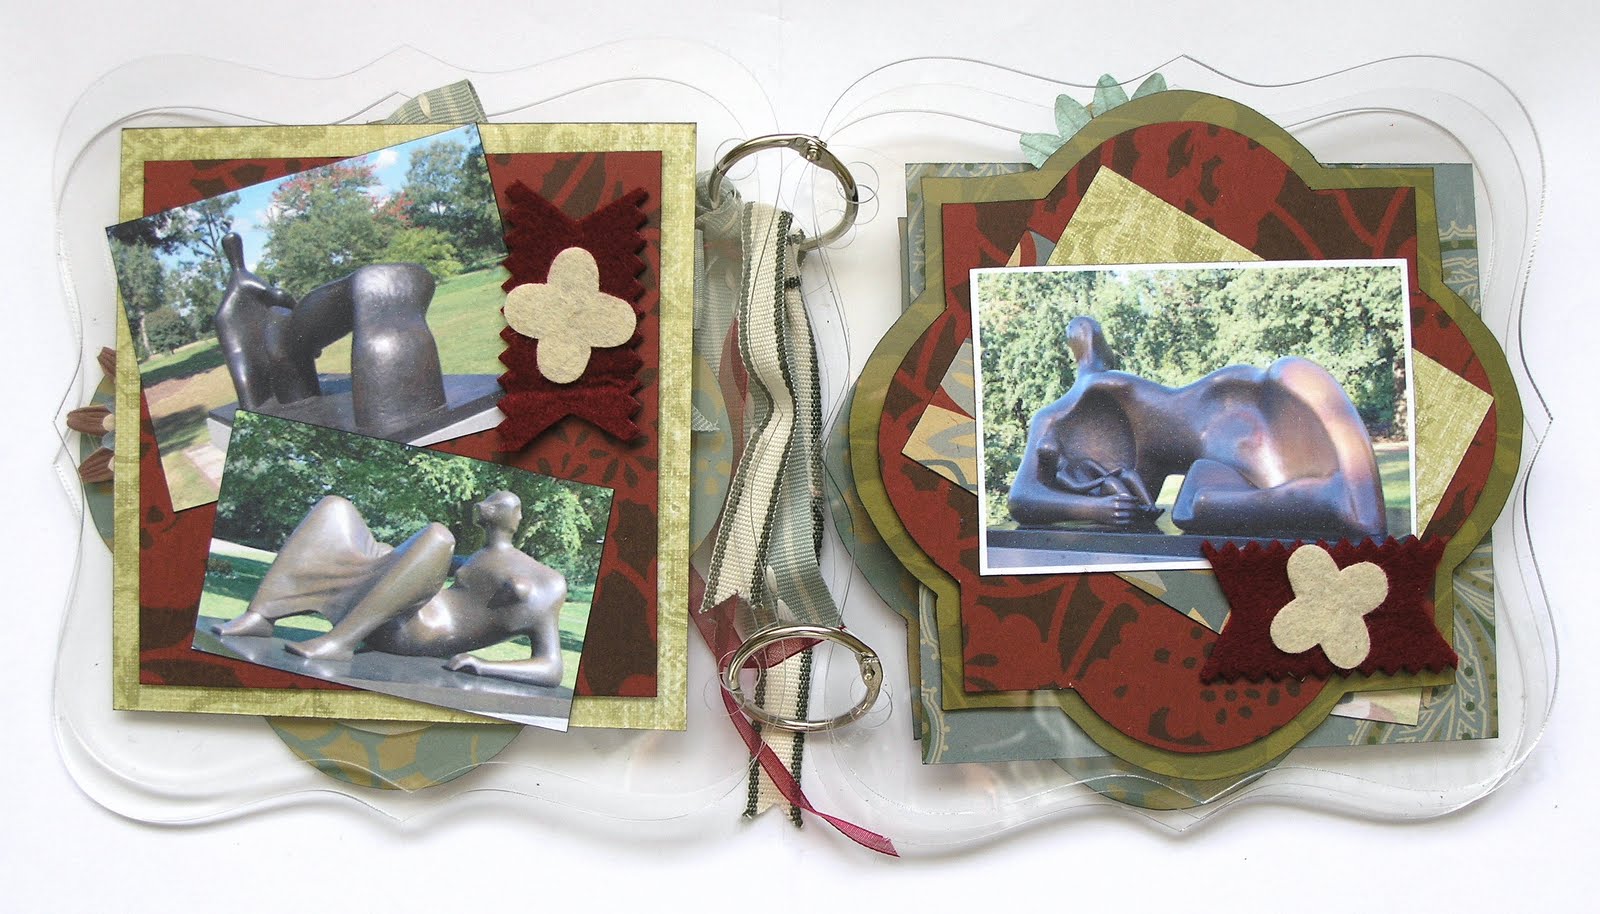
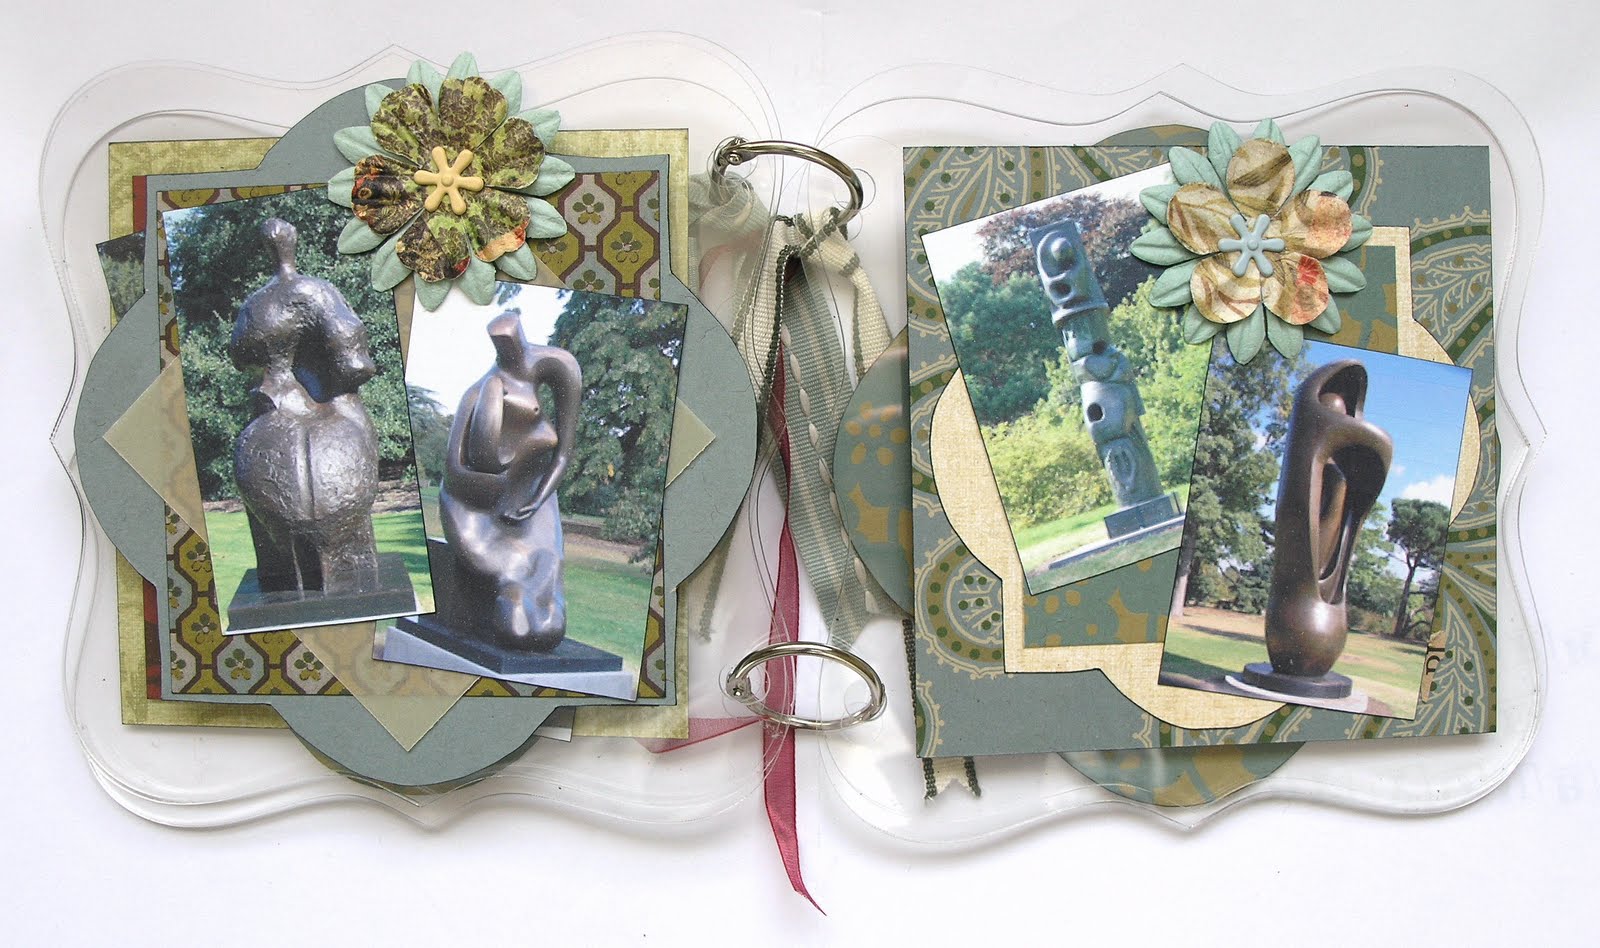
Perspex book

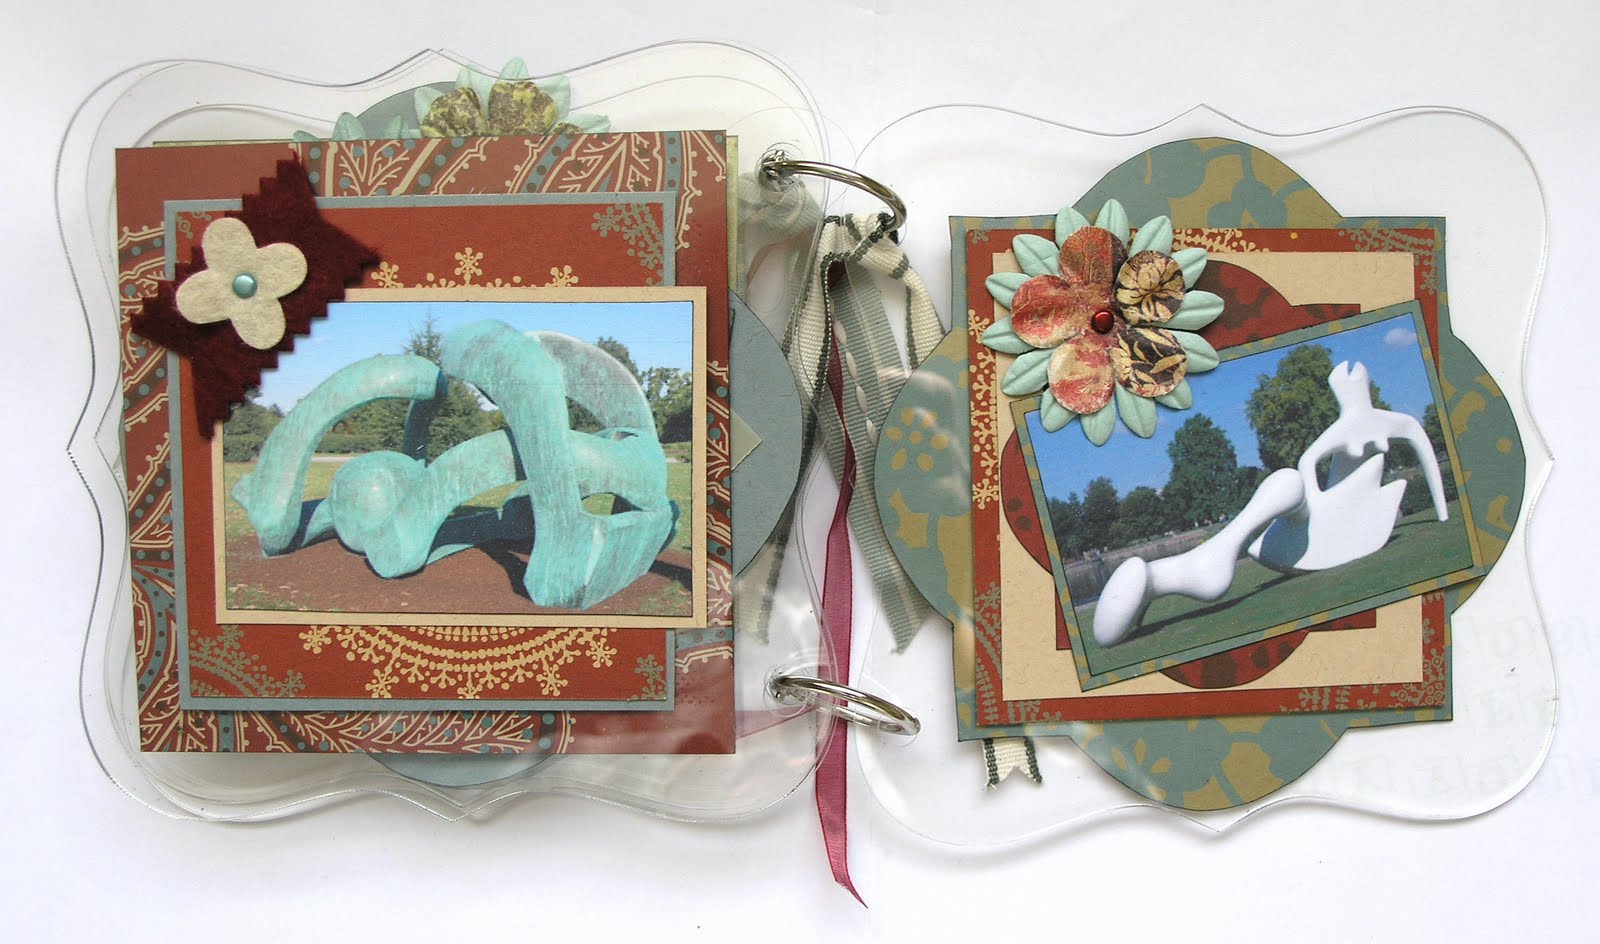
A while back I bought a perspex book. It then sat in my box of substrates for several months as I couldn't decide what to do with it. Well, today was the day! I finally took it out of the wrappings and did something with it. Three years ago there was a Henry Moore exhibition at Kew. I used the photos I took on our visit as the focus for my book.


Itinerary 20

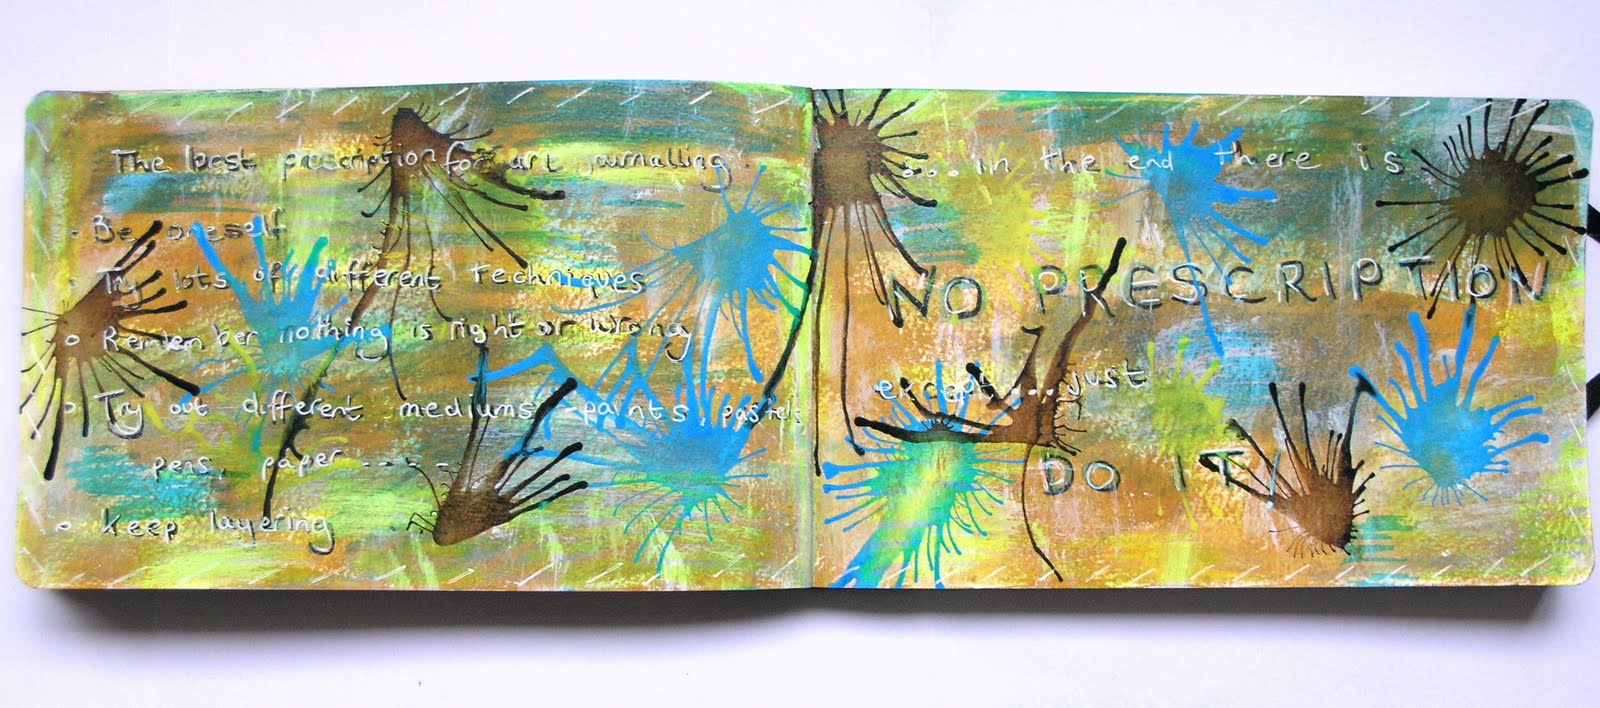
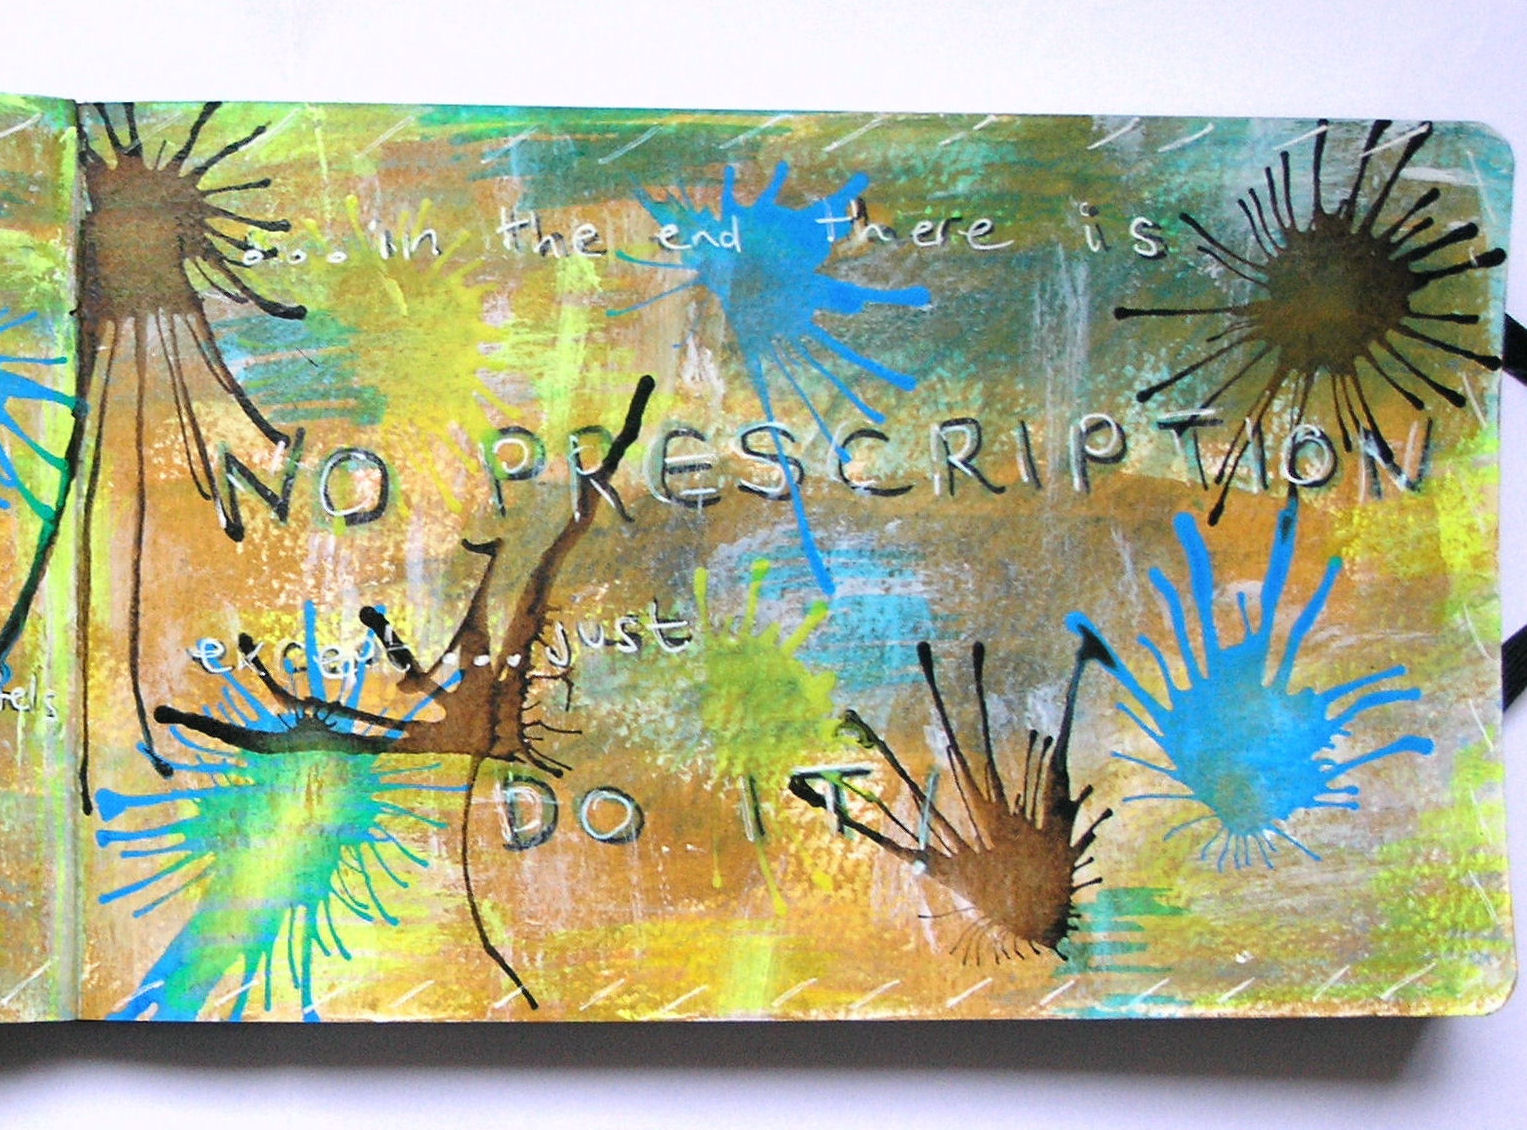
Week twenty of Art Journal Caravan. The theme was 'you are the doctor...'. Well, I don't have much imagination, so I thought about the prescription for art journals and this is what I came up with:


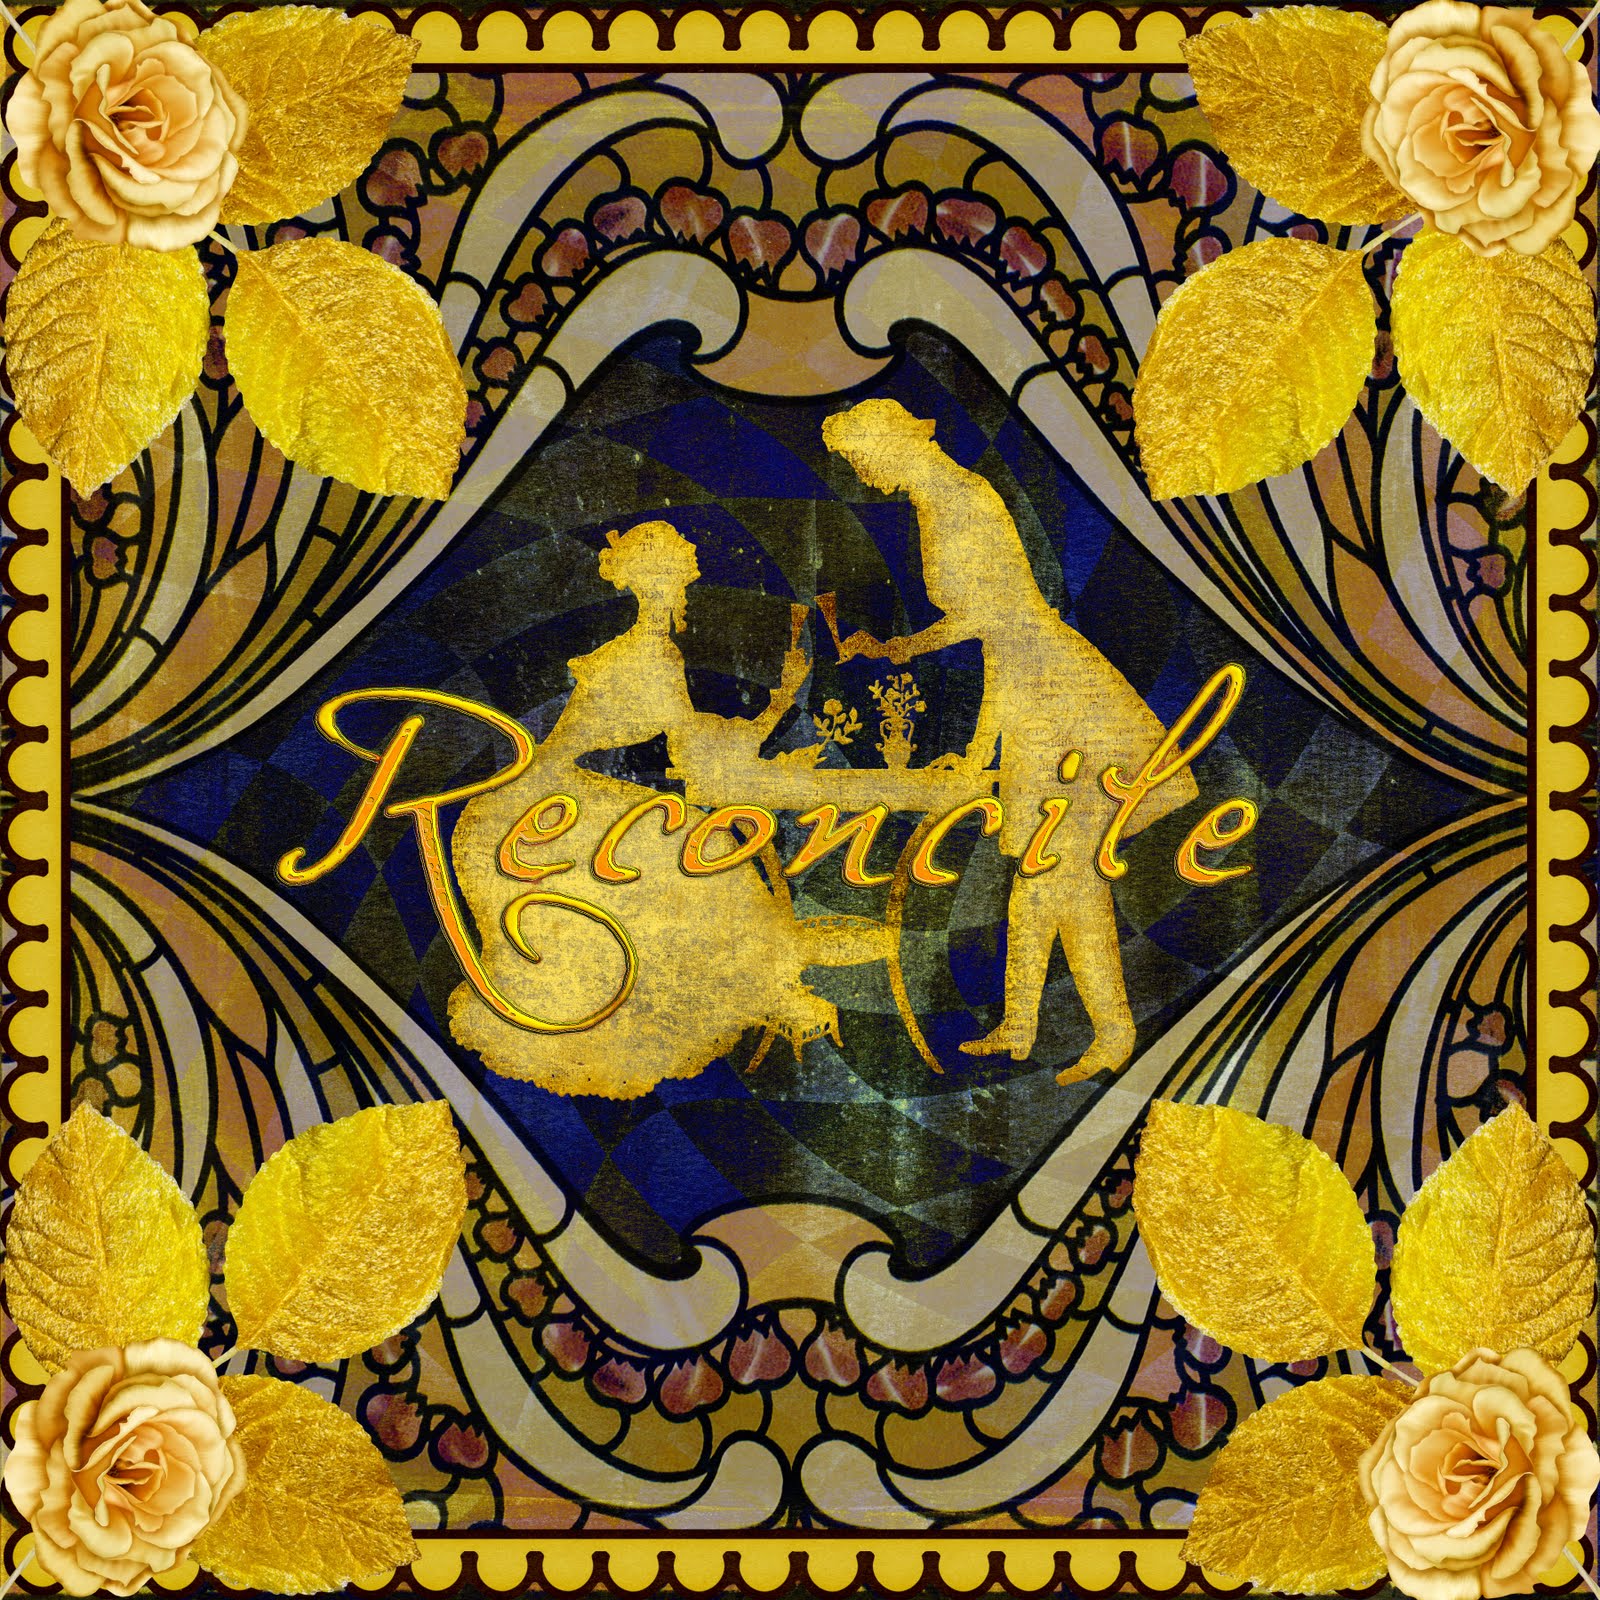
My digital page concentrates on the verb 'to reconcile'.

Credits: T Baxter & A Sexton @ SBG

Sunday, 16 May 2010

Journal page

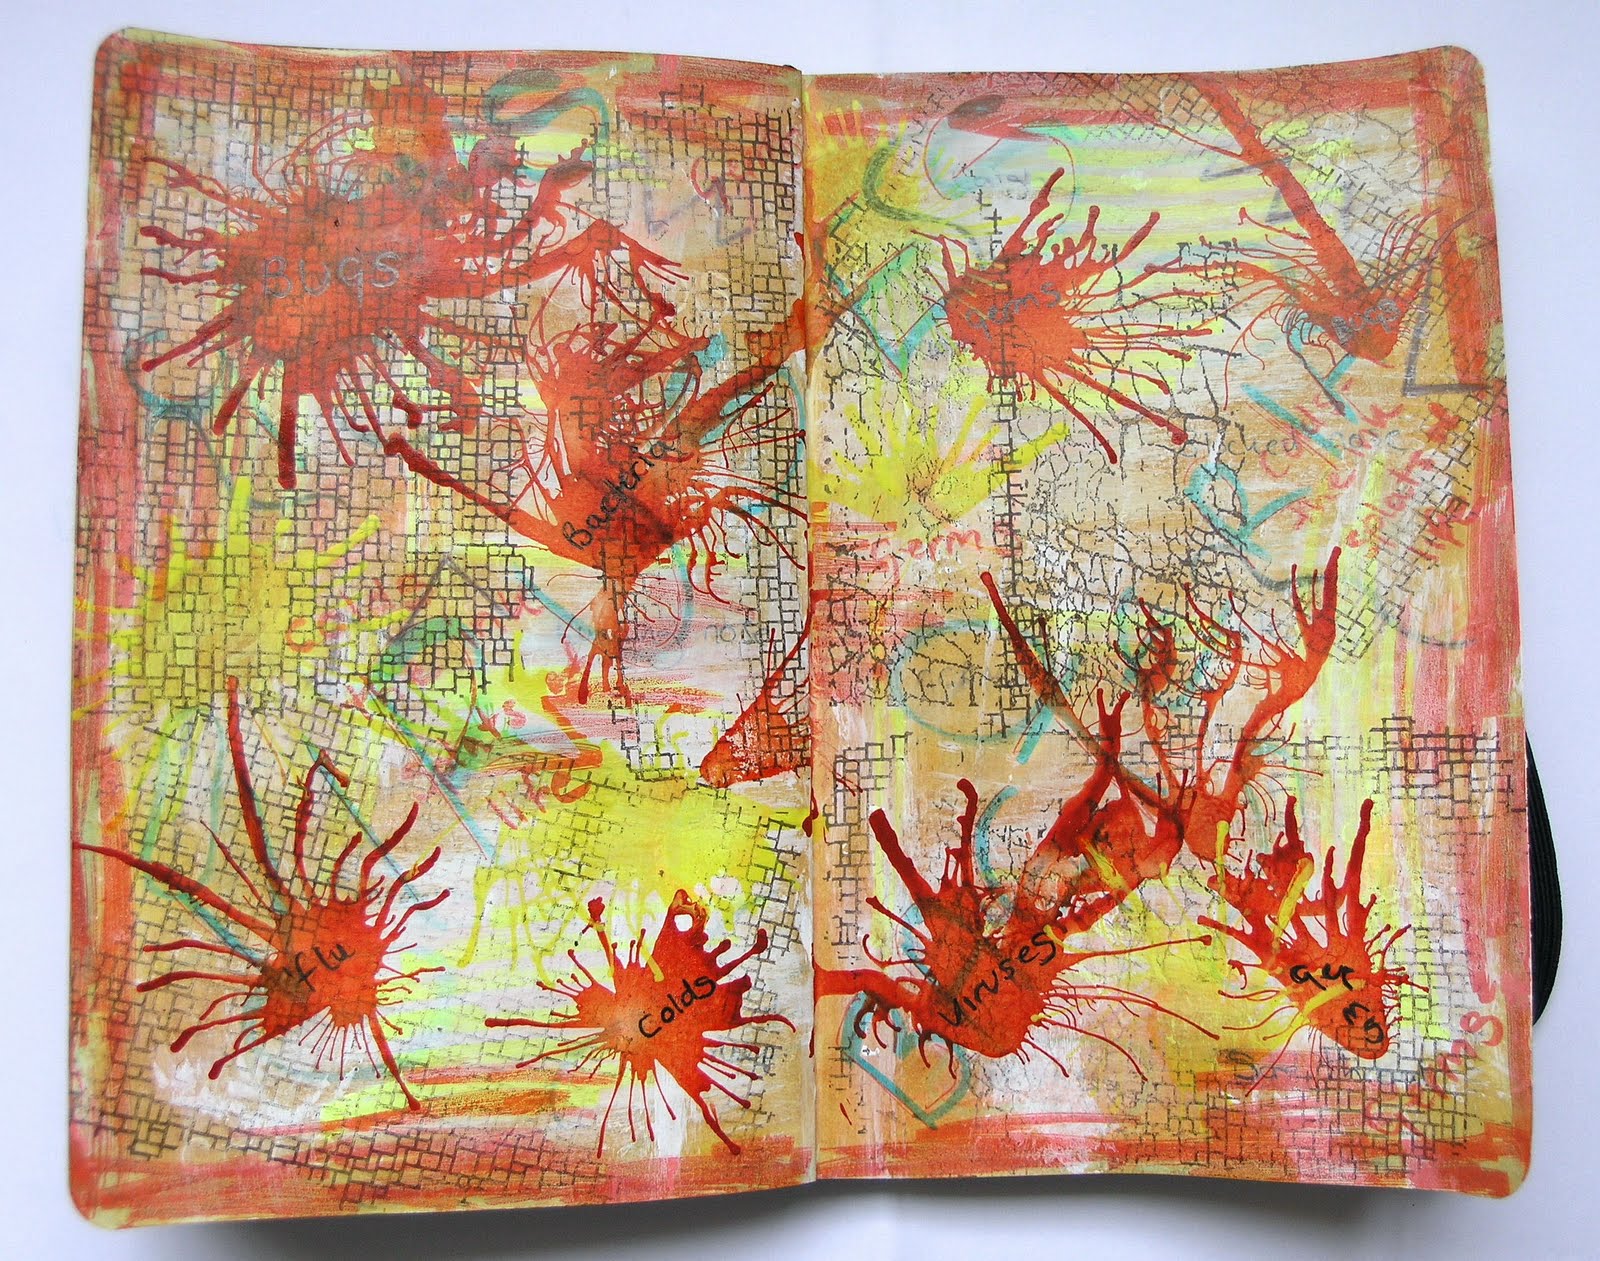
I have a cold. I hate colds, so I let rip in my journal!


Mirror Mirror

My piece for Sunday Postcard Art.

Credits: Elements from Curious AdventuresTangie Baxter @SBG

Saturday, 15 May 2010

Triptych

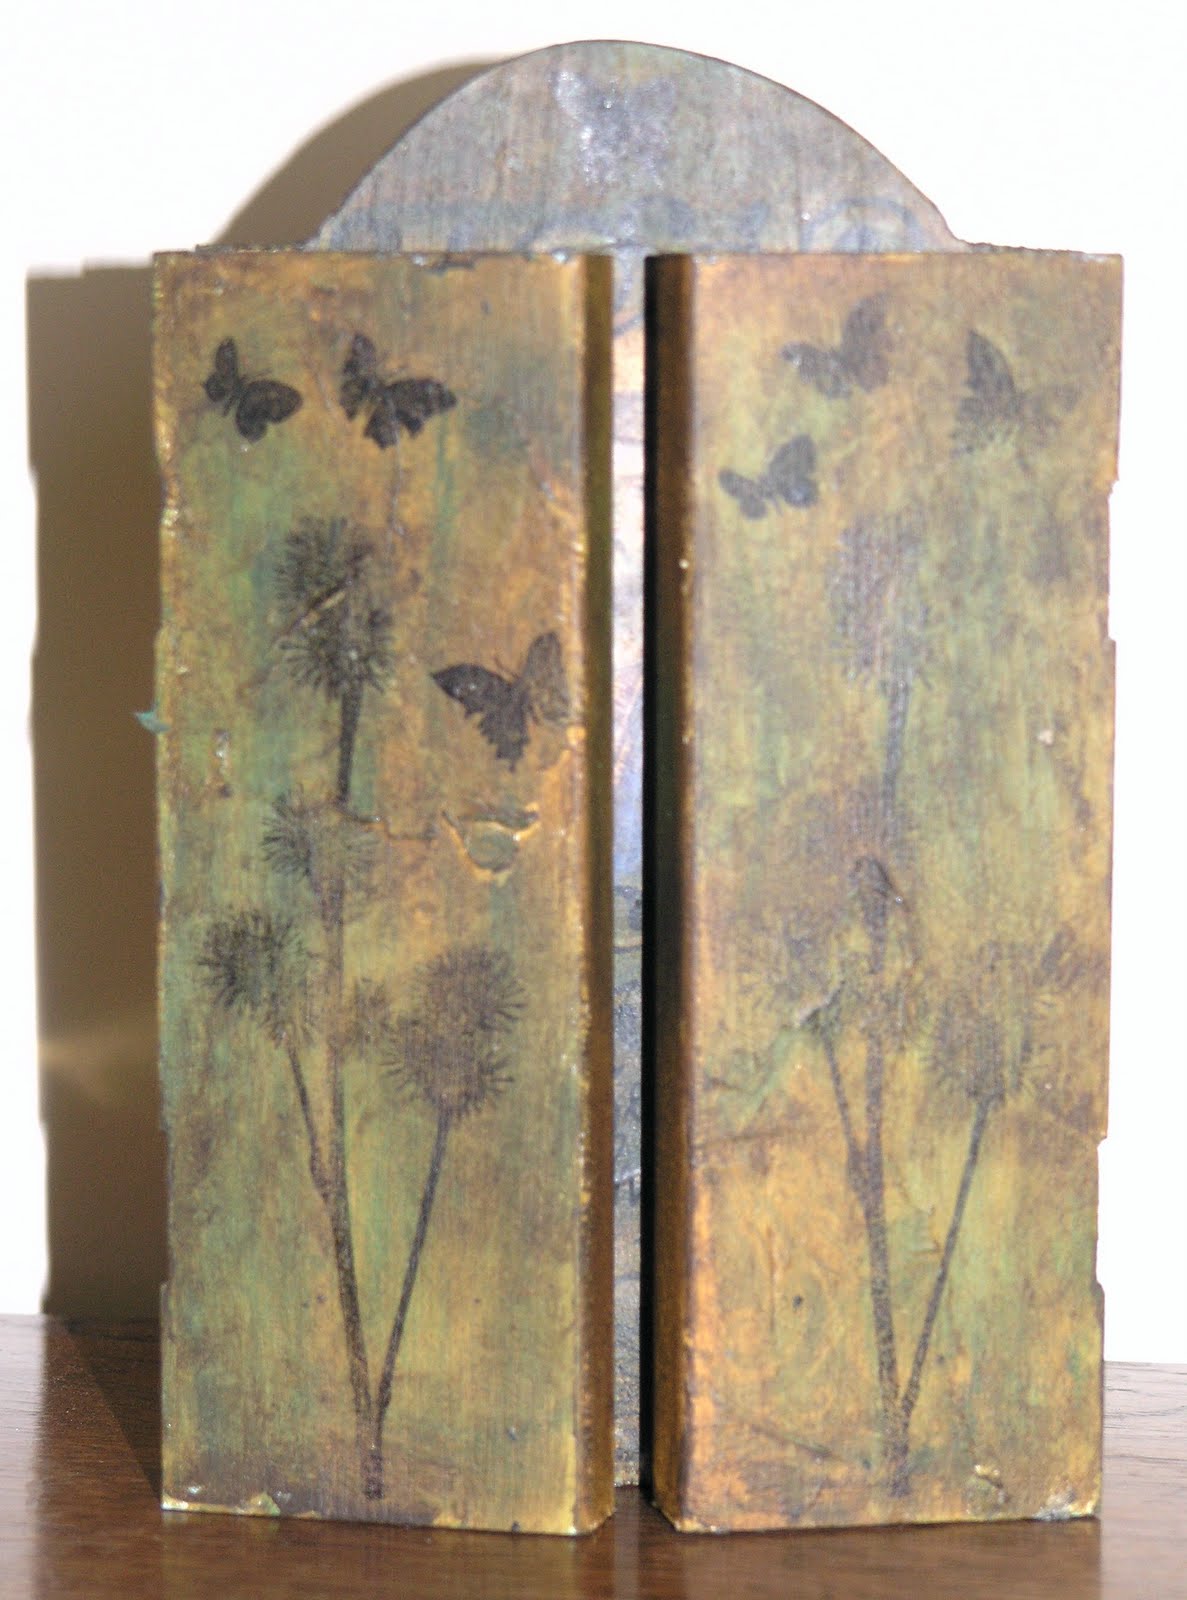
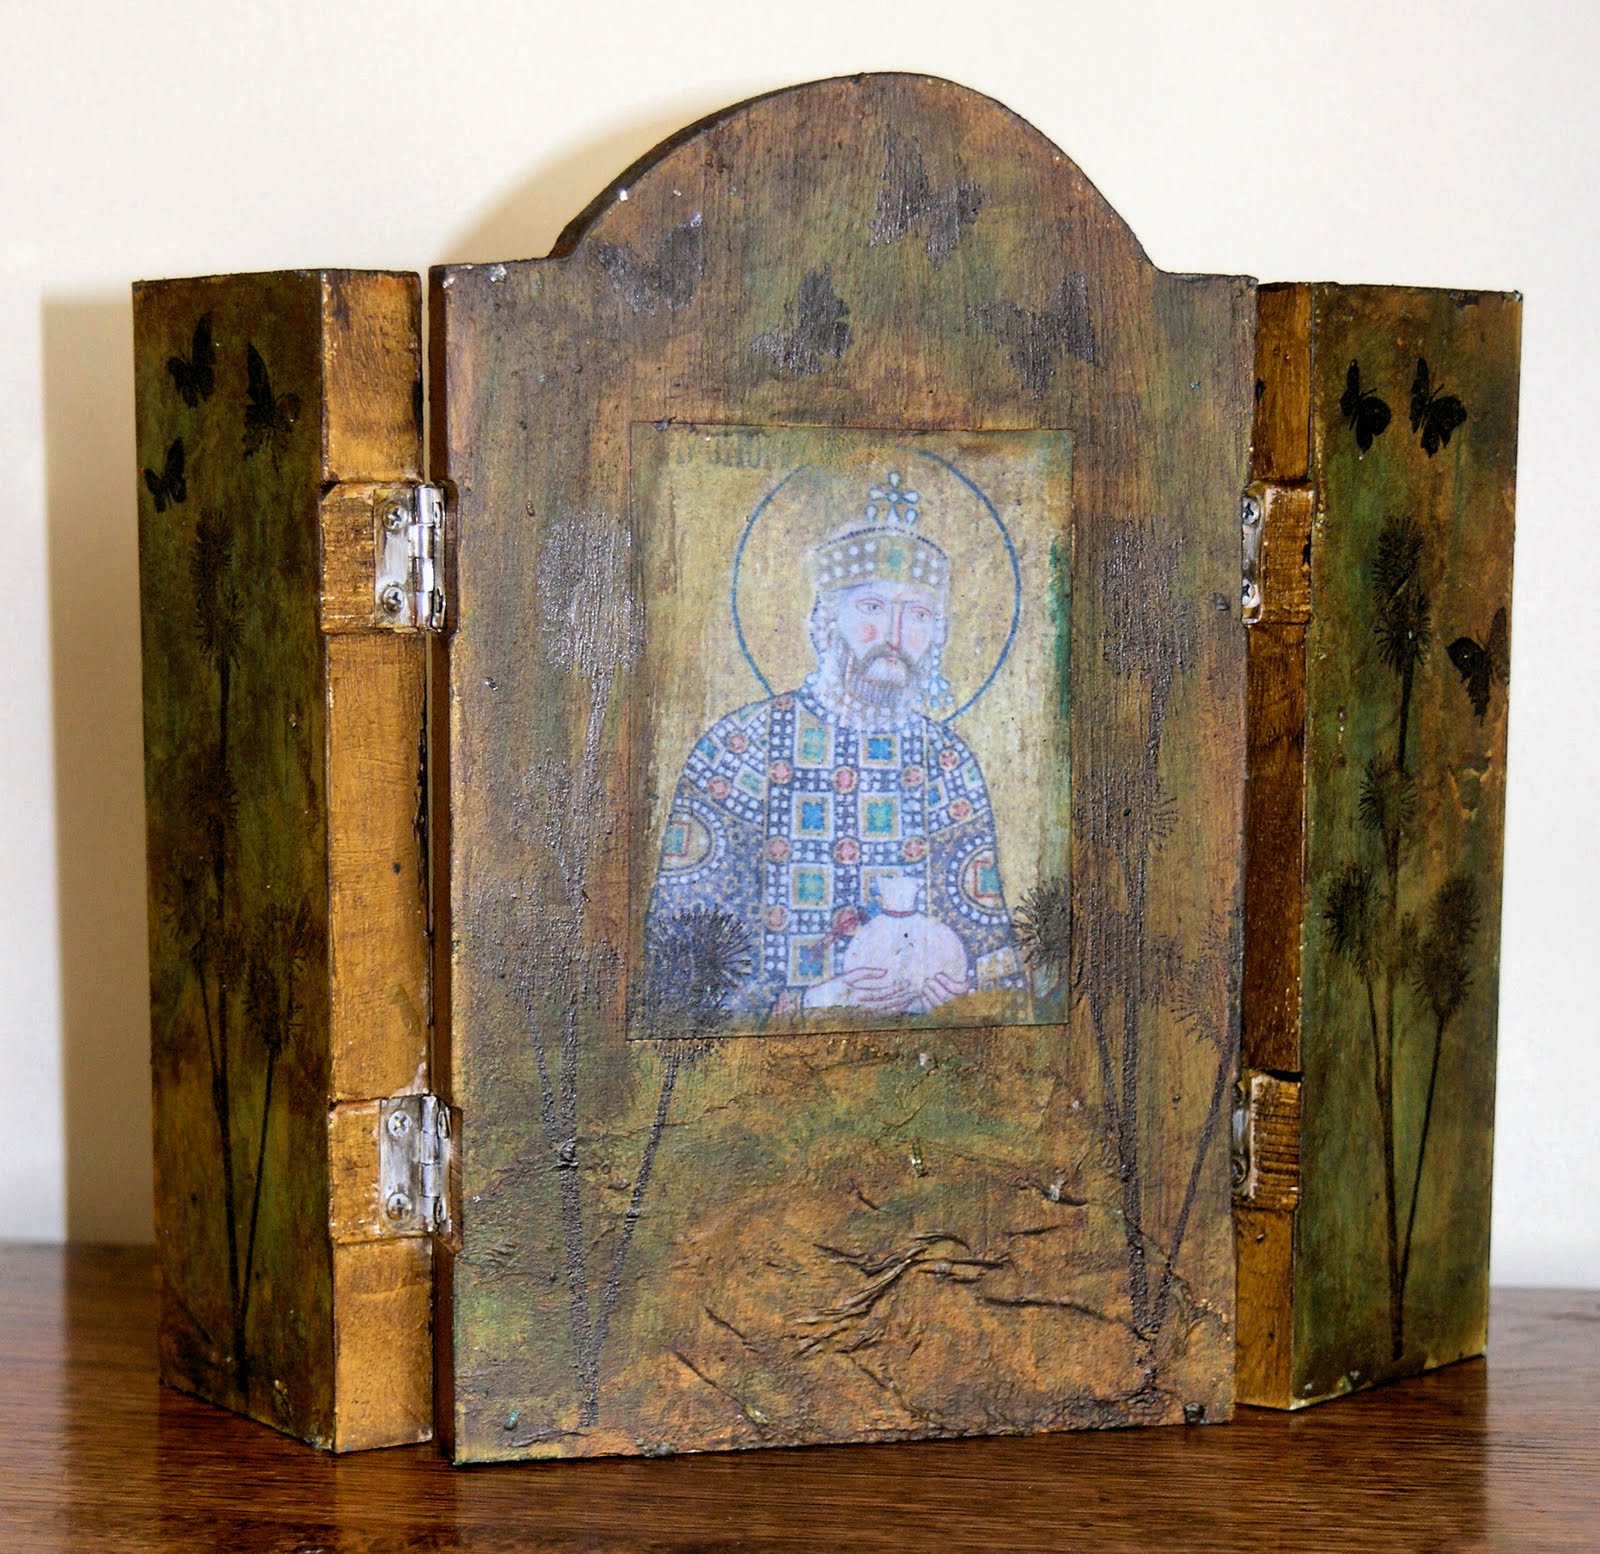
This was a plain wooden triptych that I decorated using many layers of acrylic paint; my own photos of mosaics in the Hagia Sophia, Istanbul; and stamps. It was really difficult to photograph, but hopefully the pictures below are good enough for you see most of it.


One year

Well, I have now reached the first anniversary of my blog and I can't believe I have been blogging for a year, especially as it all started out on a whim one Friday morning! I have to say I am really enjoying it and it is very interesting to look back over the year and see the journey I have travelled.

I am especially grateful to all my followers - thank you for your continued interest. It really is encouraging!

Here are two very different projects.
The first is a card I made using the leftovers of the ultra thick embossing enamel from the arch beads. I added a little colour to it, poured  it onto my craft mat and pushed a stamp into it.


The second is a journal page - I started with a thin layer of acrylic paint and added some subtle colour with water-soluble oil pastels. I then stuck on the two quotes and stamped around them.


Have a good weekend!

Friday, 14 May 2010

Arch

Linda Brown and Leandra Franich have been running ArtsyCrafts weekends for a couple of years now. The main project of the first weekend was an arch. I was unaware of the weekends at that point but subsequently saw the arches that various people had made on the PaperArtsy and Yours Artfully Blogs. They recently repeated the project at another weekend but unfortunately I was unable to go. However, at the Ally Pally show I discovered that Linda sold the bare arches and I was able to snap up her last one. It has taken me a while to create the various parts and assemble it all, but here is my finished project.


I started by stamping the material and then colouring it using acrylic washes and small amounts of Distress Inks. I sewed a few beads onto it to highlight some of the elements (double click on the picture to see this more closely).
Next I did the metal work - some pieces I embossed using my Cuttlebug machine, other bits I did by hand. I stuck it onto the wood and edged it all to give a better finish. I then made the extra metal embellishments. Then I started to assemble it. It took a little patience to get the material nicely plumped and in the right place behind the aperture but I got there in the end!
Having stuck the arch altogether I decorated the beads. They were plain wood to start with. I painted them with acrylic paint and then dipped them into Ultra Thick Embossing Enamel. I used wire to attach them to the arch.
Now I have my very own arch made by my own fair hands!

ACF 74

This week ACF gave us this picture to do with what we like:


This is what I created using it:

Credits: Elements from Industrial Velvet by T Baxter @ SBG