Saturday, 31 July 2010

Just like the butterfly ....

Art Creations Friday are now on their summer break, but before they went they left us with this image of a little boy, to do with what we like.


You can see that I altered it quite a lot, but I am very pleased with the end result! Double-click on the butterfly to see it in more detail.

Credits: Butterfly & word art - Totally Wild Dezinez at Deviant Scrap; other elements T Baxter @ SBG

Friday, 30 July 2010

Itinerary 30

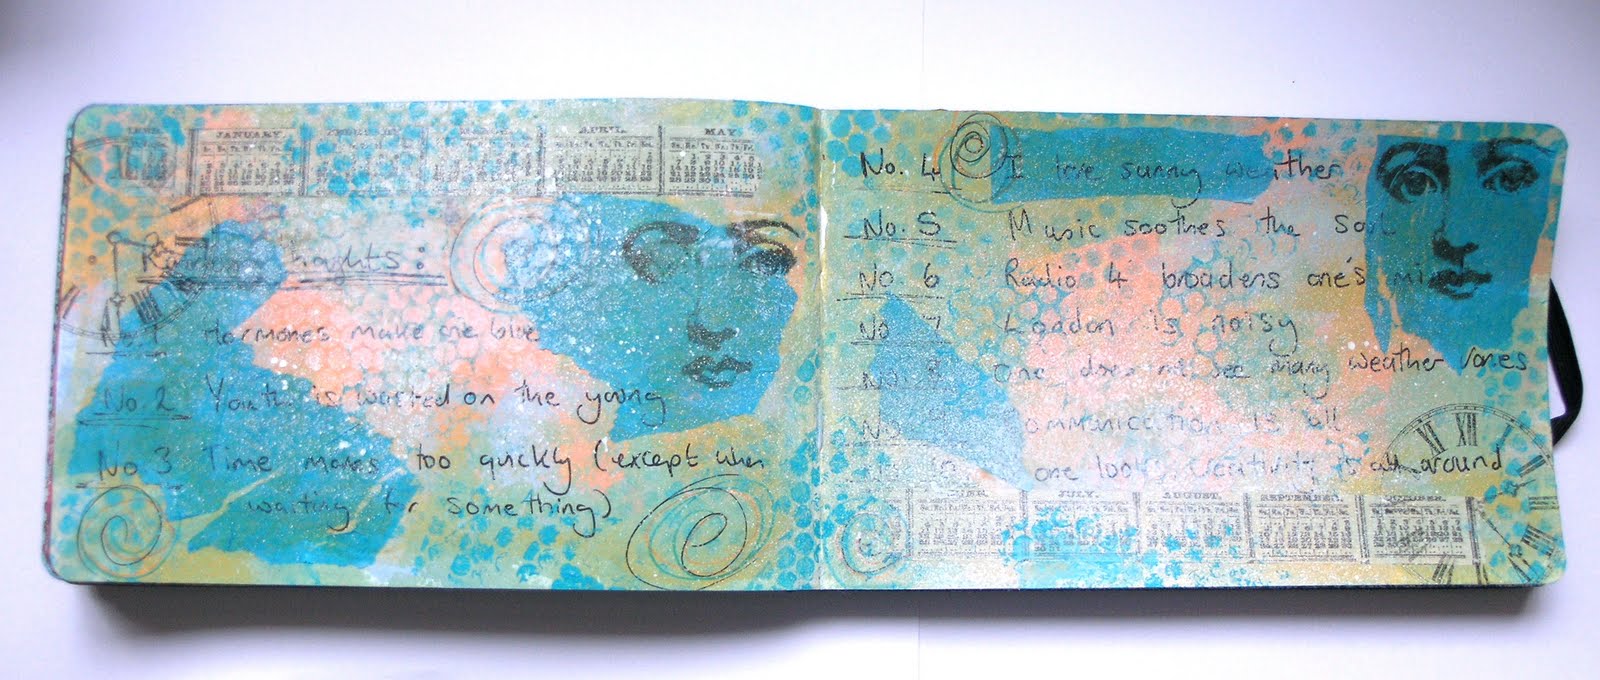
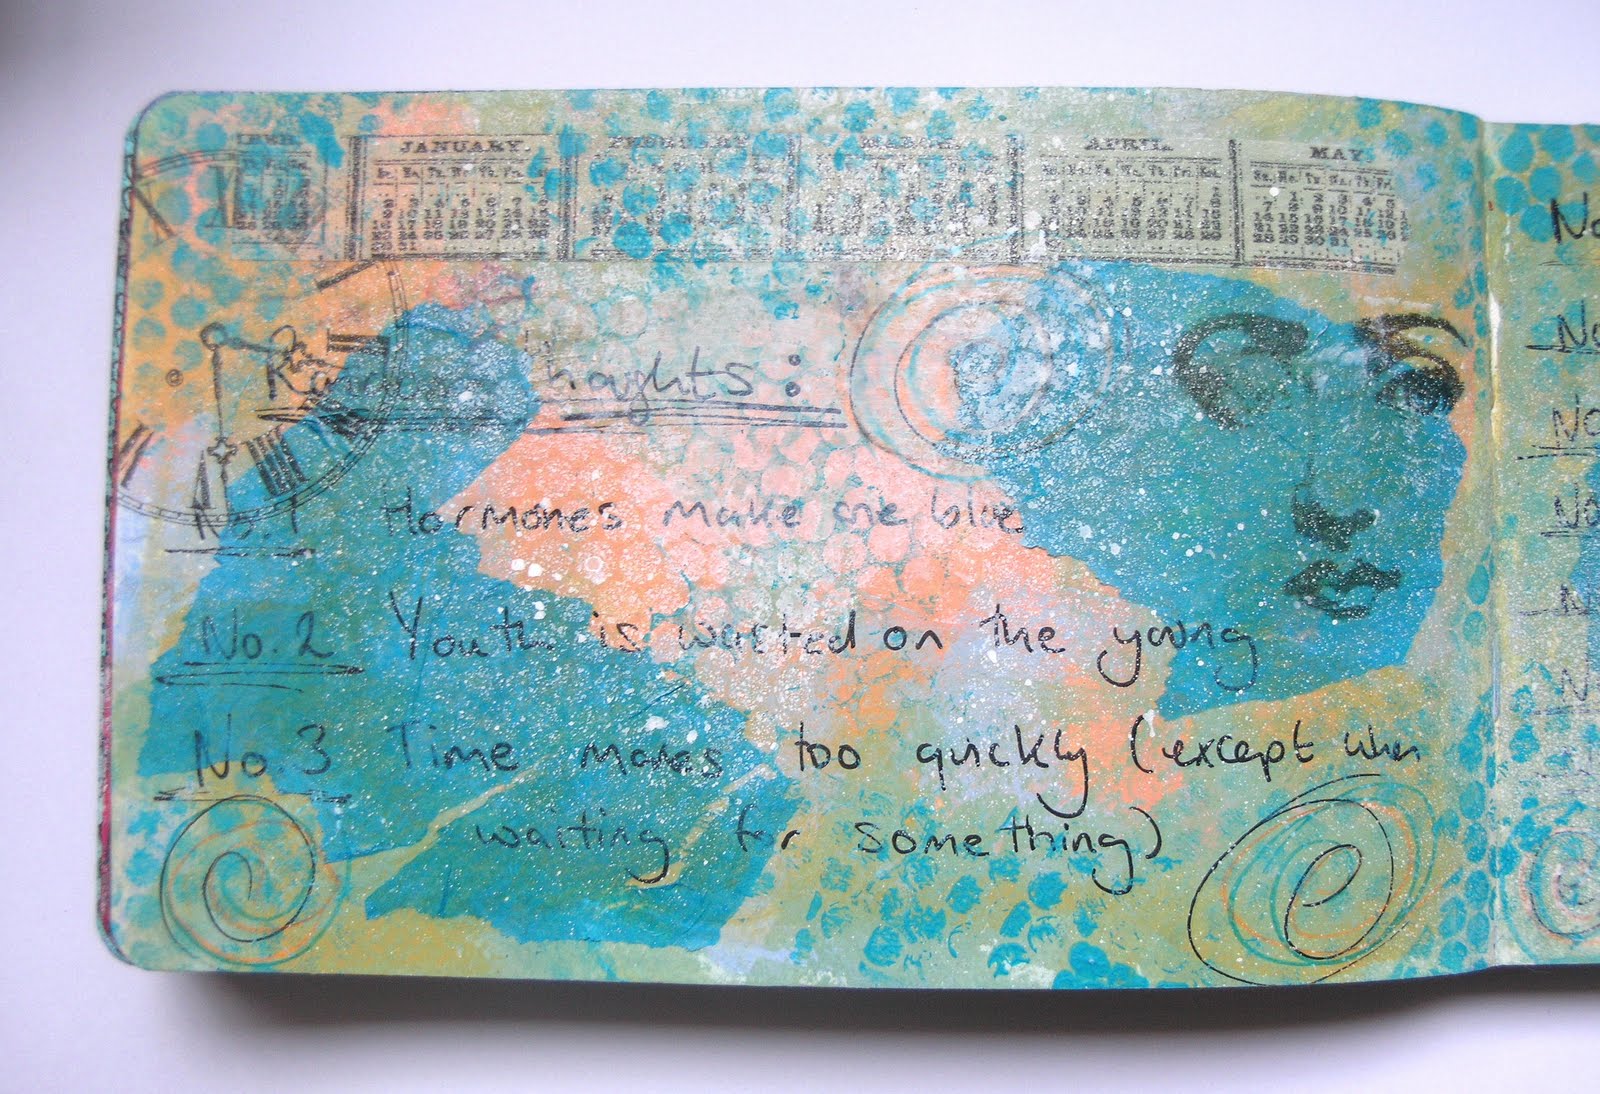
Random thoughts, the prompt from Art Journal Caravan this week.


I started off with an acrylic background onto which I glued some tissue paper (the blue patches). This works well because of its transparent nature. Next came some more paint - the peachy colour - and then I added the two strips Of Tim Holtz's Tissue Tape (also transparent - it's wonderful!!). Time for my journalling, some stamping and doodles. To provide some cohesion I sprayed the pages with Craft Notions matte white creative colour spray and dabbed acrylic paint through sequin waste.


My digital page is a complete contrast to my hand-created pages. It is relatively simple, with just one thought.

Credits: T BAxter & A Sexton @ SBG


Thursday, 29 July 2010

Strip Ease 3


I am so pleased I discovered GPP Street Team because I am loving using the strips technique and then using paints and masks to decorate them. Here are my latest pages.


Wednesday, 28 July 2010

Odd birds

Credits: R McMeen/T Baxter @ SBG for the blackbird & Itkupilli for the woman.

This is my digital creation for the Three Muses this week. Spot the odd one, or two, out! Double-click on the picture for a better view.

Monday, 26 July 2010

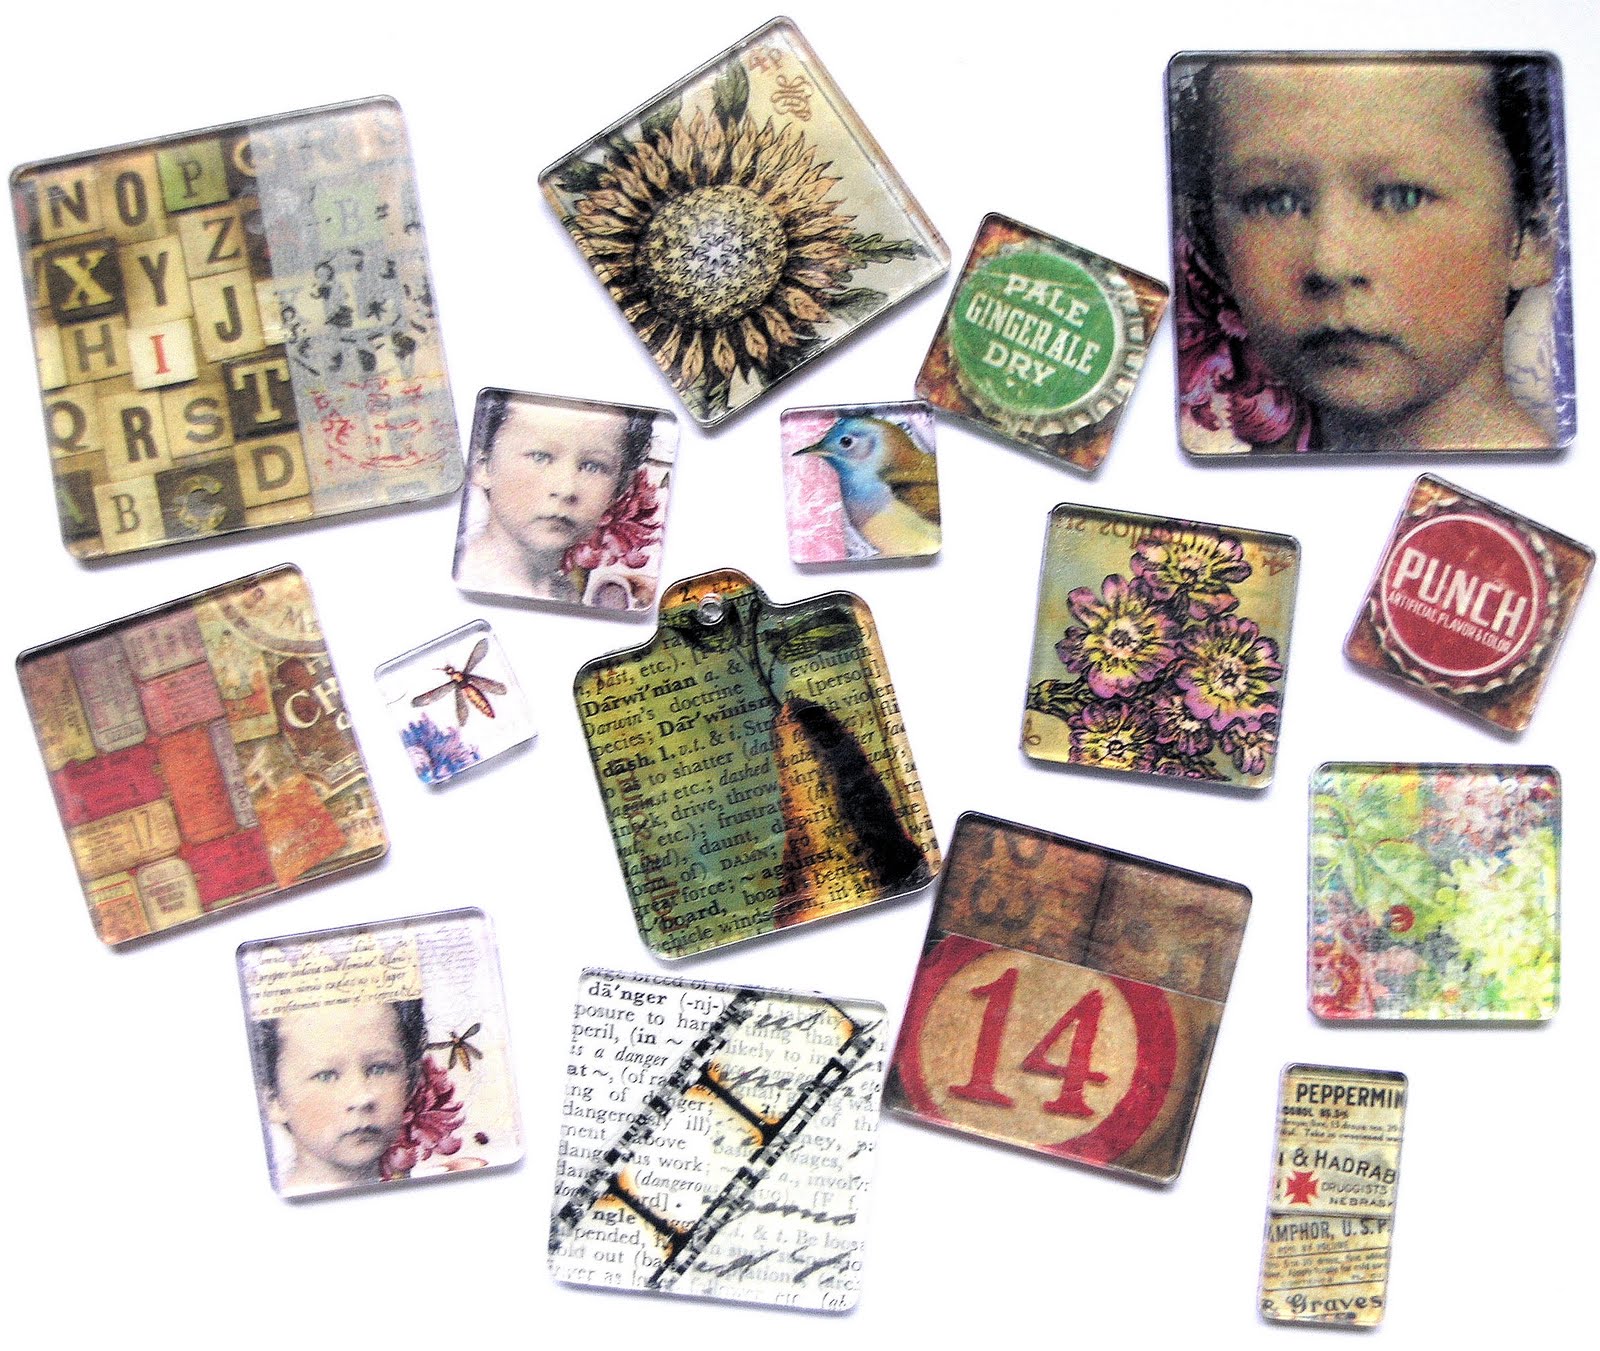
Fun with fragments


I bought some Fragments (clear, thick plastic pieces in various shapes by Tim Holtz) ages ago and didn't do anything with them so I thought it was about time to play. This was the result. Most of them are decorated card stuck onto the back of the Fragment with Glossy Accents. Some are transparencies - this was slightly more tricky! To avoid the ink coming off the transparency I applied clear packing tape over the printed side and stuck the shiny, non-printed side onto the Fragment. This takes a while to dry so they have to be set aside for an hour or two. My favourite is the one in the middle with the pear and text. The pear was a Paper Whimsy image printed onto a transparency with a piece of text glued onto the packing tape behind it. I think it works very well, but of course I am biased!

Sunday, 25 July 2010

Hoots and owls

This is my contribution for the Three Muses this week.

Credits: words by T Baxter @ SBG

Saturday, 24 July 2010

Itinerary 29

Iim running a little late, but I think you'll be able to guess the theme from Art Journal Caravan last week just by looking at my pages. Most of my journalling in my mixed media pages is hidden away under layers of paint and gesso, but I know it's there!


My digital page.

Credits: T Baxter & A Sexton @ SBG

Shabby mini canvas 3


To see the previous two canvases and the technique I used to make them see my posts on July 8th and July 10th.
And, as a bonus, because it features a very obvious shape I thought I would enter it for the challenge at 'Lots to Do', and 'Tuesday Taggers' theme is canvas, with a request that we make a link to Art from the Heart, so it fits that bill as well!

Image transfers and Lutradur

Yesterday, I spent the day crafting with a friend. We played around with transferring images onto various substrates. I had another play in the evening as well! Here are some of the images transferred from acetate to paper.


To do this, apply matte medium to your paper - it needs to be a thin layer but thick enough for your finger to glide over it. Gently but firmly apply the acetate with the image you wish to transfer onto the matte medium. The image must be printed on an inkjet printer. Burnish it with your nail making sure the image doesn't slip. Gently peel back the acetate - your image should be transferred. Don't expect a perfect image, most will appear  distressed to some degree.

It is possible to use the same piece of acetate several times - see the Marlene Dietrich transfer in the picture. You will notice these are different colours - I did this by adding a tiny amount of acrylic paint to the matte medium.

At the moment I am experimenting with leaving the acetate on for different amounts of time to see if that changes the depth of the transfer.

My friend introduced me to this fantastic man-made material called Lutradur. After colouring it with fabric dye we transferred onto it and, this is the exciting bit, melted it with a heat gun to produce a lacy effect. I am going to have to get some of this stuff!

Wednesday, 21 July 2010

Mail Art

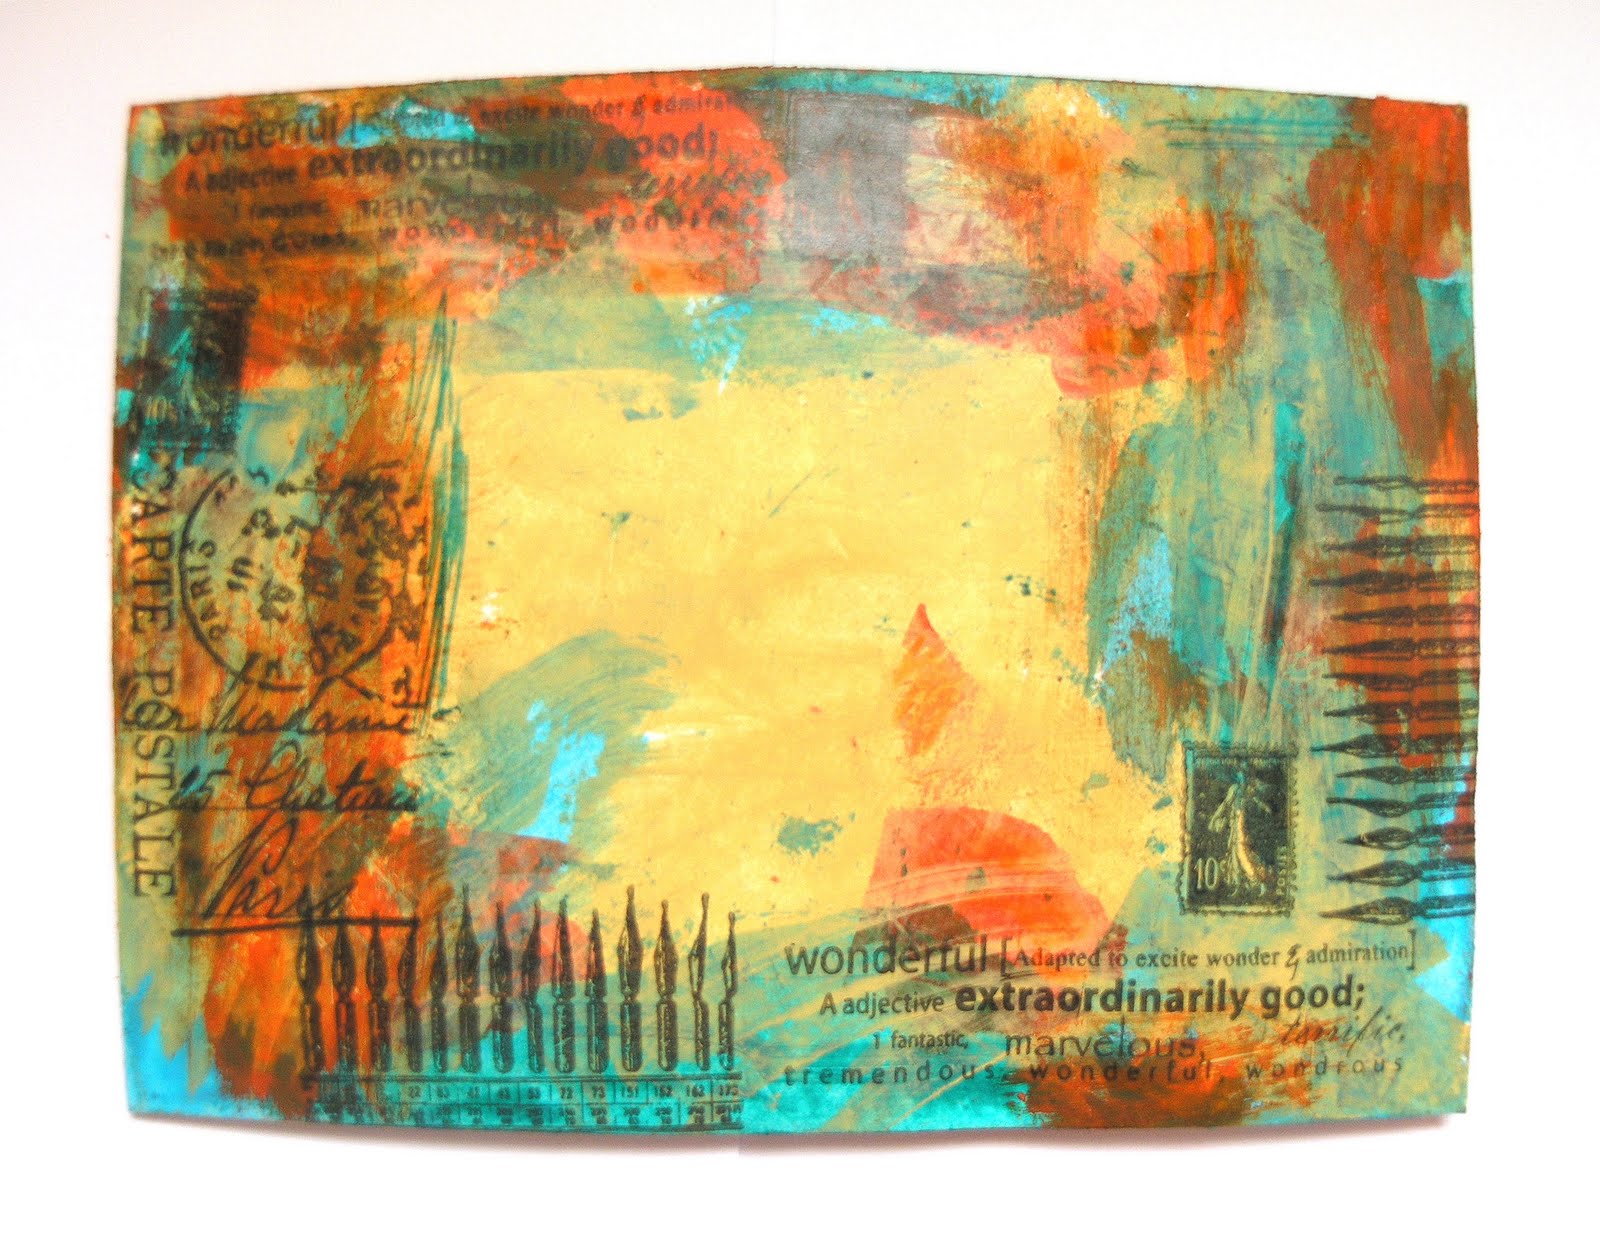
This is the challenge from the Three Muses today. I decided to go for wild and vibrant, a bit different to my usual entries! So I took one plain white envelope and put on it a few small blobs of green acrylic paint (I chose acrylic so it won't run if it gets wet in the post) and scraped them across the paper with an old credit card. When this had dried I did the same with turquoise and then yellow paint. I left a fairly blank area in the middle for an address to be written. I then stamped on some images, mostly from Tim Holtz's stamps from Stampers Anonymous, using Stazon ink (again because it's waterproof) around the edges.

I just have to make a card to go in it now!

Monday, 19 July 2010

Strip Ease - encore


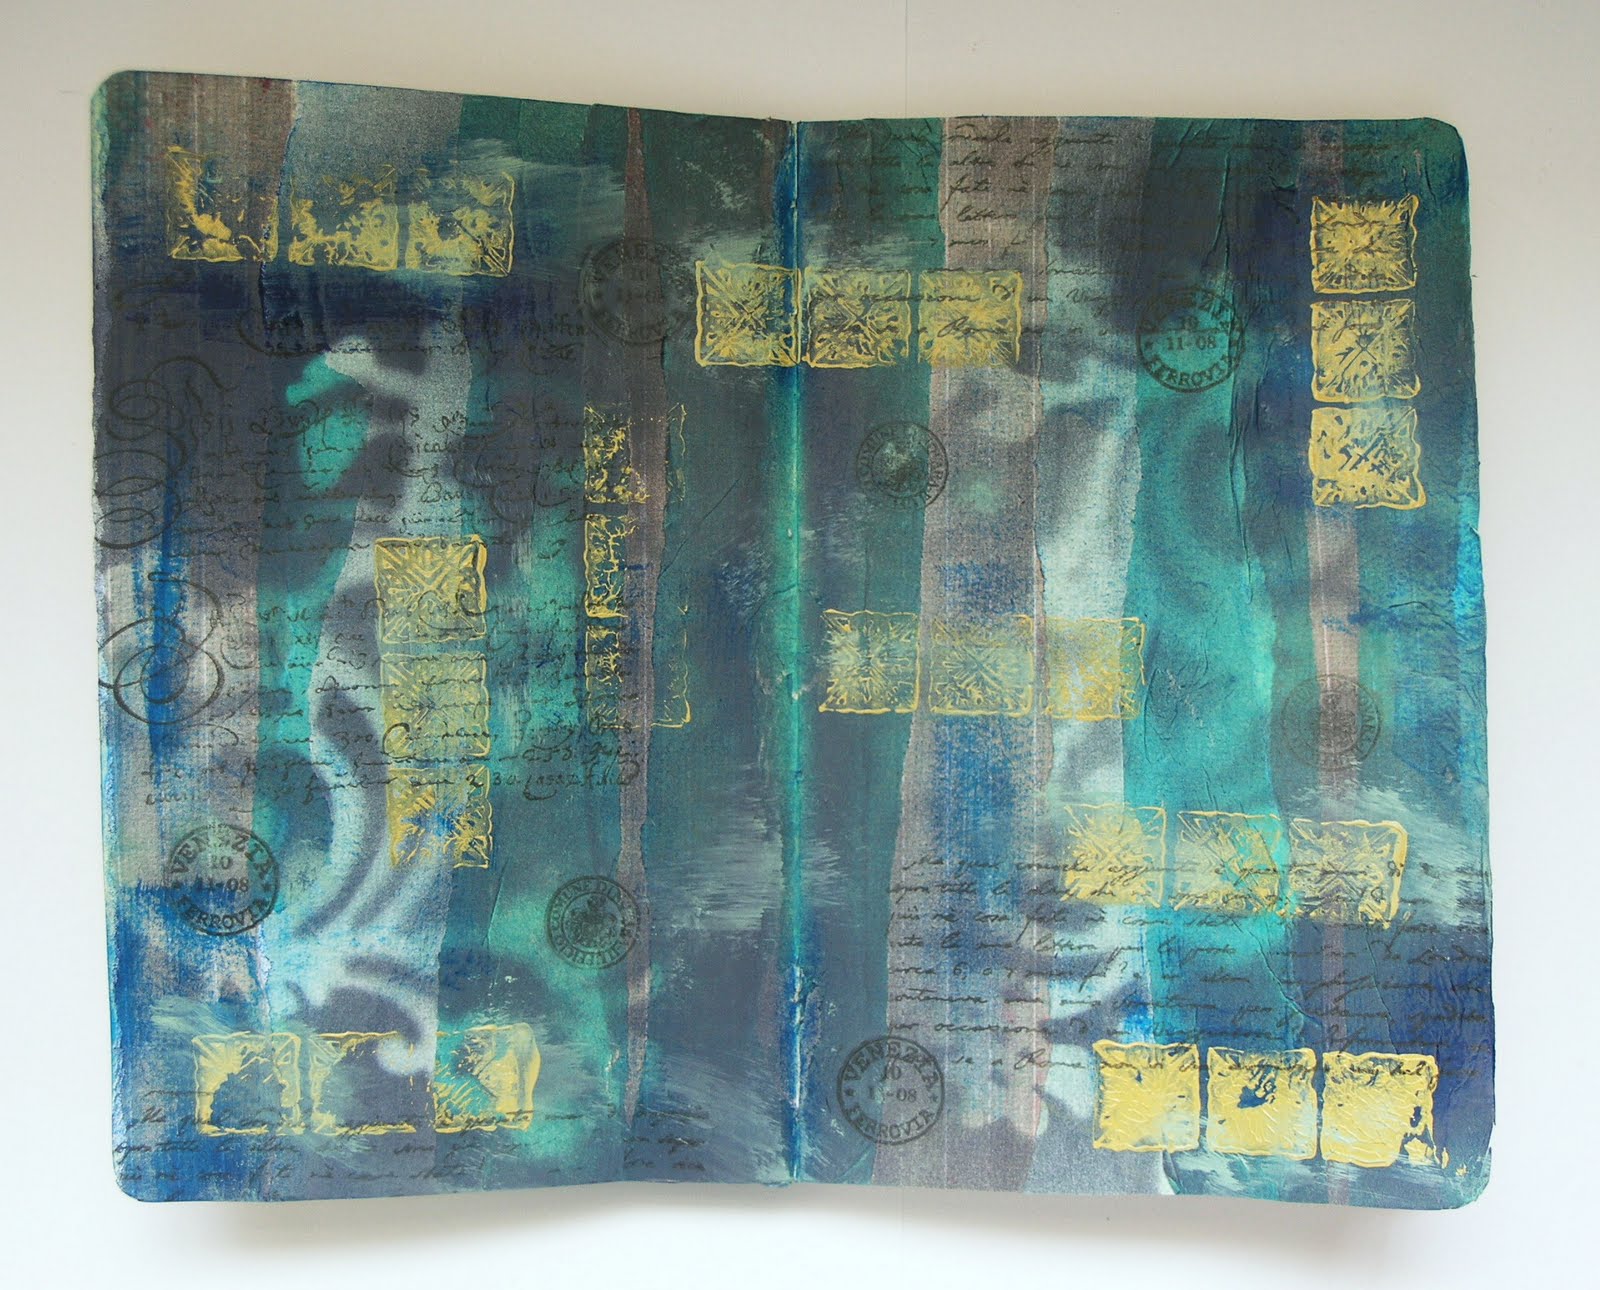
I decided to have another go at creating a background using torn strips of paper, so I have started my next journal. I actually think this is even more successful than my first attempt.


As previously, I glued down my strips and, once dry, sprayed over a mask. However, I didn't stop there! I then dry brushed some dark blue paint over the pages and stamped the yellow squares using acrylic paint. I used black Stazon ink to stamp the script and postmarks. To finish I dabbed over some light green paint using a baby-wipe, to reduce the starkness of the stamping. Now I just have to decide how I am going to use this background.

Another Pringles lid

Sunday, 18 July 2010

Sunday Postcard Art

Magic is the challenge this week, and this what I created:

Credits: Background T Baxter & butterflies Studio Manu, both SBG

Saturday, 17 July 2010

Altered Pringles lid


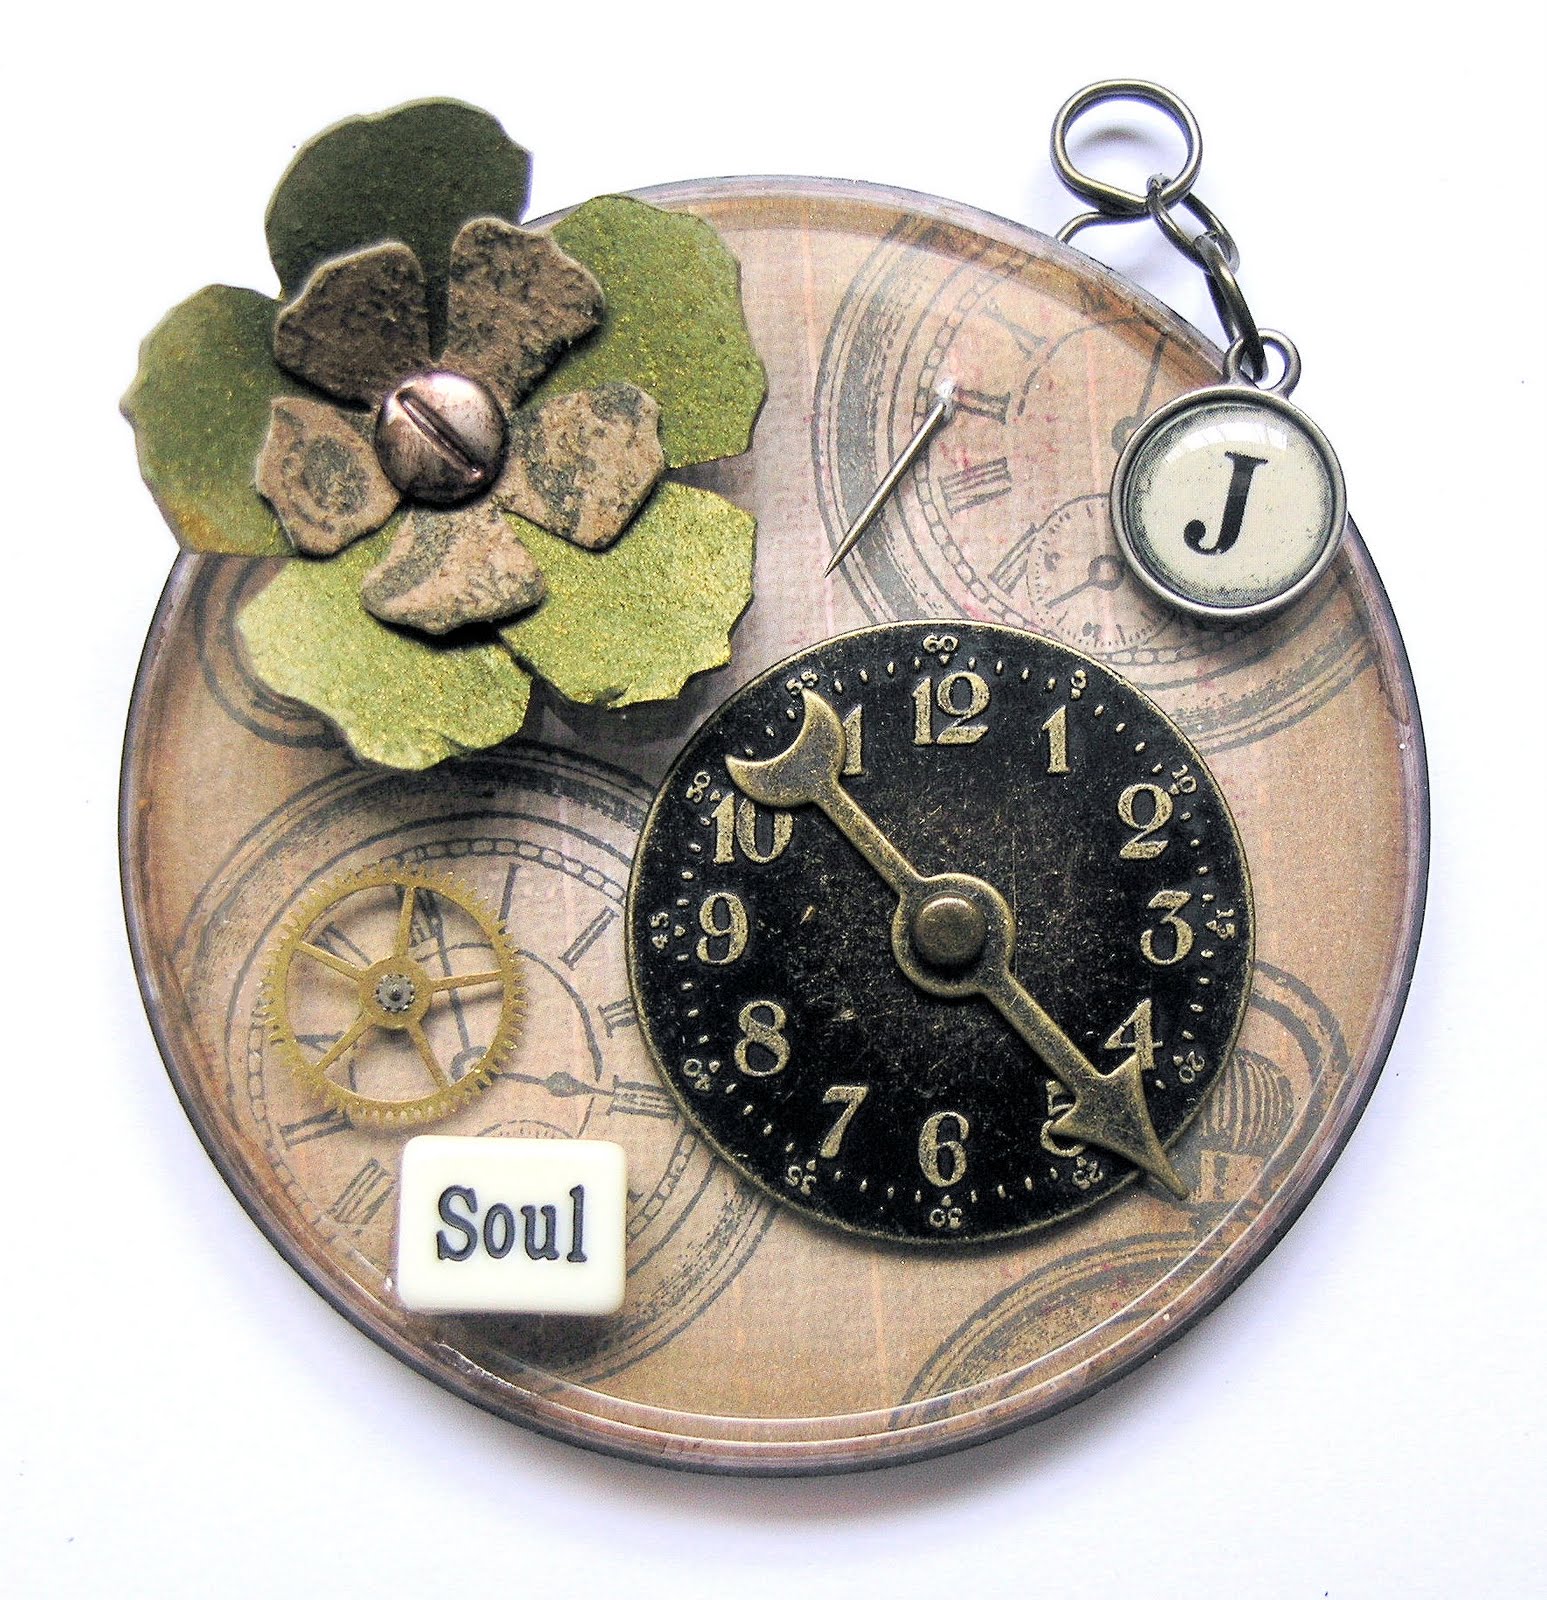
I was just about to throw this Pringles lid away, when I thought surely I can use this for something! Well, it turns out I could, and did!

First I cut out a circle of stiff paper and then stamped the watch onto it. I then slotted this into the lid - it didn't need any glue as the grooves held it in place. I applied a dark alcohol ink around the edges of the lid to remove the whiteness. I made the flower from Grunge Paper and stuck on the embellishments (mostly Tim Holtz) with Glossy Acccents.

I am now very glad I didn't throw that lid away!

Strip Ease


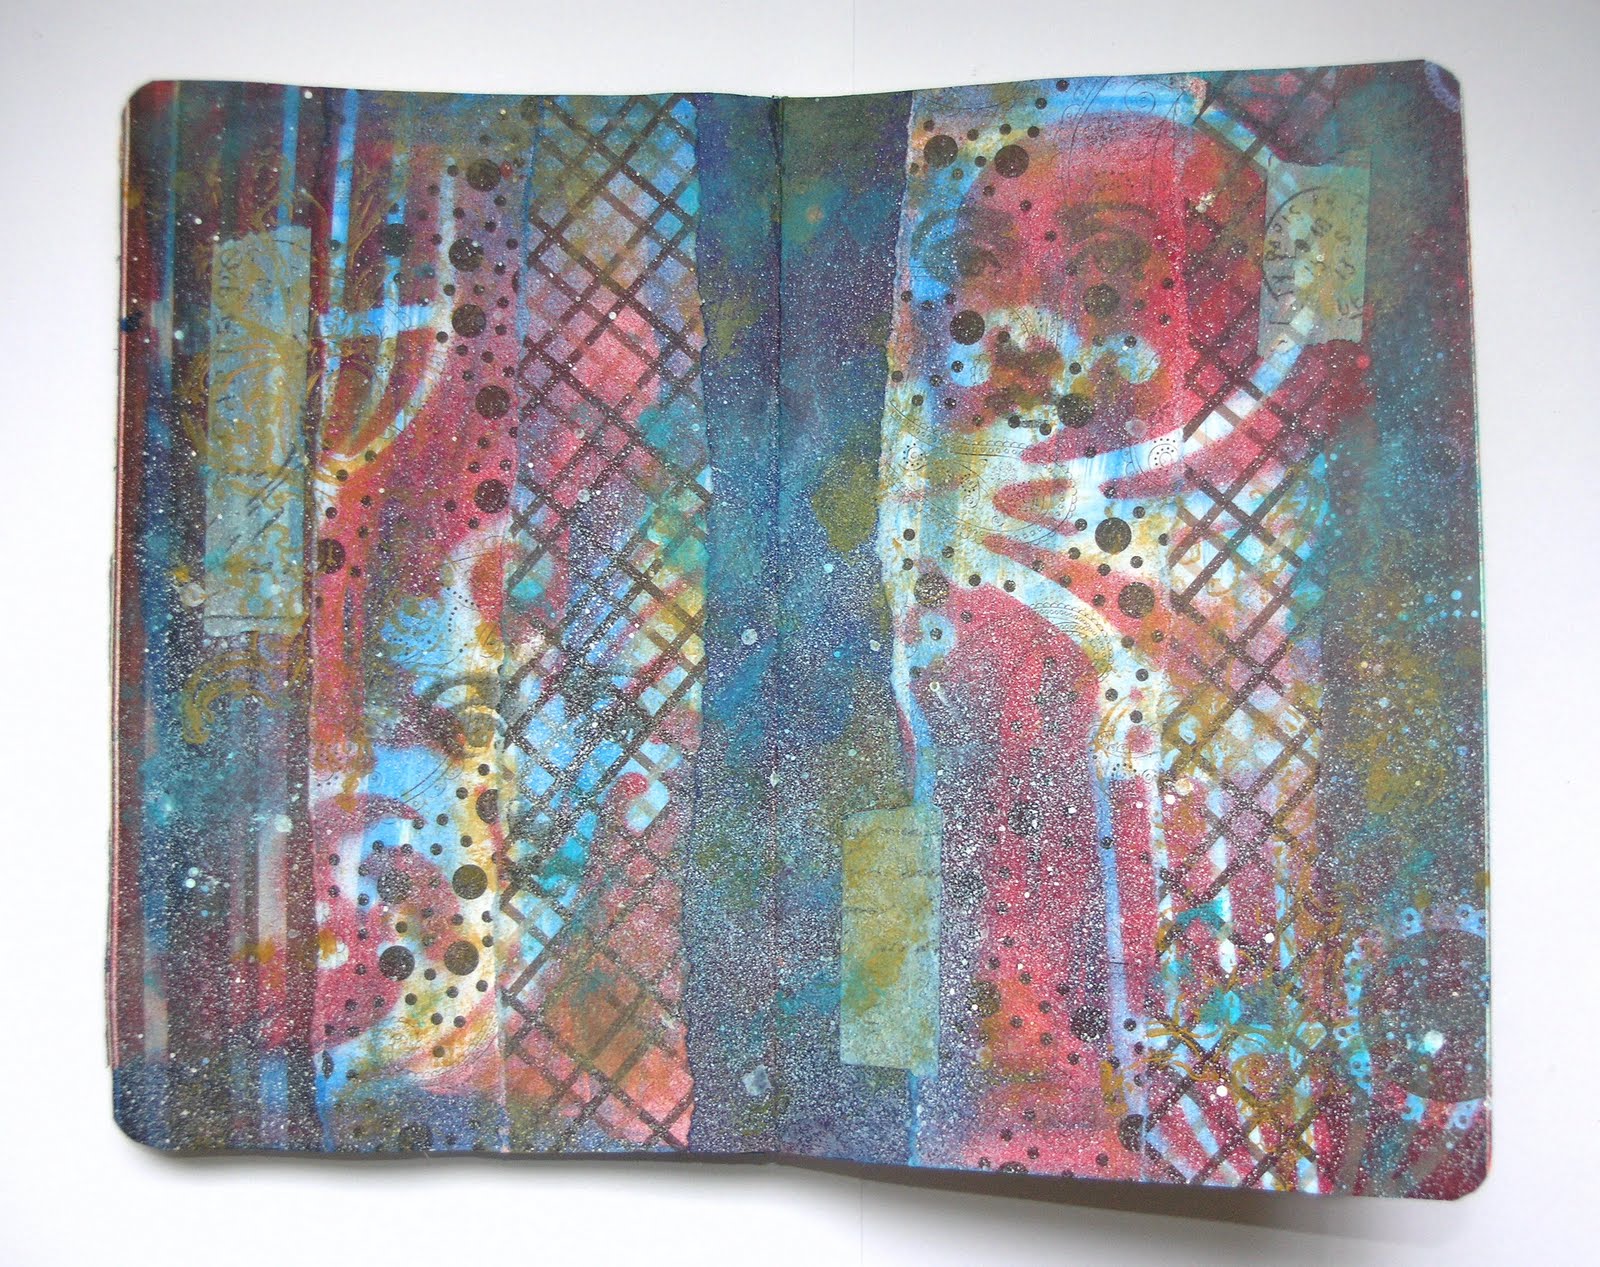
Michelle at GPP Street Team has challenged us to use torn strips of paper from to make backgrounds, so I decided to give this a go.

I have now finished my first journal, but when I first started it I left the first pages blank - I'm not entirely sure why, but I'm so glad I did. My techniques have developed throughout the journal and so I was glad I was able to add a page that I really liked at the beginning! It also meant I could match it with the very last page.

So here they are:


After sticking down the strips I sprayed dark blue paint over stencils. I then added some stamps and my journaling and some orange highlights.